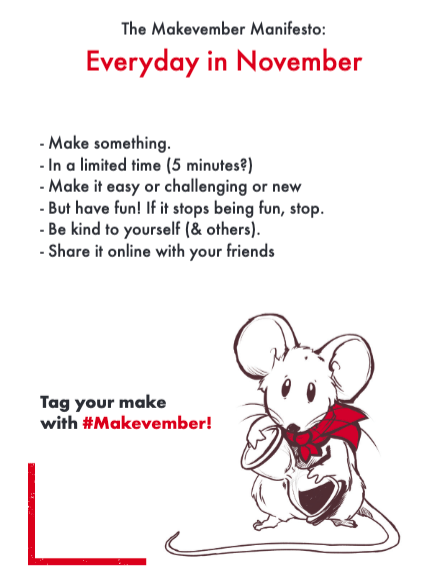
It’s now November which means the start of Makevember. #Makevember is the making version of #Inktober, the idea is to challenge yourself to make something, if possible, every day in November and share your progress with your friends on social media. We love the idea to push yourself just to try your hand at making every day this month.
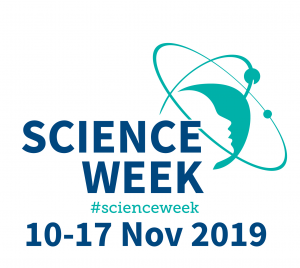
In Tog, we are teaming up with Young Engineers (YES) – Engineers Ireland to host a night of lightning talks on Thursday the 14th of November from 7 pm. Each talk will last just 15 minutes where the speakers will talk about what they are passionate about. We will have a diverse range of topics with six speakers on the night. Please RSVP via Eventbrite to give us an idea of numbers by following this link. https://www.eventbrite.ie/e/science-week-lightning-talks-tickets-79190556085
Electronics and Micro Controller Night: every other Monday aspiring and inspiring electronics wizards come together to create amazing things with LEDs, single-board microcontrollers, Arduinos, Raspberry Pi’s (well what IS the plural, then?) and other electronic gear. We have a room full of components and parts for beginners and experts alike, and there is a wealth of expertise available. This month we’re open Monday 4th and Monday 18rd November, 7 pm to 9 pm. Please bring your own laptop, we don’t have a supply.
CAD Night: Bring a project for the 3D printing machine (Prusa Mk 3) or our Lasersaur laser cutter, Krzysztof and Louise will show you how to solidify your ideas in plastic. Or wood. Every other Wednesday, November 13th, November 27th, from 7 pm to 9 pm, bring your own laptop.
Open Social: The Open Social is when we throw open our doors to anyone who wants to check out where these wonderful projects happen. This month’s event will be on Saturday 16st November, for members and non-members alike. Bring food or drink to share, or try our famous pizzas as baked in the equally famous pizza oven, weather permitting. From 7 pm onwards, until the last person leaves.
Craft Night: We have a profusion of materials and machines to cater for crafters and makers from novice to expert. Try your hand at embroidery, knitting, sewing, screen printing, woodwork, crochet, whatever takes your fancy. Our newest acquisition is a leather sewing machine – that’s a machine for sewing leather – which should be up and running soon. Same night as CAD night, Wednesday, November 13th and November 27th, 7 pm to 9 pm.
Lock Picking: Conor runs Lock Picking night, in which he demonstrates how to open a bewildering variety of padlocks, handcuffs, practice locks, bicycle locks, even the occasional car clamp – and passes these skills on for free. If you’re wondering how you’re going to free your bike when you’ve dropped the keys down the drain, come along. Mondays, on the 11th and 25th November, from 7 to 9 pm.
Coding: This runs on the same night as Lock Picking. If you’re looking for a space to work on your side project, bring your laptop and plug it in. We supply wifi and (some) expertise. Mondays, on the 11th and 25th November, from 7 to 9 pm.
Wikipedia Editing: Rebecca will show you how to edit the world’s biggest collaborative venture, the Wikipedia. Bring a laptop and add share your knowledge with the world, for pizza and the joy of knowledge. Monday 4th of November.
The Science Fiction Book Club: We are all interested in the Future, and every month the Science Fiction Book Club argues about what we are going to read next. But before that, we argue about what we have already read, and this month we are reading the Kassa Gambit by M. C. Planck. Lemon Cake is available. Wednesday, November 27th,