The Rocking Chair that Came Back to Life at Laois Repair Café

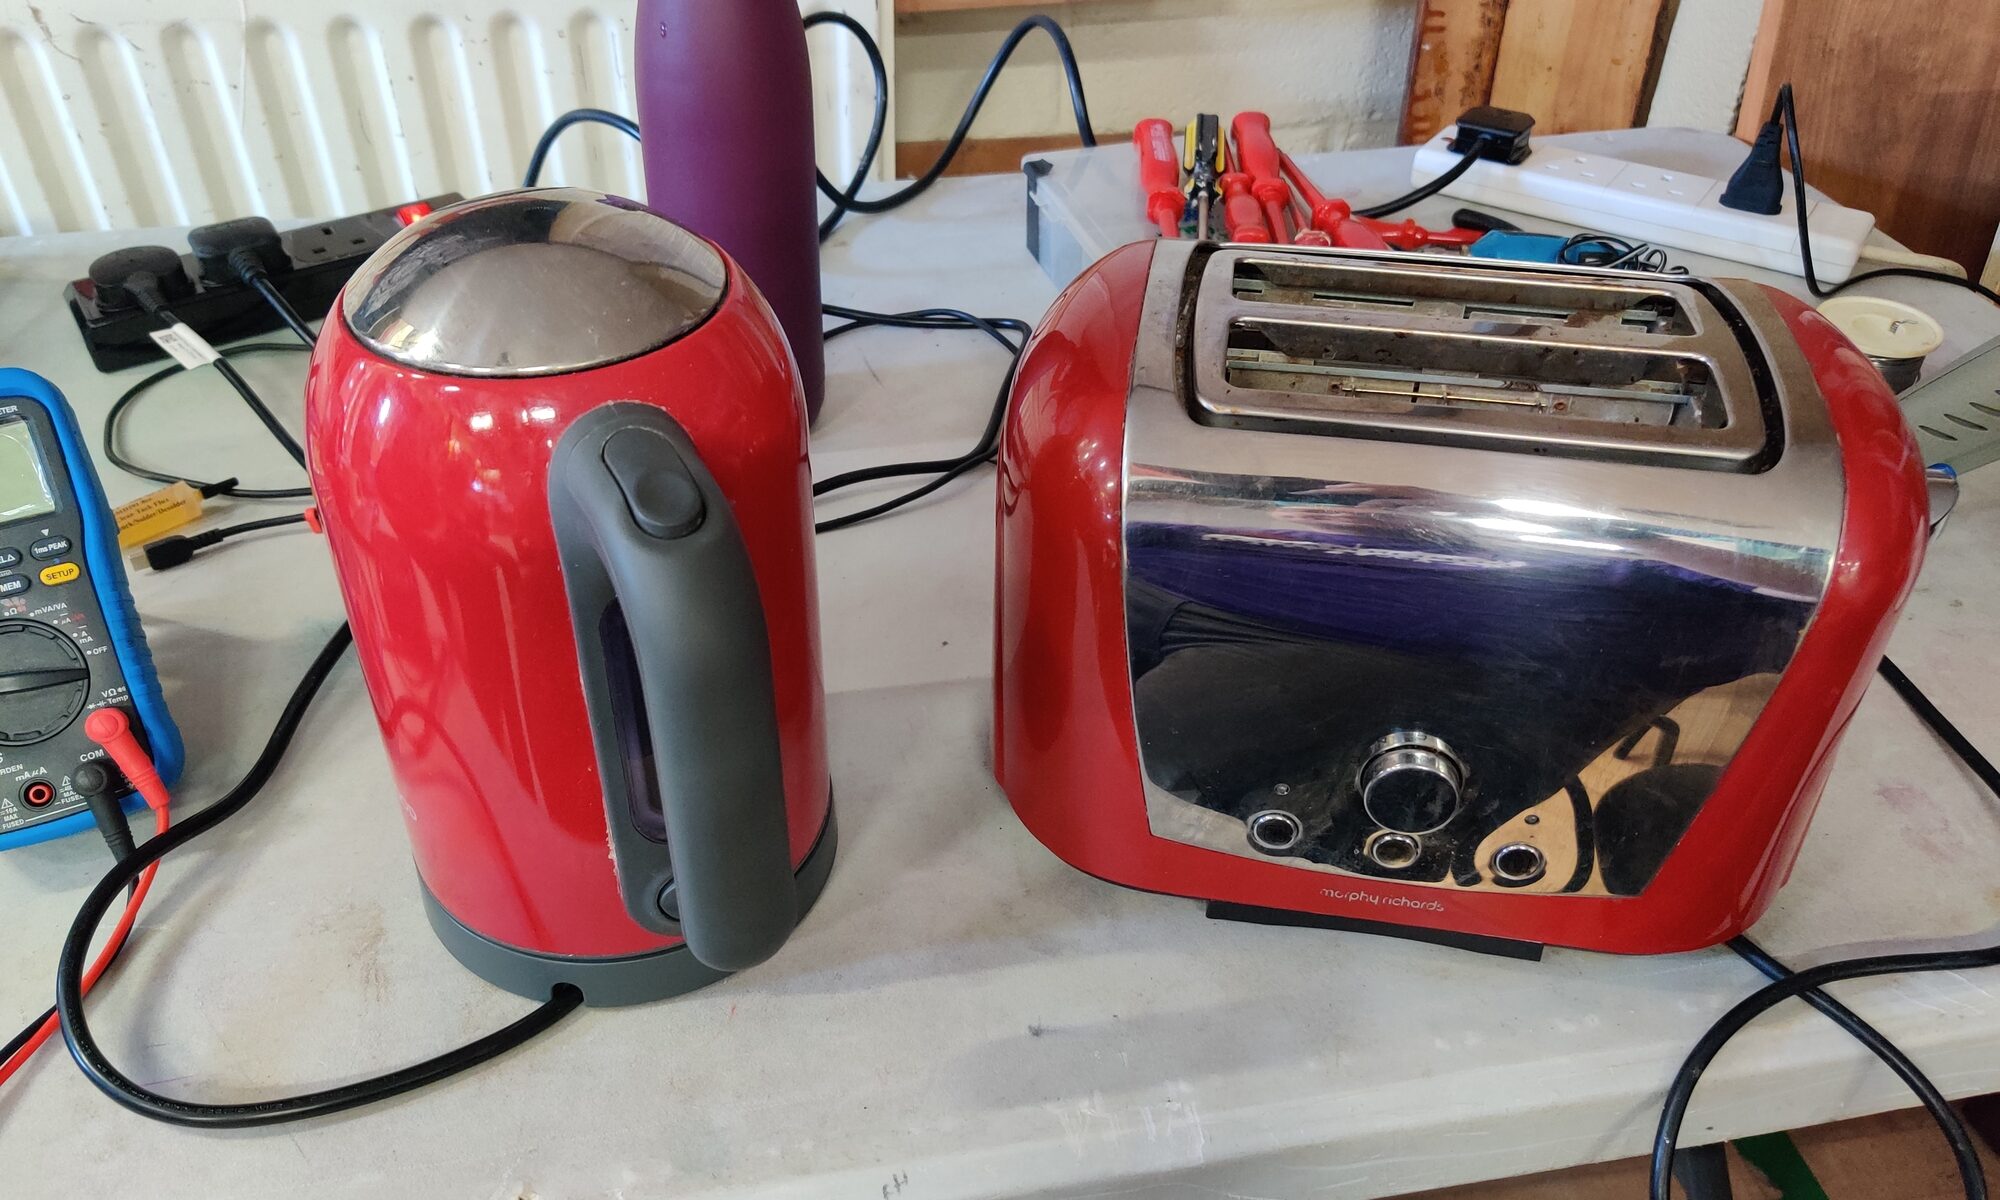
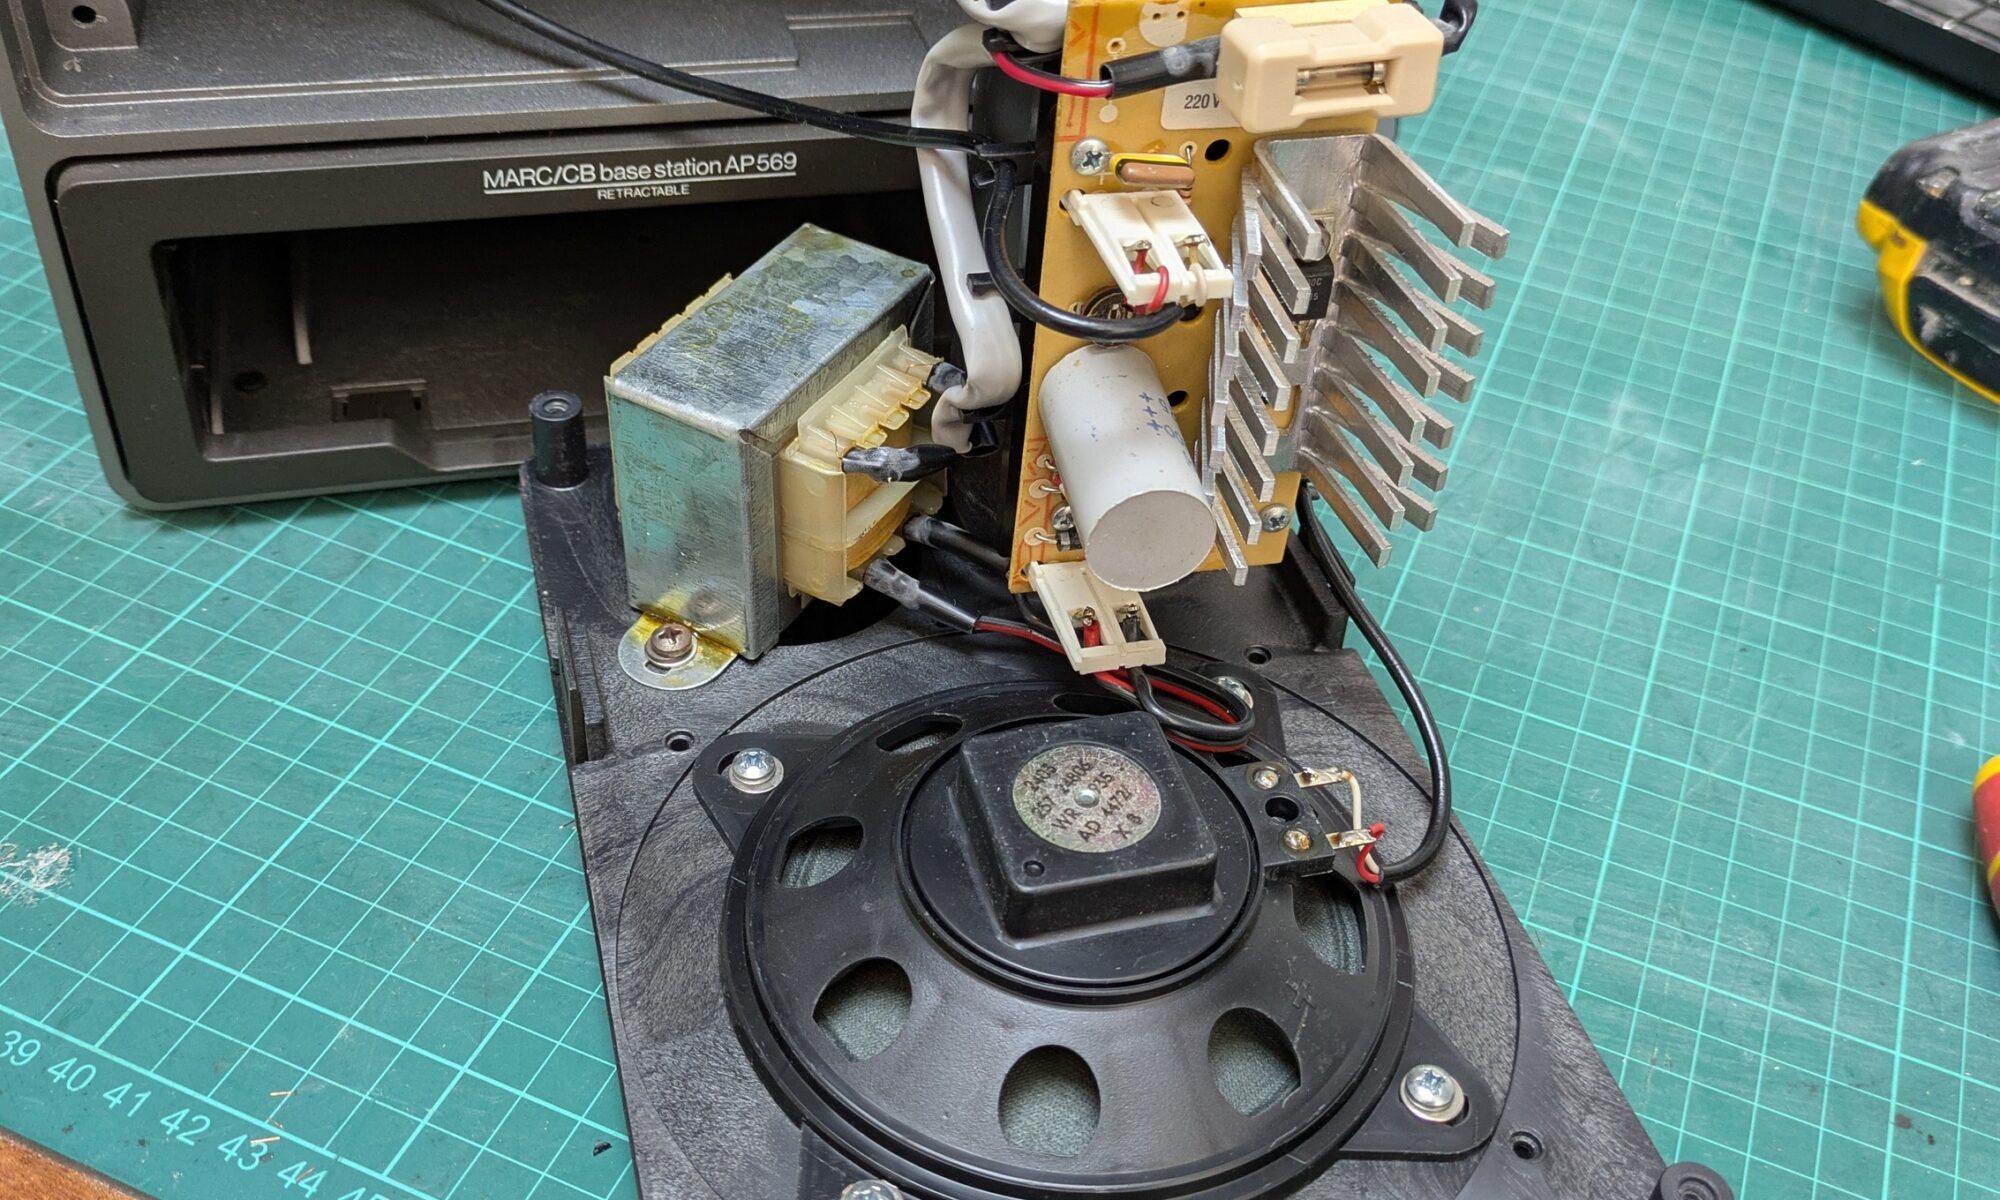
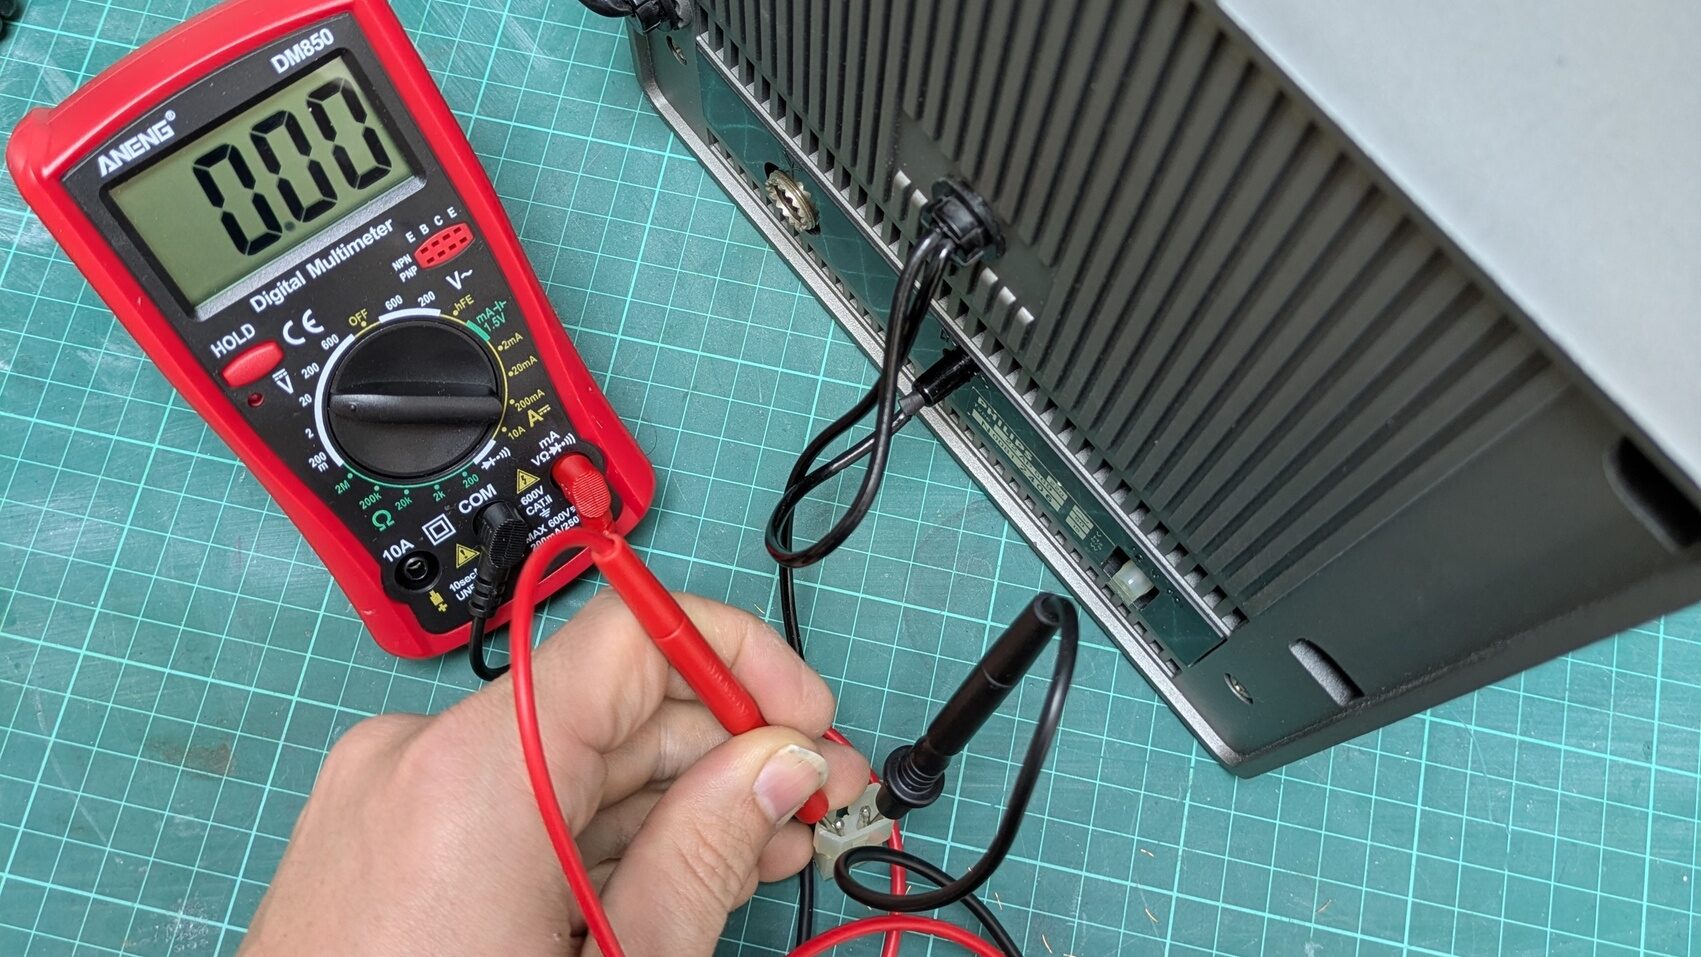
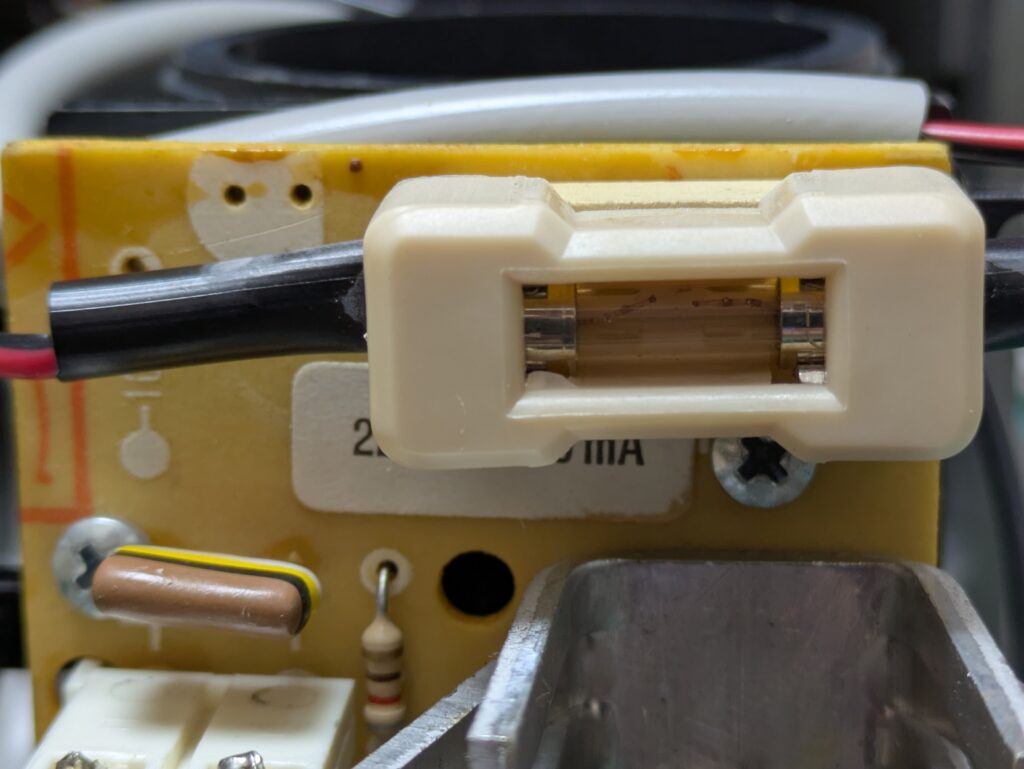
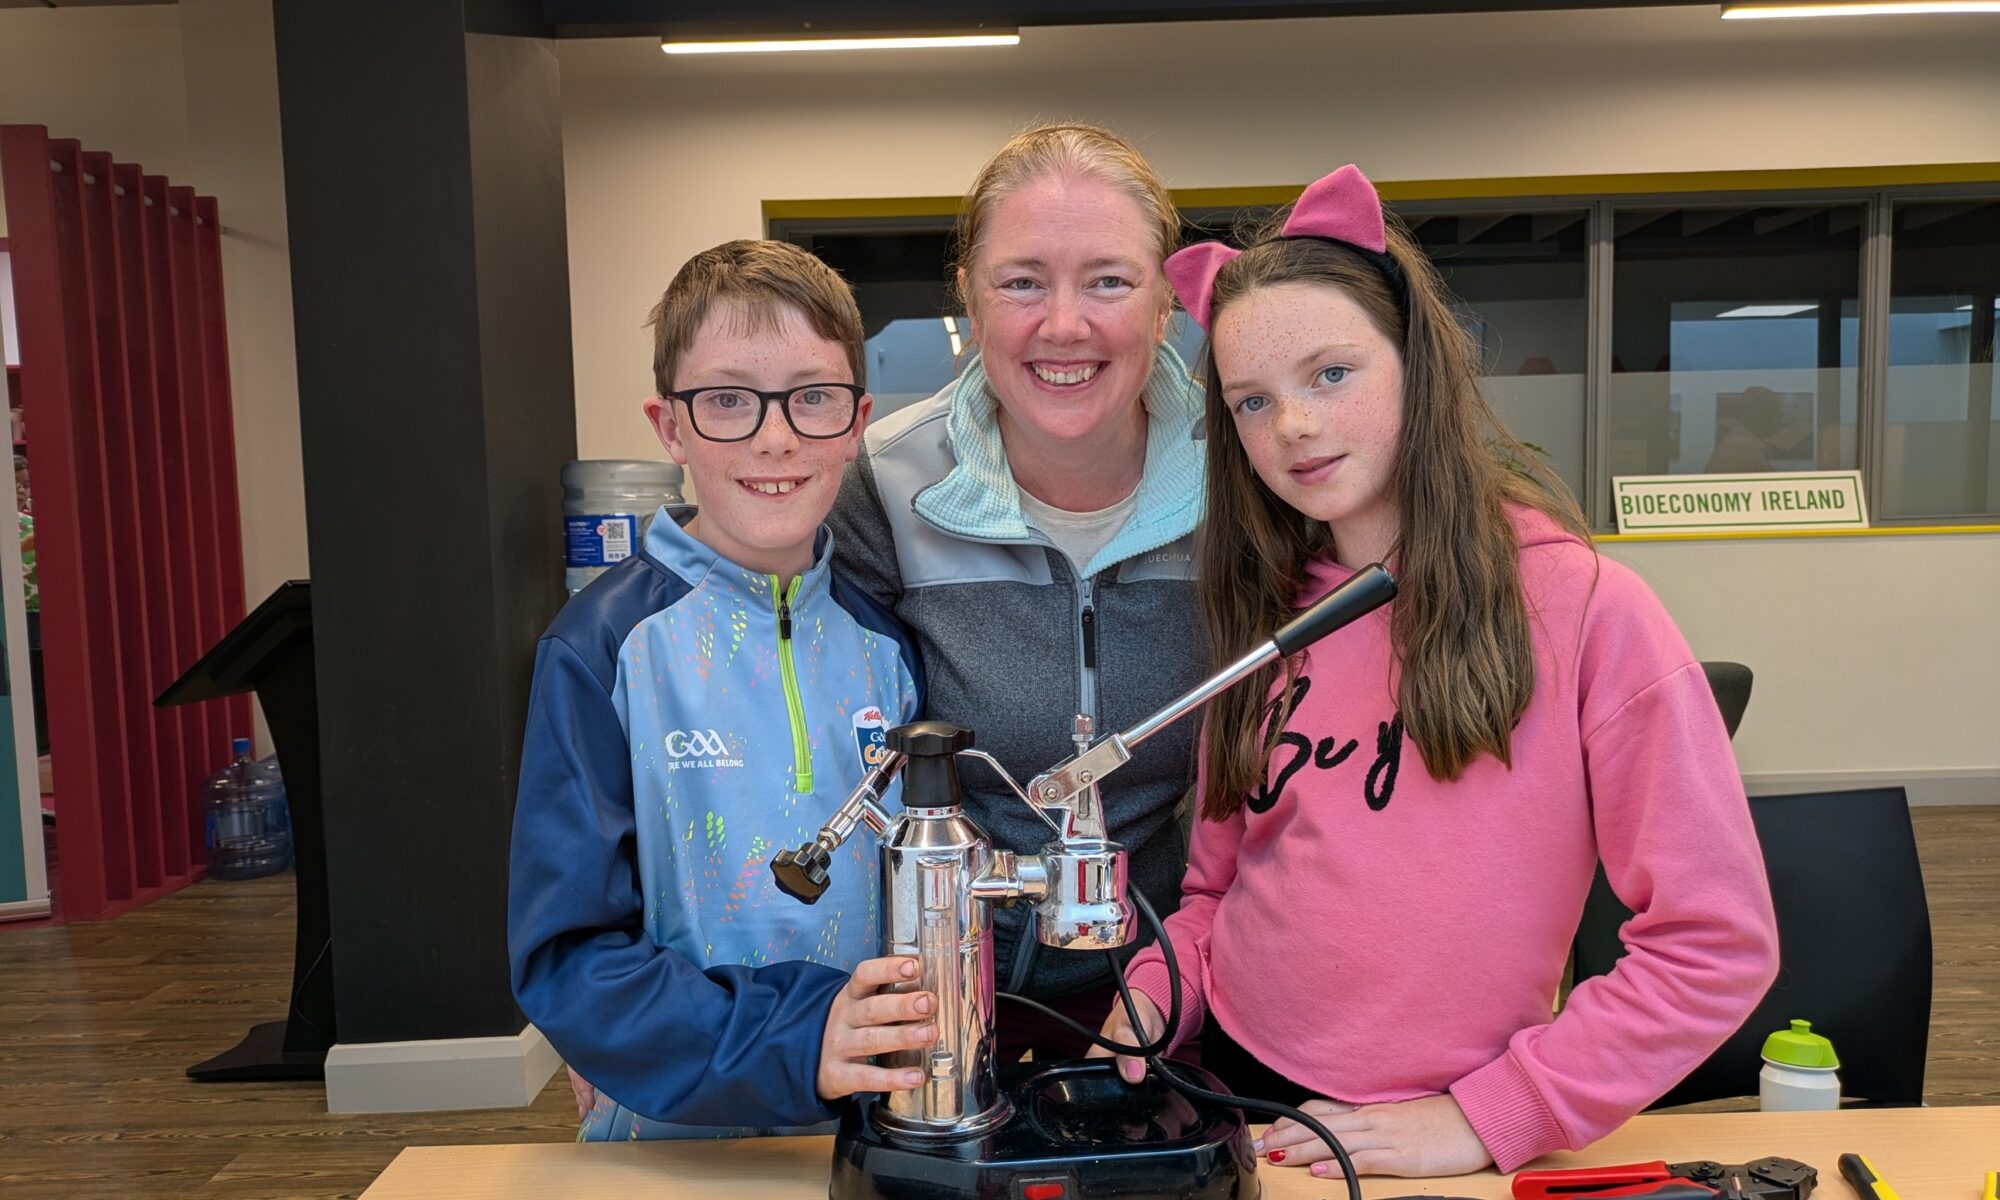
Over the weekend, we hit the road and went to Laois, and what a weekend it was! We managed to fix over 45 items, ranging from toasters to clothes to a whole host of quirky gadgets. People came in with broken stuff, and by the end of the event, many of them were walking out with their favourite items fixed and ready for another lease of life.

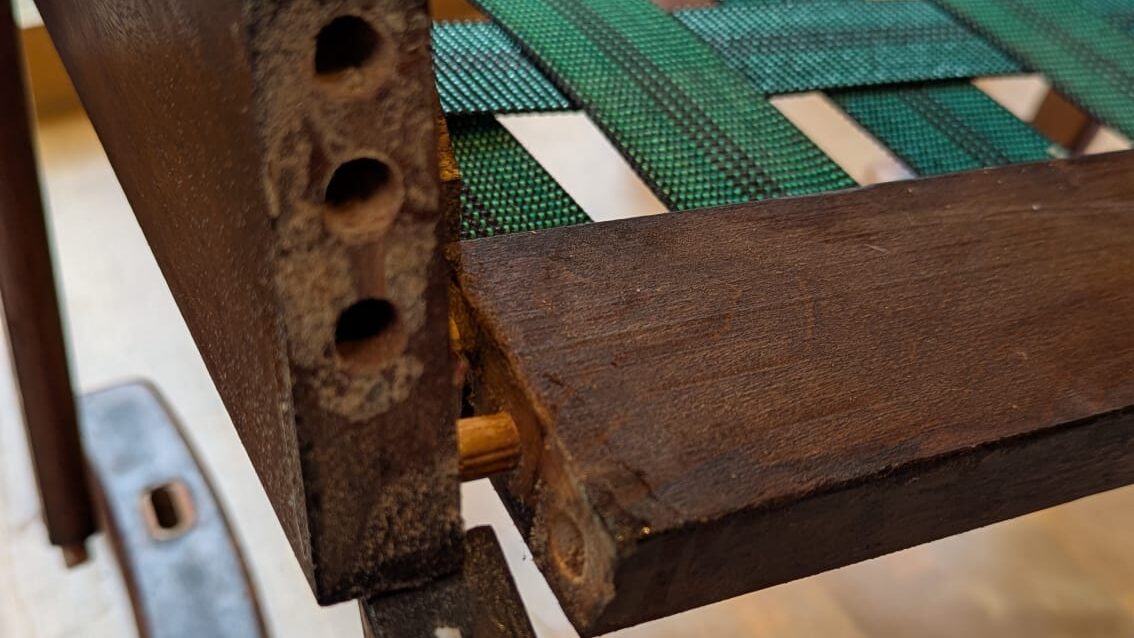
But the real heartwarming story of the weekend? It has to be Pauline’s rocking chair, which got a fresh lease of life thanks to our very own Shane Phelan. Now, this wasn’t just any chair; it had history.

Pauline shared a bit about it: “Thanks a million! Chair is fantastic work—my husband is currently sat on it watching a match! It was purchased for my dad (by my mother—they married in 1973) in 1968 for his 21st birthday in June 1968, in Roches Store, Patrick St. Cork! I got it recovered, sanded, varnished, and refurbished (!!🤡) in 2021 but it wasn’t right. Today my husband said he feels more secure in it, so thank you Shane!!”

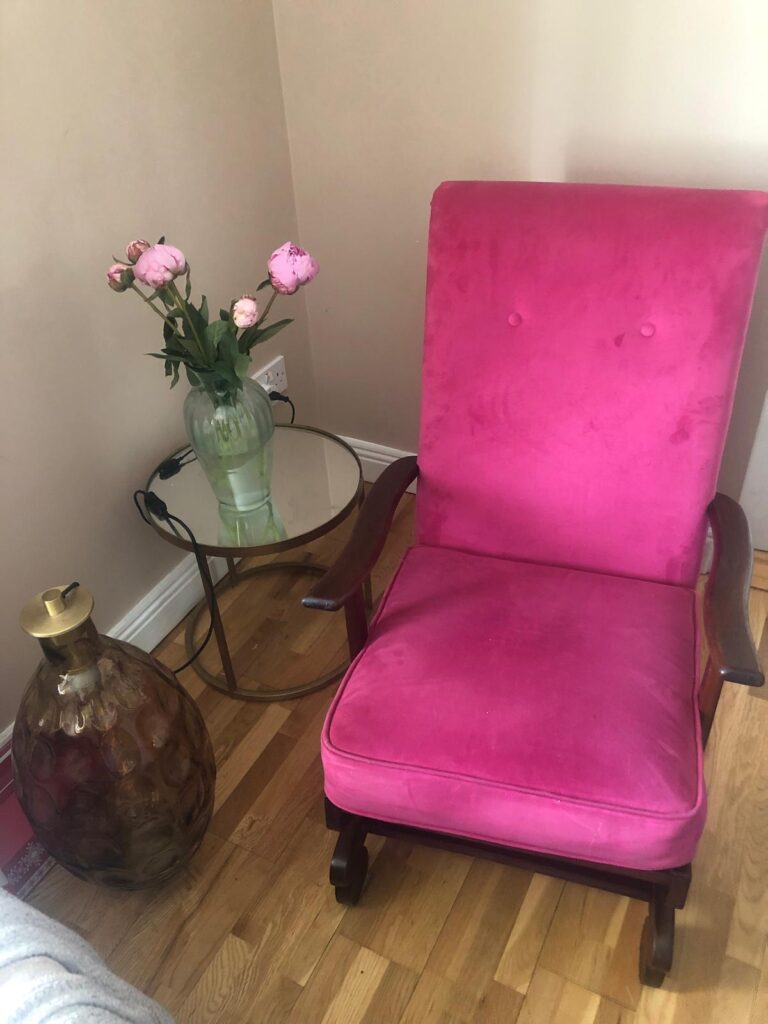
The rocking chair had been through a lot, but with a little TLC and a touch of Shane’s magic, it’s now back in action and more solid than ever.

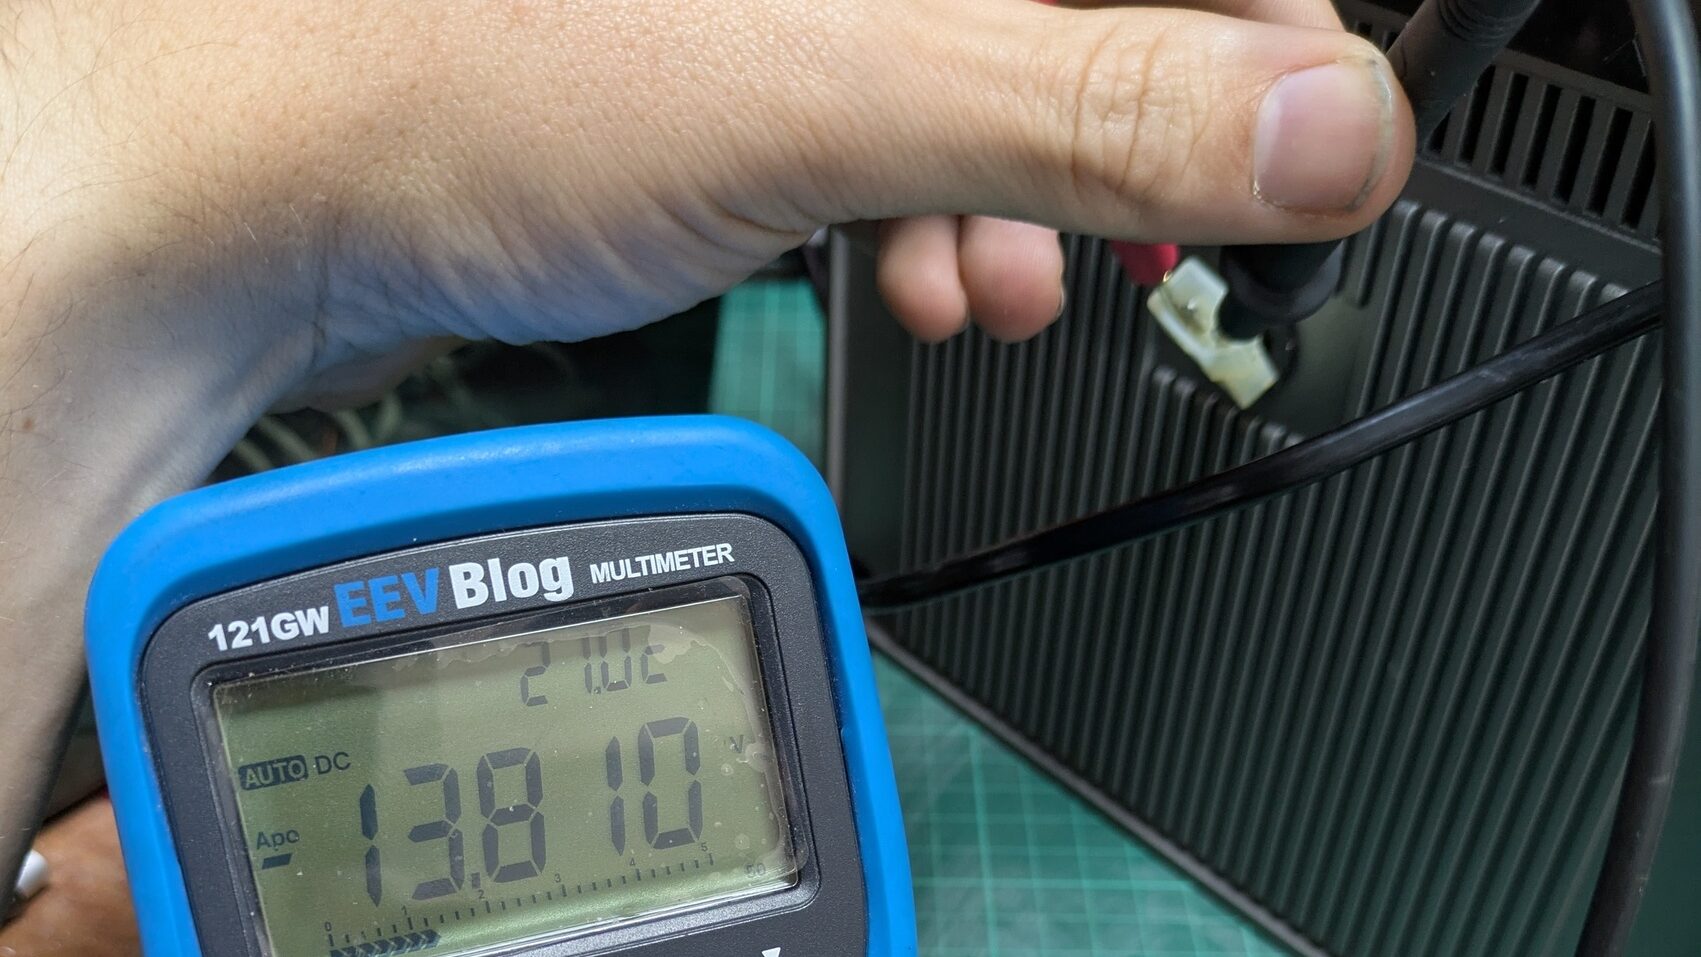
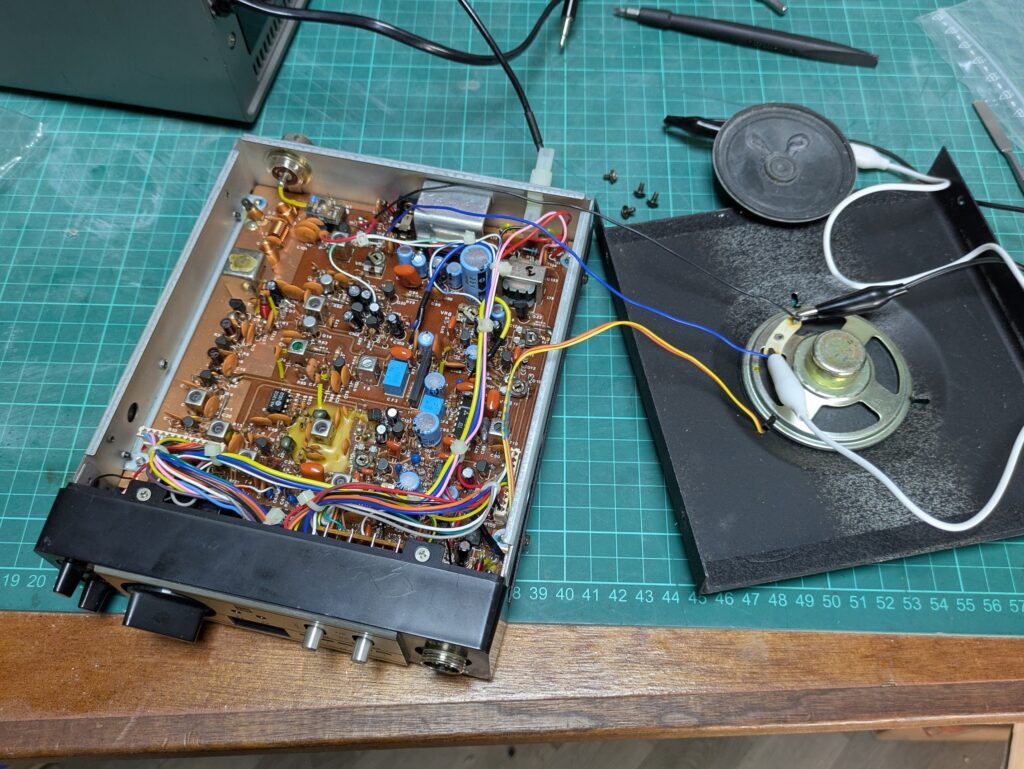
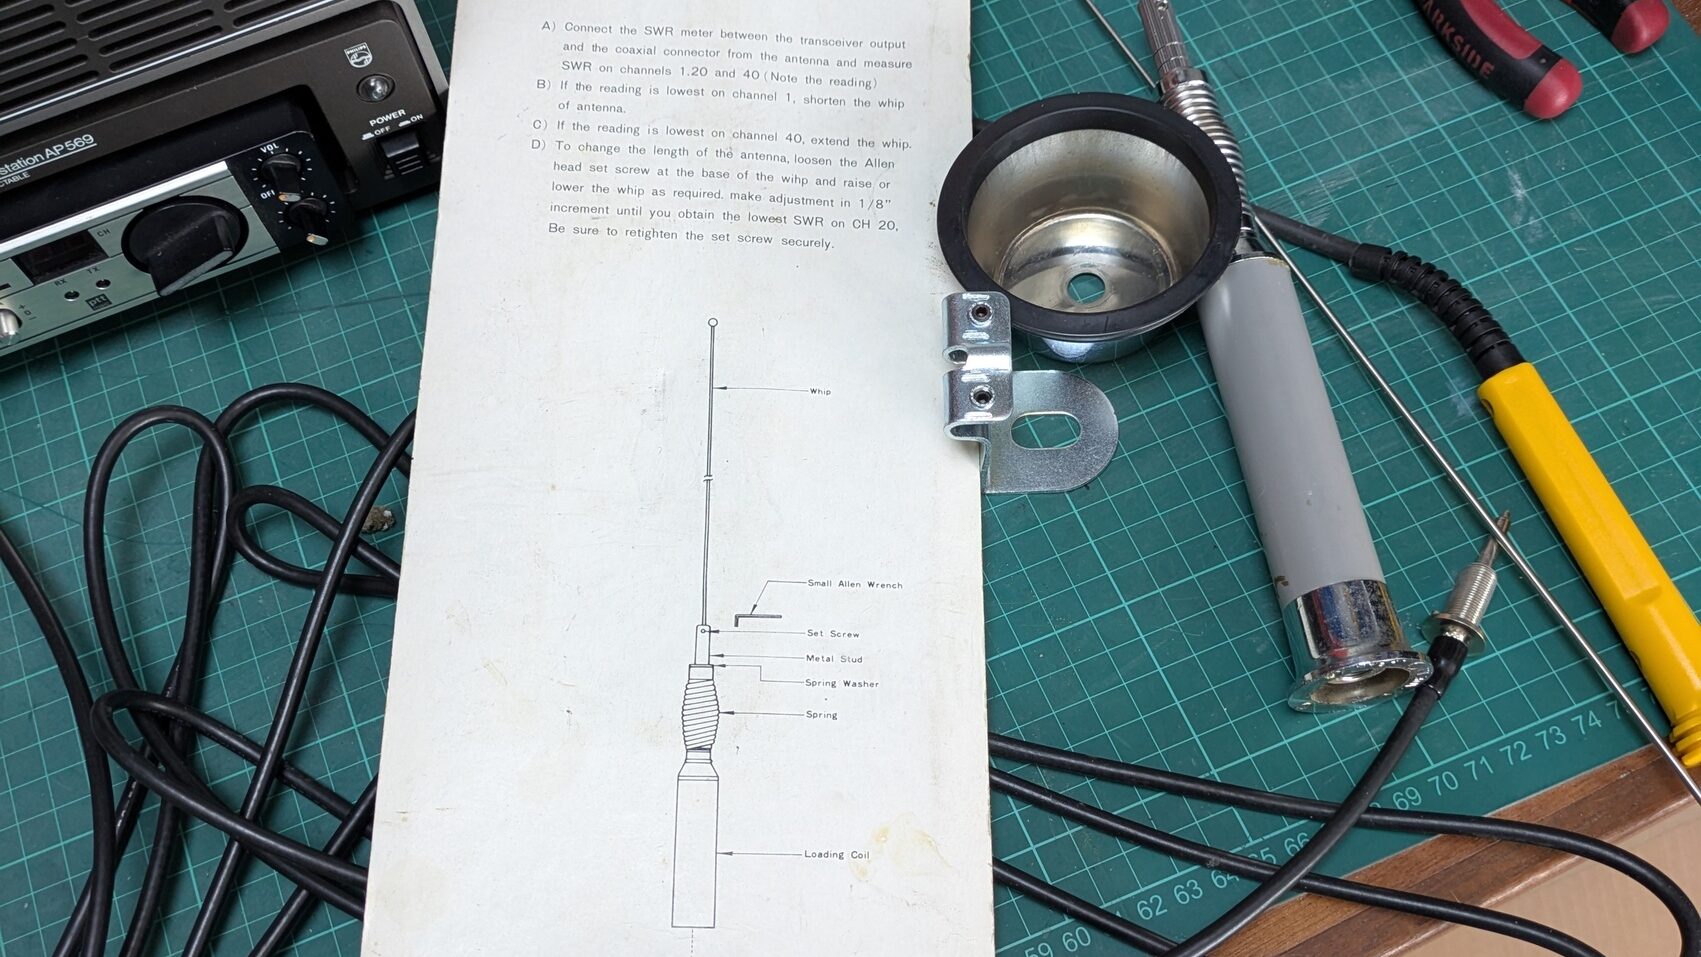
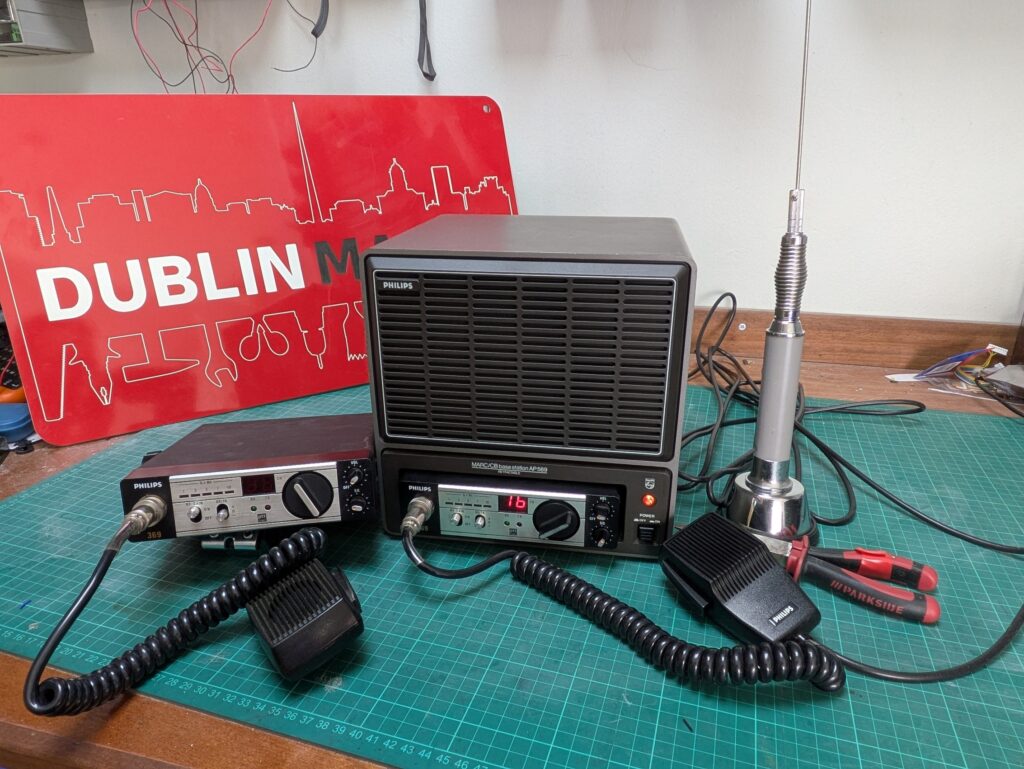
The Laois Repair Café was filled with similar stories. There were people bringing in everything from old radios and lamps to stuffed toys and even kitchen appliances, all with one goal: to keep it out of the landfill, and give it another chance. And that’s exactly what we did.

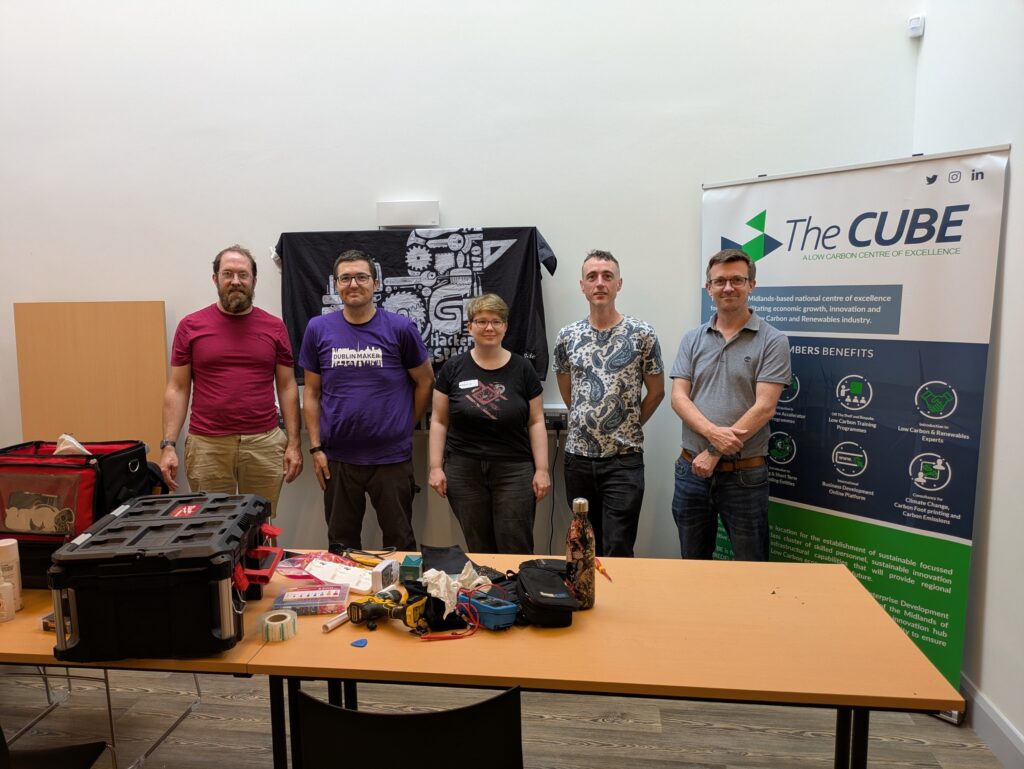
As always, it wasn’t just about repairs. The event was a great chance for people to learn a few tricks, share some stories, and connect with their community. The event was hosted by The CUBE – Low Carbon Centre of Excellence in their lovely building.

These special Repair Café events were only possible with the support of Laois County Council, in collaboration with the Eastern-Midlands Waste Region, and with the generous backing of the Department of Climate, Energy and the Environment.

Massive thanks to everyone who came along, and to the volunteers who made it all happen. Check out some of the photos from the weekend in our gallery, and we can’t wait to do it all again soon!

Laois Repair Cafe

We’re excited to be taking our Repair Café on the road again, this time to Laois for a weekend filled with fixing, learning, and community spirit!

Join us at The CUBE – Low Carbon Centre of Excellence in Portlaoise on Saturday 28th and Sunday 29th June 2025, from 11 am to 3 pm each day. We’re teaming up with a fantastic new partner to help give your broken items a second chance.

What can you bring?

We’ll be ready to tackle repairs on a wide range of household items, including:

  • Clothes and accessories
  • Toys
  • Small electrical appliances and electronics
  • Small furniture
  • …and more!

We’ll even have PAT (Portable Appliance Testing) available to ensure repaired electrical devices are safe to use.

Whether it’s a wonky toaster, glitchy switch, or a teddy missing a limb—don’t throw it away! Our volunteers will work with you to diagnose and repair your items, all while sharing tips and advice to help you learn new skills.

While you’re waiting, enjoy a cup of tea or coffee and take a tour of The CUBE, a national centre of excellence focused on innovation and sustainability in the low-carbon and renewables sector.

Event Details
🛠️ When: Saturday 28th & Sunday 29th June 2025
Time: 11:00 am – 3:00 pm each day
📍 Where: The CUBE, 18 Church Street, Portlaoise, Co. Laois, R32 TP89
🎟️ Admission: Free, but booking in advance via Eventbrite is essential.

https://www.eventbrite.ie/e/laois-repair-cafe-tickets-1409501188999?aff=oddtdtcreator

This special Repair Café event is only possible thanks to the support of Laois County Council, in collaboration with the Eastern-Midlands Waste Region, and with the generous backing of the Department of Climate, Energy and the Environment.

Continue reading “Laois Repair Cafe”

CB Radio Repair – Philips 369 22AP369

Read about this repair by our own Jeffrey, fixing an old-school CB radio setup.

A member arrived at the space one evening with a pair of CB radios: a Philips 369 (22AP369) and a MARC/CB base station (AP569). It’s hard to pin down the exact year of manufacture, but they likely date back to the 1980s. The two radios and the base station were mostly working, but with a few issues. One radio had no sound from its speaker, and the base station wasn’t outputting any power. Time to open them up.

Power Problems

Four screws and we’re inside. The base station revealed a transformer, an audio amplifier, and a nice fuse holder — with a clearly blown fuse, I could see without even taking out the meter. It was a 220V / 100 mA fuse, which I didn’t have on hand, so the repair was put on hold for a while.

Once I sourced a new fuse and installed it, it blew straight away. So did the next three.

In the end, I increased the rating on the fuse from 100 mA to 200 mA, and it held up. I adjusted the output to 13.8 volts, and it seemed to settle down. Maybe it’s just the age of the components that’s causing it to draw more current than expected?

Radio Repairs

Next up: the speaker issue. The sound worked perfectly on an external speaker, but nothing from the internal one. I noticed two mystery wires someone had added to the radio at some point. Curious, I opened it up.

I found a spare speaker in my stash with the same resistance (8 Ω) and rated for 0.5 W. It looked similar in size — the wattage might not be an exact match, but it was worth a test. A few crocodile clips later, and I had sound. Turns out the original speaker was just blown.

A little soldering and the new speaker was in. As for those mystery wires? I chose to embrace a little bit of mystery and just taped them up safely. Sometimes it’s okay not to know everything.

Antenna Adventure

Maybe I look like a radio person now. At the last Repair Café in Blanchardstown Library, someone randomly offered me a CB radio antenna — without me even mentioning radio! It was missing a few parts, but it worked well enough for testing.

With that, both radios were working again. I might be a few decades late to catch any actual CB chatter, but this was a fun little repair project. To actually transmit between the two radios, I’d need another antenna — but that’s a task for another day.

Check out our gallery for even more photos of the repair. Photos here.

Got something old and broken?
Join us at a future Repair Café or electronics night at Tog Hackerspace and bring it back to life, or at least enjoy taking it apart!

Another USB-C upgrade

USB-C conversions are becoming a bit of a thing around here. We repaired a faulty work light earlier this year, and we took the opportunity to upgrade the charging socket to USB-C. A few other items have had the same treatment over the last few months. This latest one is an old-school light box for viewing film negatives and slides. We’re still keen on our film photography at TOG, and we still have all of our dark room equipment. 

As-built, this particular light box came with with a foot-long fluorescent tube. Inside, there is a driver PCB for the tube, and a 6x D-cell battery compartment. It also has a 3.5mm power input socket if you want to run it from some kind of adapter.  

The small driver PCB inside takes the ~9V battery voltage and bumps it up to the high voltage required to to run the fluorescent tube. The switching transistor on the driver has already failed once in the past, and its heat sink gets very hot during operation. Probably not a very optimal design or power efficient.

A bit of work with a Dremel and we have a nice oval hole for the new USB-C socket. A few touches with a soldering iron to melt the plastic, and the socket is now joined firmly to the case. The intention was to feed in 5v, and then bump it up to something closer to 12v to charge the batteries via a current limiting resistor. A cheap voltage converter sourced from the usual websites would look after that.

That was the intended upgrade, but a bit of feature creep came along last night. We thought that it would be nice to replace the fluorescent lamp with a more power efficient LED one. This would also allow us to eliminate that iffy driver PCB. Rummaging around the space, an old emergency light fitting had a nice LED strip ripe for harvesting. Check back in with us over the next while to see the finished article. If you have anything that you think might benefit from a USB-C upgrade, drop in to our regular Monday and Tuesday open nights.

Mastering the Multimeter: A Beginner’s Guide

Join us for a practical, hands-on workshop at Tog Hackerspace where you’ll learn everything you need to know about using a multimeter! Whether you’re a beginner or looking to sharpen your skills, this session will cover the essential functions of a multimeter, from measuring voltage to testing resistors, capacitors, and diodes.

What You’ll Learn:

  • Understand the symbols and functions on a multimeter.
  • Safely measure DC voltage.
  • Test resistance and continuity.
  • Compare different multimeter models to help you choose the right one.

This beginner-friendly workshop will give you the confidence to troubleshoot electronics and work with electrical devices safely. Multimeters will be provided, but feel free to bring your own if you’d like to get familiar with them.

Who Should Attend:

  • Anyone interested in electronics, DIY repairs, or home projects.
  • Beginners looking to learn how to safely use a multimeter.
  • Makers, tinkerers, and hobbyists working on electronics.

Workshop Details:

  • Duration: 1.5 hours
  • Cost: €25 Plus Booking Fee
  • What to Bring: Just yourself! If you have a multimeter, feel free to bring it along.

Saturday, June 14 · 11am – 12:30 pm

https://www.eventbrite.ie/e/mastering-the-multimeter-a-beginners-guide-tickets-1391260390279?aff=oddtdtcreator

Monitor Your Home Energy in Real Time with ESP32 and Home Assistant

Check out this wirte up by our member Christian Kortenhorst.

With energy prices climbing and smart homes becoming the norm, having a clear view of your household power usage has never been more valuable. That’s what motivated me to create a compact, real-time energy display powered by an ESP32 and a 2.8″ TFT touchscreen—fully integrated with Home Assistant for accurate, live data at a glance.

Why I Built This
I already had a power monitoring system installed through my home energy provider. While it gave a general idea of usage, it was far from ideal:

  • It only updated every 30 minutes to an hour, making real-time decision-making impossible.
  • It didn’t show live solar production, even though I had solar panels installed.
  • It lacked any visual clarity—just vague numbers with no context on where power was flowing.
  • Most importantly, there was no breakdown of grid vs solar vs battery usage. – Without opening my phone
  • Also existing power monitor does not do negative number so any feedin from solar does not show.

That’s when I realised I needed something more flexible, accurate, and immediate—custom-built to show the exact figures I cared about.

Old OWl monitor

The Hardware

Here’s what I used for this project:

  • ESP32 Microcontroller – Powerful, Wi-Fi enabled and Arduino-compatible. https://www.amazon.co.uk/dp/B0DXFBKKQB?ref=ppx_yo2ov_dt_b_fed_asin_title
  • 2.8” TFT Touch Display (320×240) – A colourful and responsive screen with touch input, perfect for compact dashboards.
  • Home Assistant – My existing setup, which already tracks energy through integrations like the Energy Dashboard or MQTT sensors. Shelly

What It Shows

The display cycles through or organises a simple dashboard view with key stats:

  • 🌞 Solar Power: Current generation in watts.
  • 🏠 Home Consumption: Real-time power draw.
  • Grid Usage: Whether I’m importing or exporting electricity.
  • 🔋 Battery Level: Charge percentage and power flow.
  • Water temperature in boiler

These are live, accurate figures from my energy system—not delayed estimates.

How It Works
The ESP32 fetches data from Home Assistant using either its REST API or MQTT feed. I chose to parse JSON data from Home Assistant’s /api/states endpoint, which allows me to pull specific sensor values and display them on the TFT screen.

To keep it fast and responsive:

  • Sensor values update every few seconds.
  • Touch input can be added for toggling views or brightness.
  • The layout is clean, using large fonts and colour-coded elements for clarity.