We’re excited to share some fantastic news with you! Tog Hackerspace has recently received a generous donation of used electronic equipment from our friends at IADT. Their commitment to sustainability aligns perfectly with our values, and we’re thrilled to integrate these resources into our community space.
Sustainability in Action: A Circular Economy at Tog
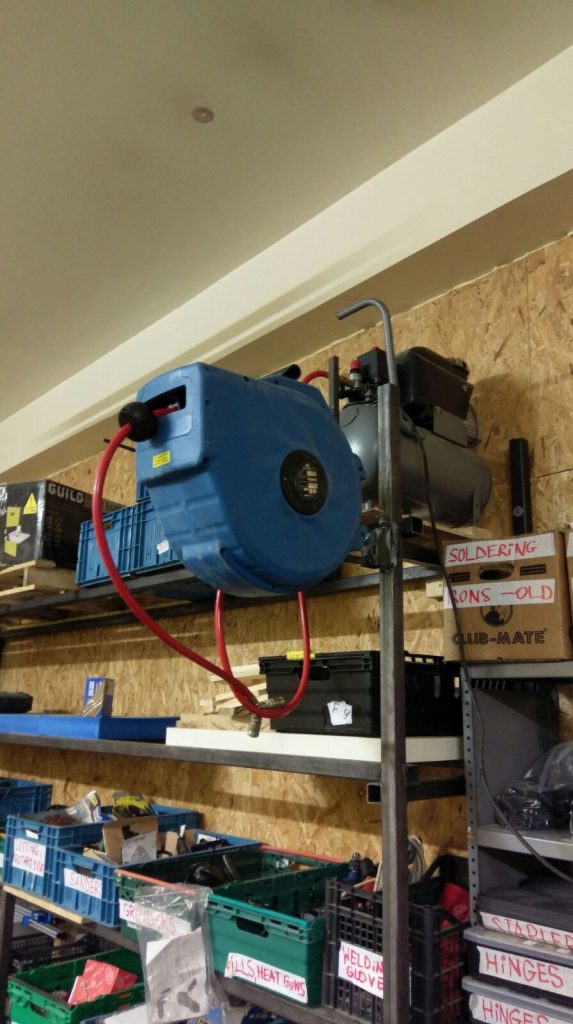
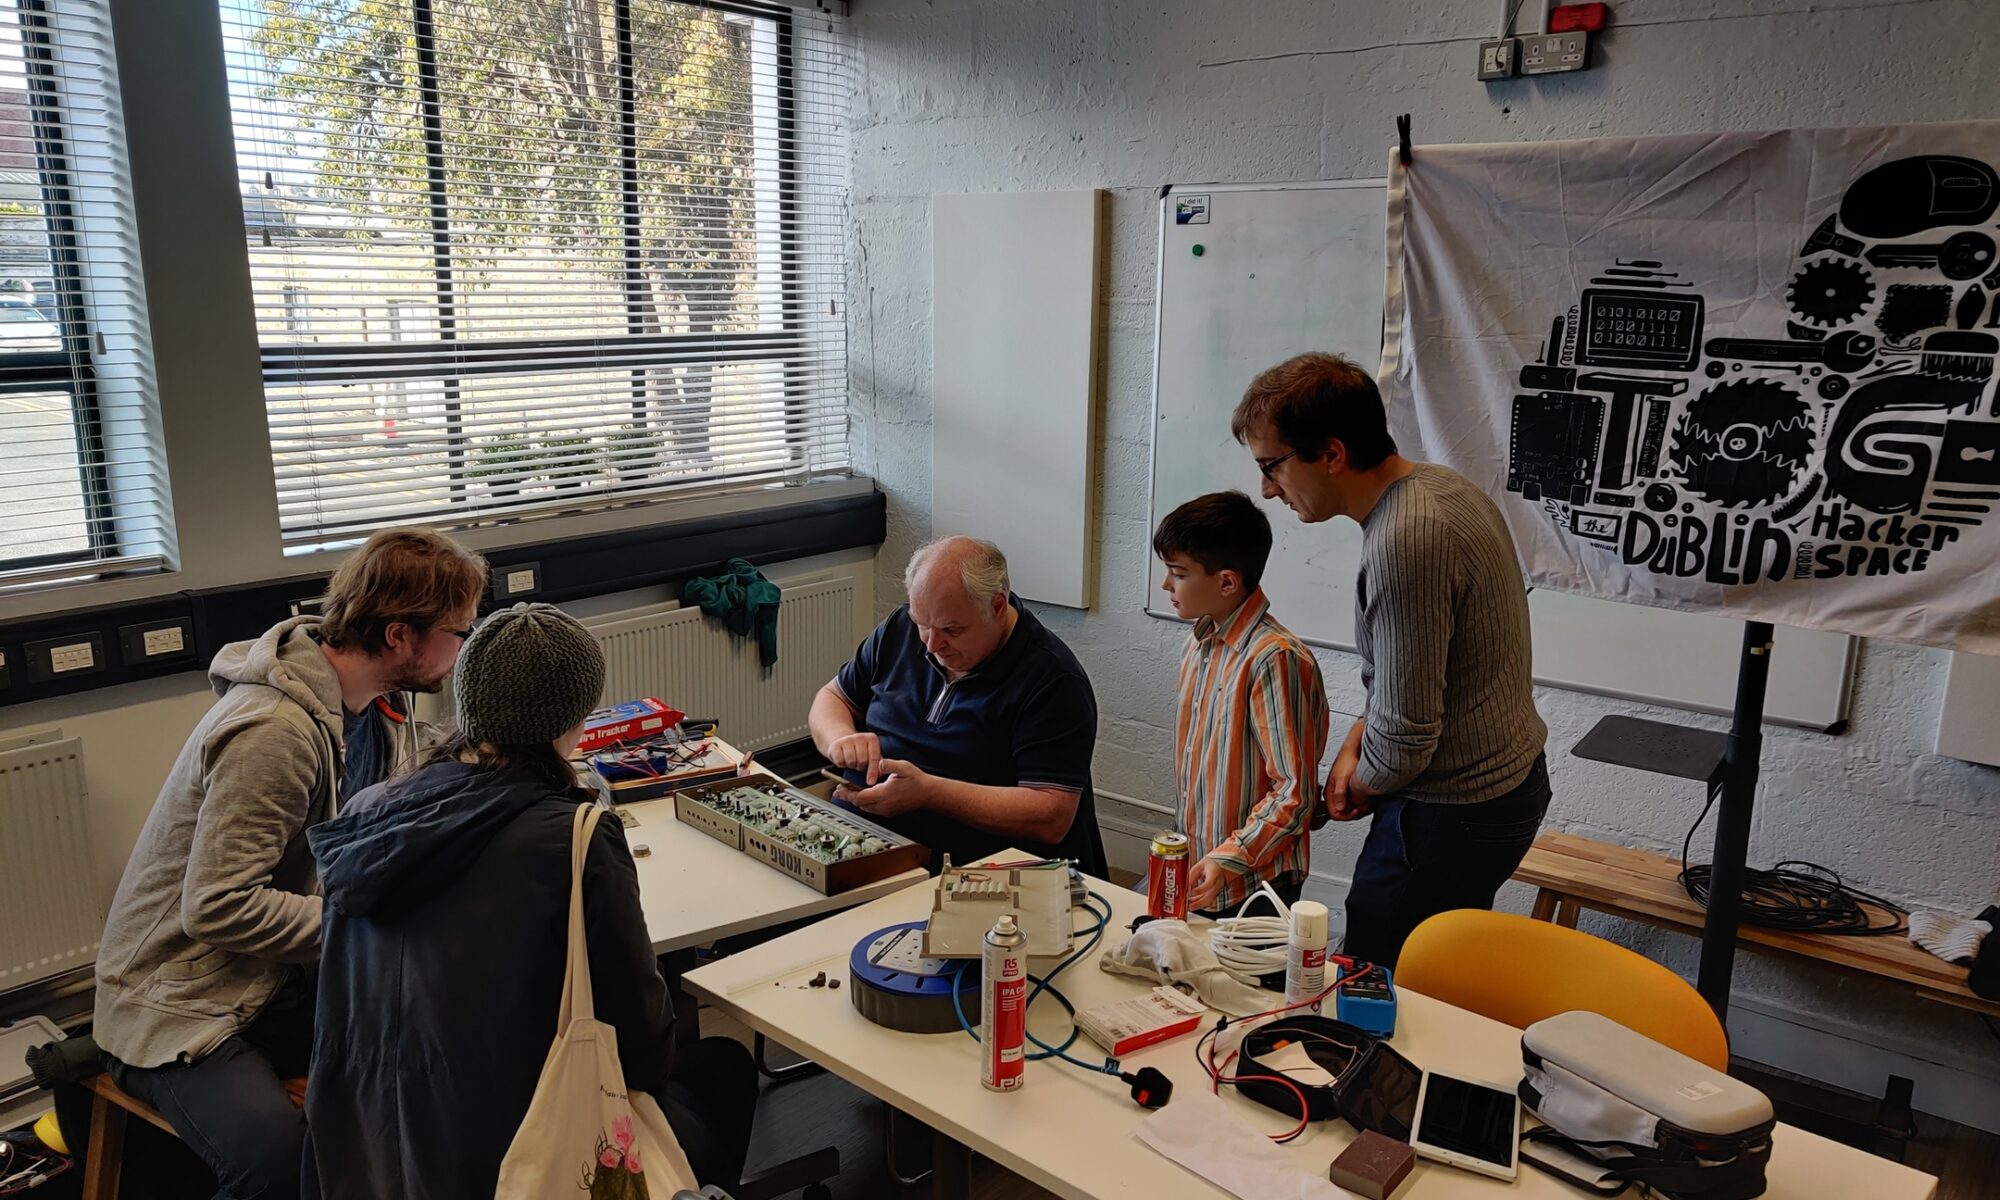
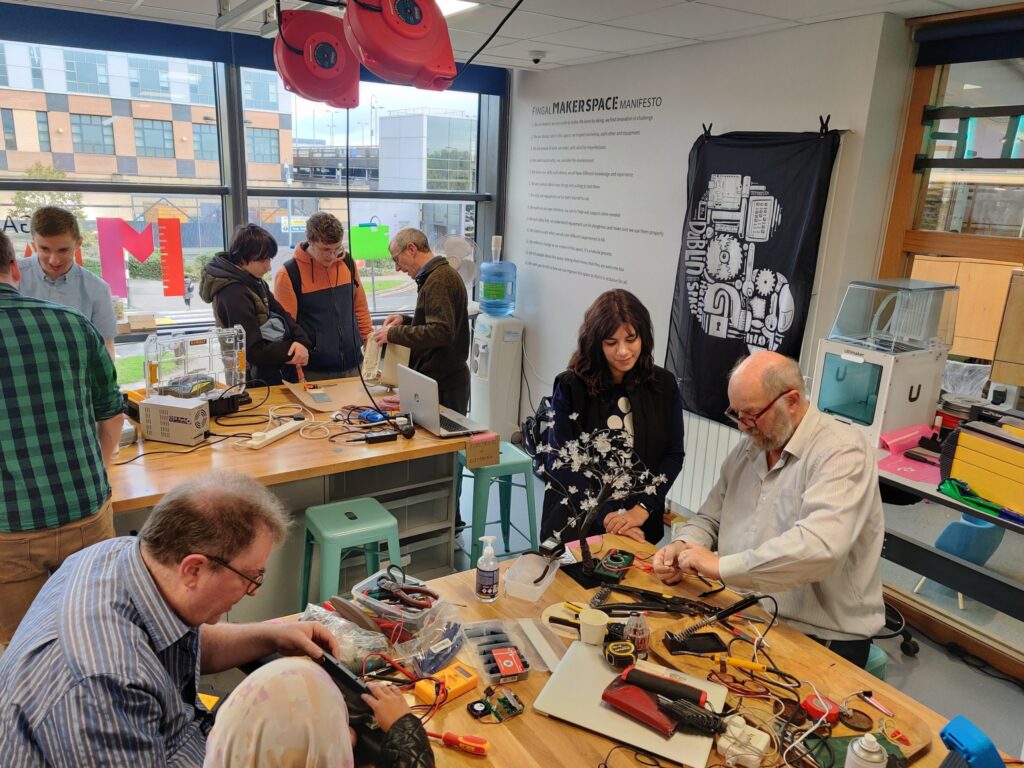
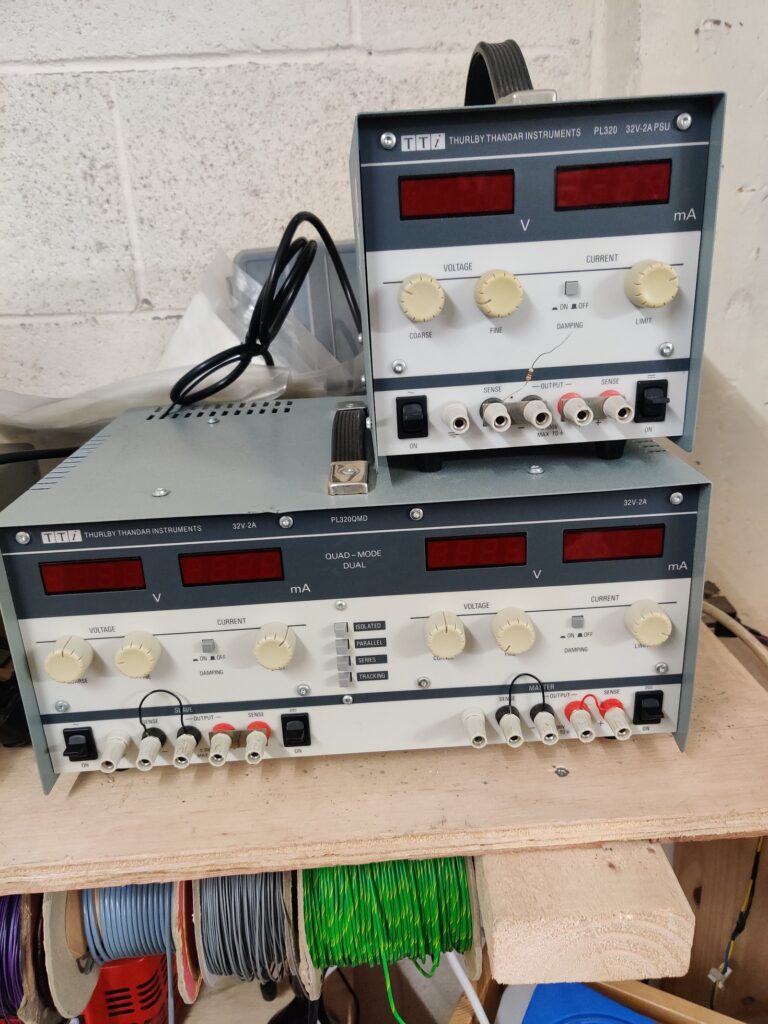
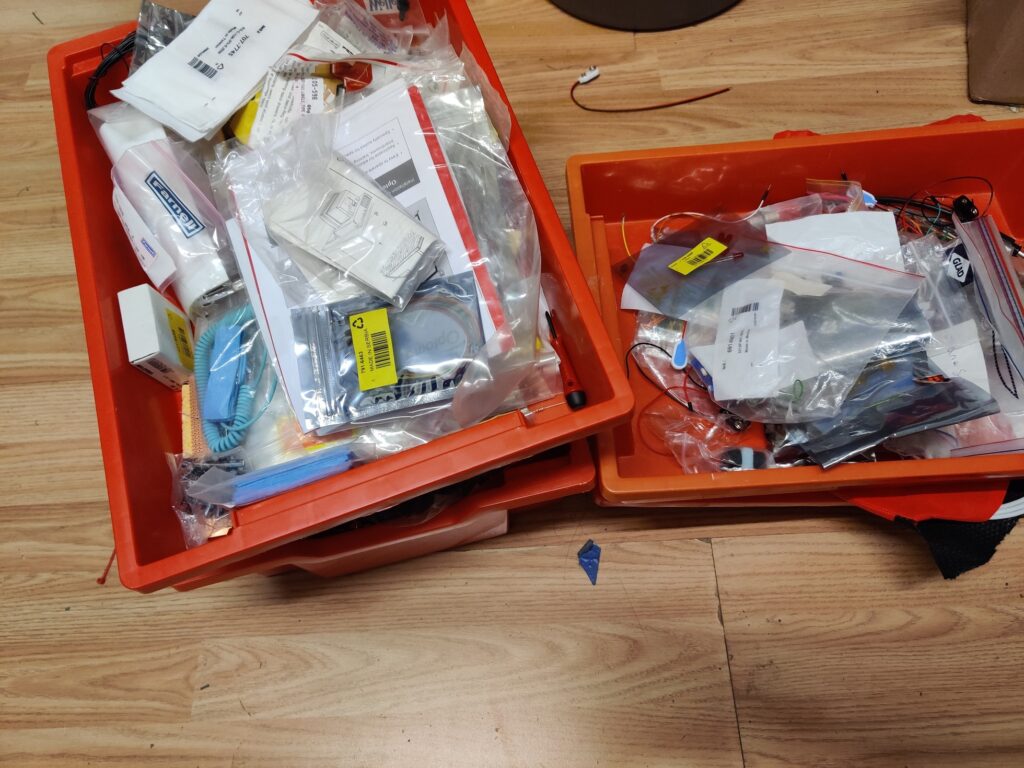
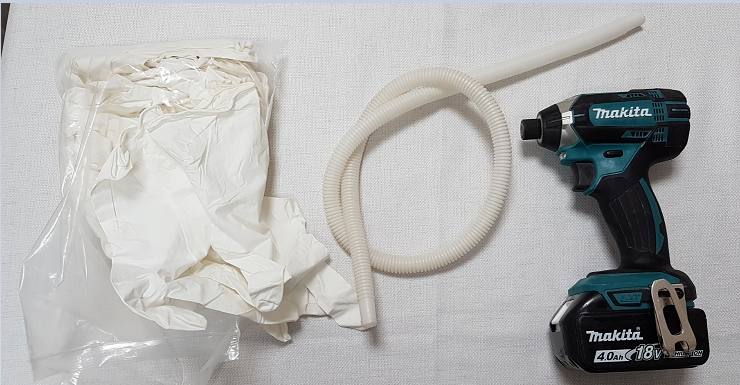
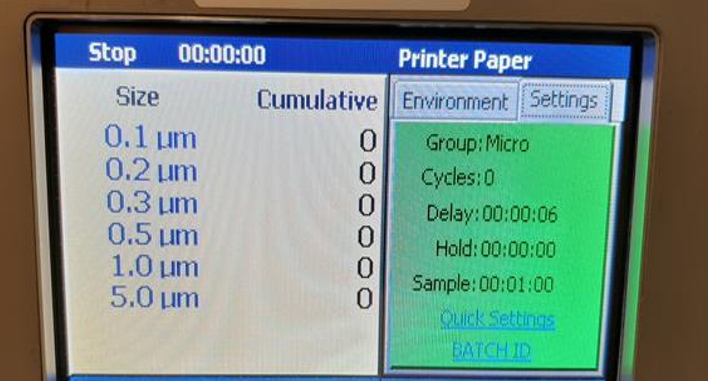
Thanks to IADT’s thoughtful contribution, our electronics lab and Monday open nights are now equipped with additional tools and gadgets for members and the public to explore. This not only enhances our collaborative learning environment but also promotes the principles of a circular economy by giving used electronics a second chance at usefulness.
Join the Movement: Donate, Don’t Discard
IADT’s donation isn’t just a boost for us—it’s a nod to the importance of responsible electronics disposal. We invite other organisations to follow suit. If you have electronics nearing the end of their life, consider reaching out to us. Let’s work together to extend the life of these resources and contribute to a more sustainable future.
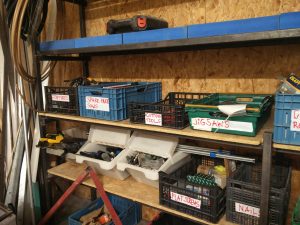
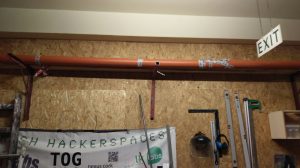
See the Impact: Photos from the Donation
In closing, a big thank you to IADT for their support. We’re excited about the possibilities these donated electronics bring to our community. If you or your organisation have equipment to contribute, don’t hesitate to get in touch. Let’s continue building a sustainable and collaborative future together.

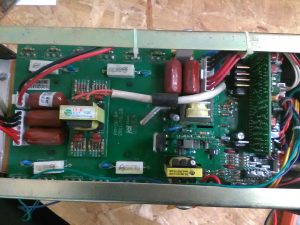
 If you work in industry or business, you probably have your electronic test gear and multimeters calibrated regularly. If you’re an amateur you probably don’t. We don’t have a fancy calibrator at TOG which can cost 1000’s and need regular calibration in itself. We do however have a 2 Euro voltage reference based on an Analog Devices AD548 voltage reference. Checking some of the multimeters that we have around, and the results are surprising.