Last month Tog hosted Science Hack Day Dublin. A weekend where 80 makers took over the space to build all sorts of projects. A group of Tog members got together to make a home made vacuum former.
The idea came about while chatting on our IRC channel about what tools we should add next to our workshop. As just recently a got new CNC , we where looking for something we could build in a weekend and we landed on a vacuum former.
Starting off on the Saturday of the Hack Day, we formed a team to bring our idea to reality. After checking out some YouTube videos we formed a basic design.
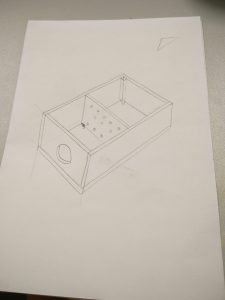
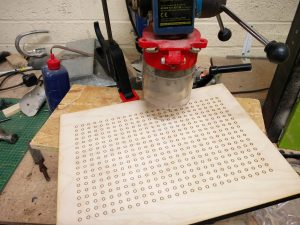
Once we had the design, we slit the team up into three. One worked with the laser cutter to make the box. One worked with the CNC machine to make a frame to hold the plastic. Final the person worked with our electric oven to figure out the settings to melt the plastic.
Someone had the idea of drilling the holes by hand on the top of the box. Such a waste of time. So many holes we should just have laser cut them.
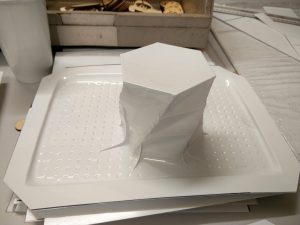
After a few hours all the parts where ready for our first test. It did not take us long to think of what our first object should be. A video of the inaugural us of the vacuum former is below.
Check out our gallery for photos of some of the things we have vac’ed.
Parts We Used
- Cookworks Mini Oven
- Shopvac
- Lasercut Box (Download our design here)
- CNC Frame (Download our design here rename to .dxf)
- HIPS Plastic

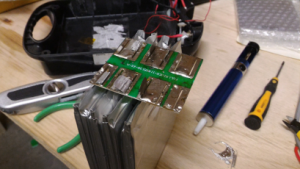 A few of our members and visitors use Ebikes. We were presented with an Ebike battery which had a dead cell. The plan was to replace the cell with a new one. This is not ideal, since you end up with a mix of old and new cells, but the balance circuit should make it usable. On further investigation we found that there were a number of dead cells. So we set about
 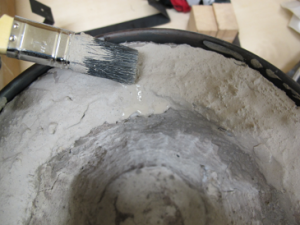 A few years ago, we built a forge based on
  The cooker door wouldn’t snap closed properly. A quick disassembly of the hinges showed that a brass disc had a flat spot from years of wear and tear. Replacements were no longer available.

