This Canon mini-DV camcorder was bought new, sometime around 2002 / 2003. Even then however, the writing was on the wall for tape-based video recording. Mobile “feature” phones of the time were already starting to have better and better cameras, and the price of USB sticks and memory cards were falling rapidly while increasing in capacity.
In 2005, the camcorder was connected to a PC via its FireWire socket. Many of the video clips were pulled over onto the PC. In the transfer process however, the metadata from the clips including the timestamps were not copied. It’s impossible to tell today when the clips were taken. So the plan was to fire up the camcorder and see if the clips could be copied again, or even the date stamps transcribed manually.
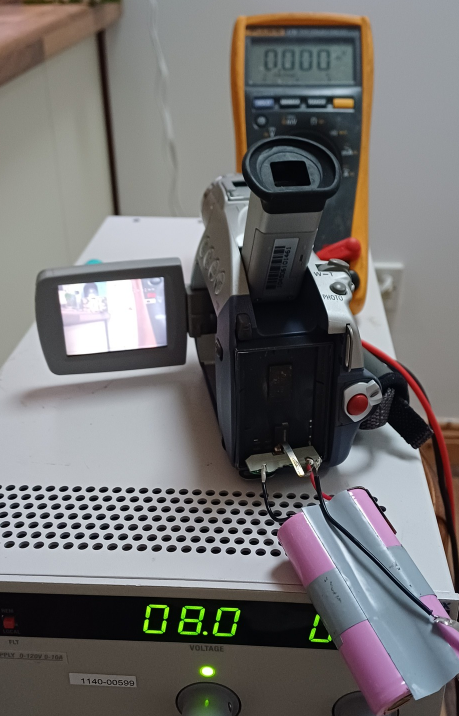
First and most obvious thing was that the battery was stone dead. Popping the battery case open, there were two lithium cells in series and both were absolutely dead….. zero volts. We replaced the two cells with two 18650’s, but the battery pack output was still zero. A little trick we’ve learned, and one that we put to use several times at our repair cafe this week, was to charge the pack briefly which seems to wake up the onboard BMS. After doing this, the pack was now outputting almost 8 volts.
Now the next hurdle. Would the thing actually switch on and work? 20 years is a long time for electrolytic capacitors, and rubber belts and drive wheels turn to a sticky goo over time.
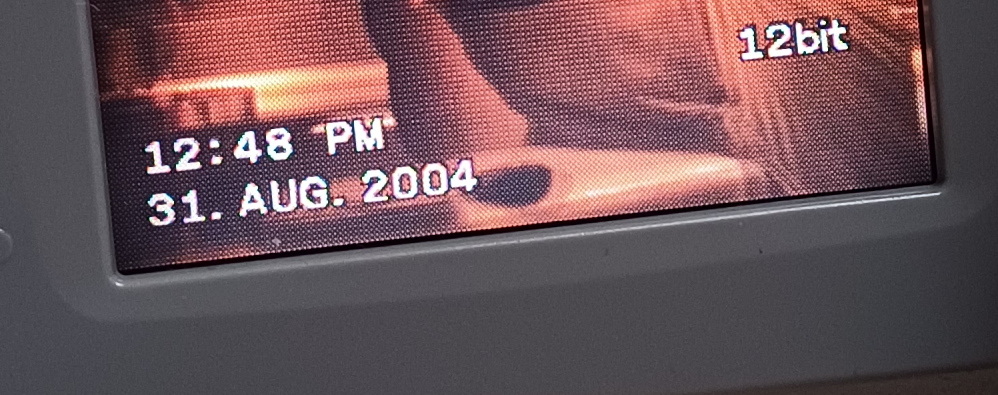
Snapping the battery into place and switching on, amazingly the thing came to life! The pop-out video screen was alive, but the look-through viewfinder seemed to be dead. Next test was to see would it accept a tape. It did, and the tape threaded up okay. Pressed play and the thing worked! You can see the timestamps on the clips from 2004!
If you have any mini-DV tapes that you want to check, or you like tinkering with this kind of stuff, come and see us in the space any Monday or Tuesday evening. There’s always something interesting going on.