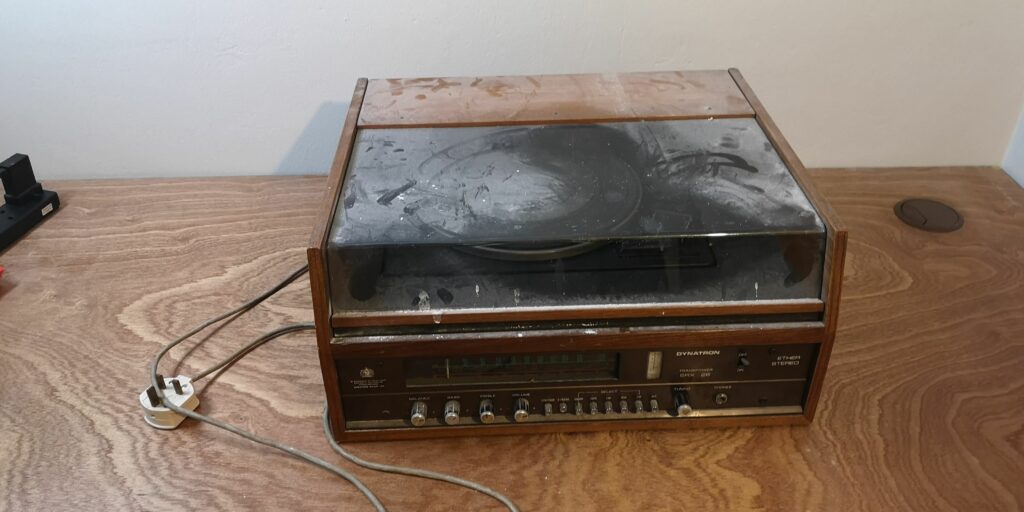
Let’s go on a journey of repair with Jeffrey. We have a Dynatron radio model SRX 26. I think it’s from the 1970s. The radio came from Henry which has been in his family since it was new. Unfortunately it has been waiting on me to repair it since September 2020.
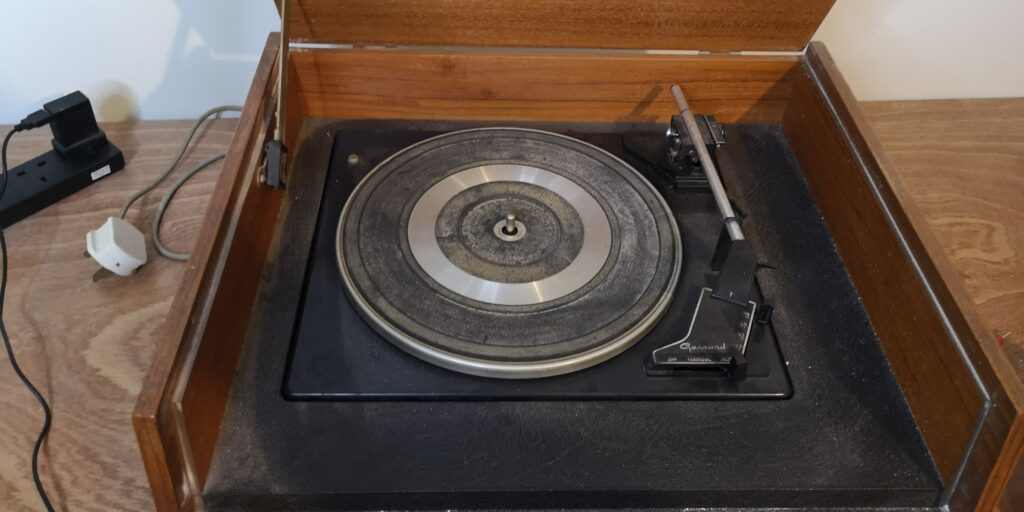
I started off by wiping all the dust I have let fall on it. It is a crazy heavy thing. The best way to start is to have a good look over the radio. The point is to find any problems with the cable and to check it is safe before ever plugging it in. It also seems to be missing its record player cartridge (the needle).
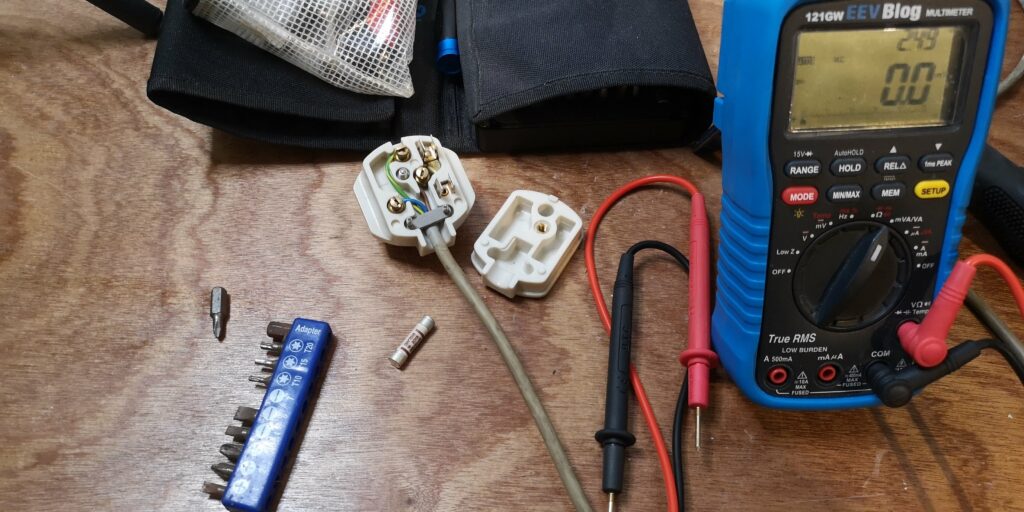
The radio lead and fuse are the next places to check. It is using an older style of plug that should be replaced at some point. The fuse and lead are fine. Now for a power-on test. the unit is not showing any signs of life.
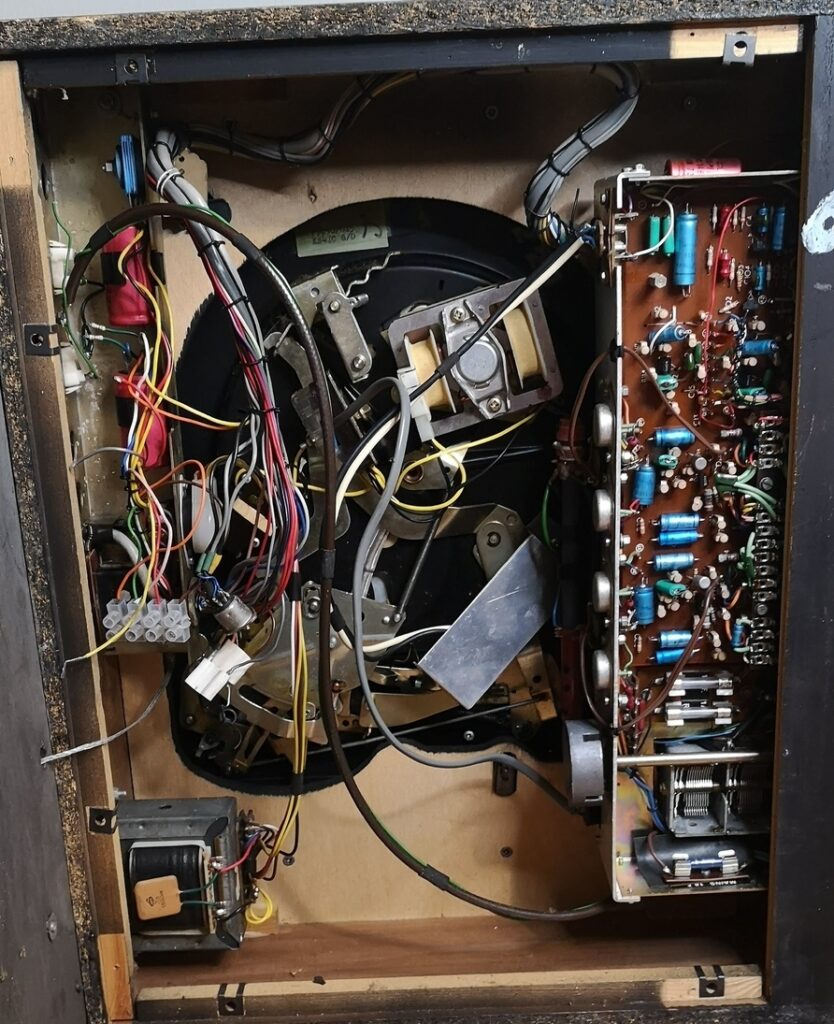
Now to take it apart and show everyone’s favourite part the insides. There looks to be other historical repairs carried out. If you look at the above image on the left-hand side.
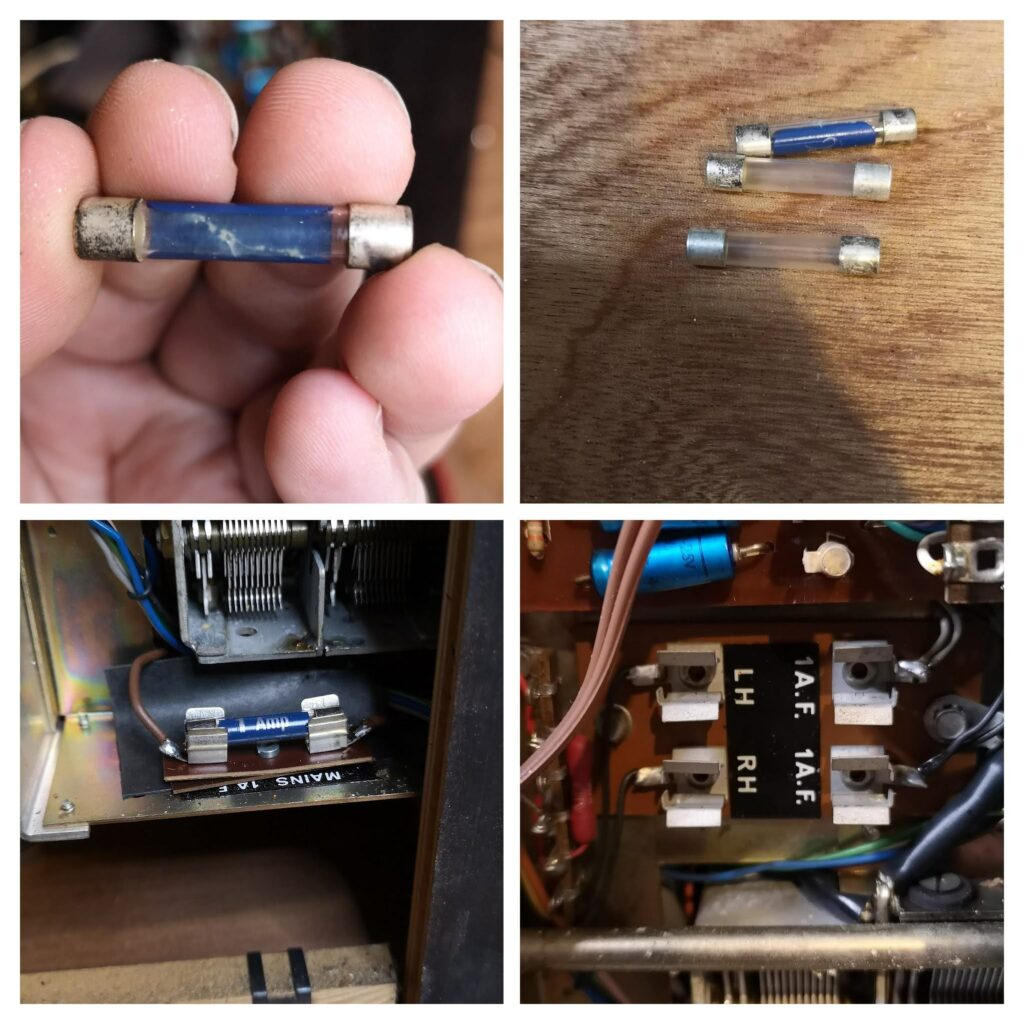
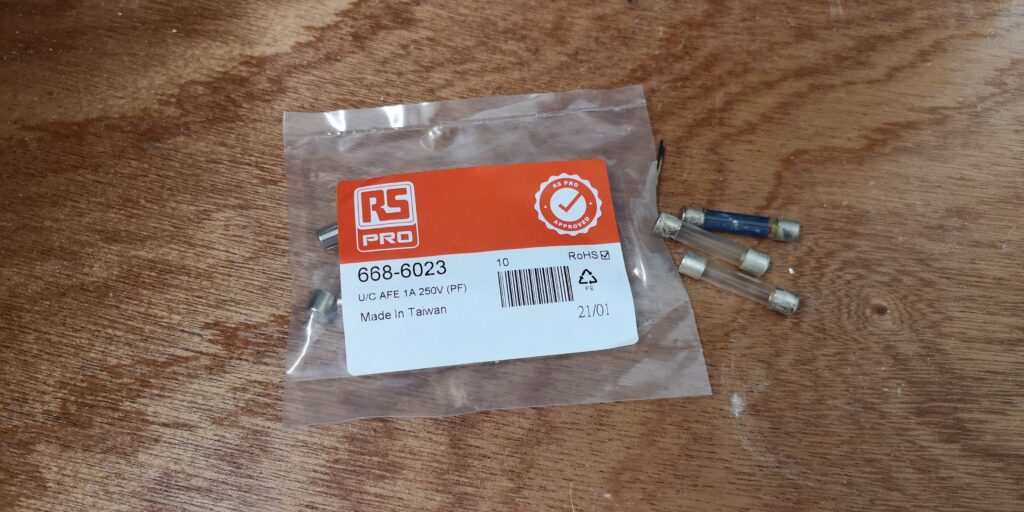
An internal mains fuse looks very “crusty”. After taking it out it’s clearly blown. There are also two more fuses that are blown. The type of fuse is nicely labelled on the radio but I had none in stock. A short walk down to RS and picked up a bag of replacement fuses.
It came alive! Well it turns on anyway. The next step to try and find some suitable audio leads to test the sound. I only had a headphone adaptor but soon was getting sound from the radio but with a lot of hisses.
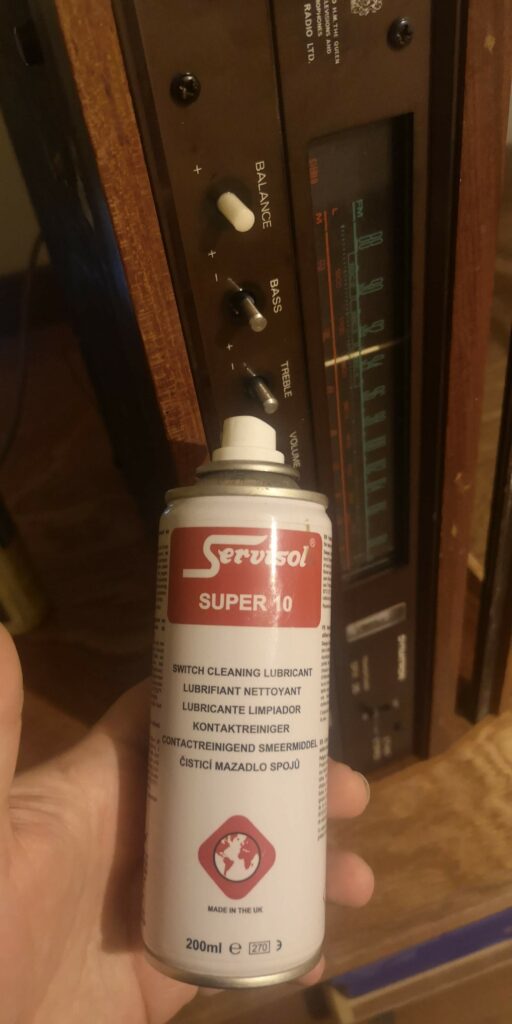
To overcome the hiss, I attacked all the knobs with some switch cleaner. You take off all the knobs and spray in the fluid. Give the knobs a good turn, backwards and forwards to work in the cleaner.
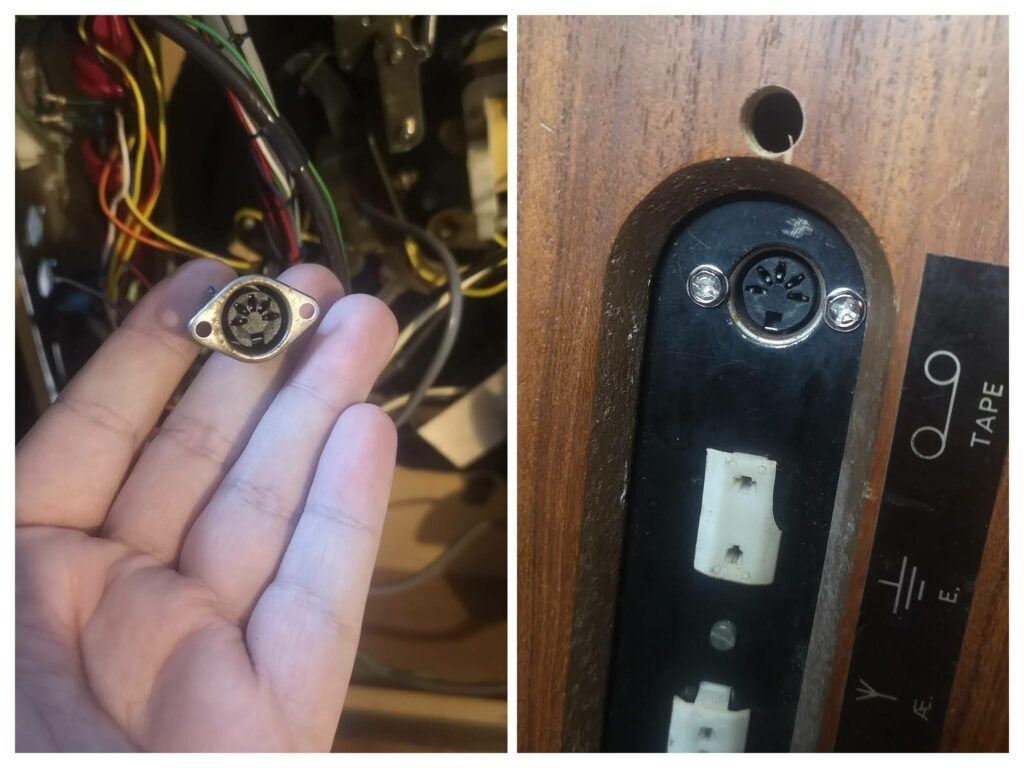
The last job was to mount the speaker port that was loose in the cabinet. Unfortunately without that type of lead, I could not test it.
Check out the radio in action in the video above. The radio seems to work fine with headphones. The turntable needs a cartridge but that is a job for the radio owner. If you would like to see more photos of the repair check out our gallery.