Check out this wirte up by our member Christian Kortenhorst.
With energy prices climbing and smart homes becoming the norm, having a clear view of your household power usage has never been more valuable. That’s what motivated me to create a compact, real-time energy display powered by an ESP32 and a 2.8″ TFT touchscreen—fully integrated with Home Assistant for accurate, live data at a glance.
Why I Built This
I already had a power monitoring system installed through my home energy provider. While it gave a general idea of usage, it was far from ideal:
- It only updated every 30 minutes to an hour, making real-time decision-making impossible.
- It didn’t show live solar production, even though I had solar panels installed.
- It lacked any visual clarity—just vague numbers with no context on where power was flowing.
- Most importantly, there was no breakdown of grid vs solar vs battery usage. – Without opening my phone
- Also existing power monitor does not do negative number so any feedin from solar does not show.
That’s when I realised I needed something more flexible, accurate, and immediate—custom-built to show the exact figures I cared about.
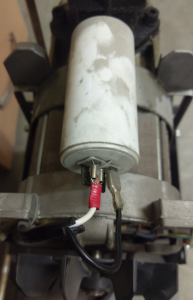
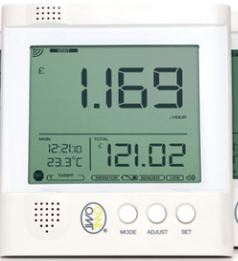
Old OWl monitor
The Hardware
Here’s what I used for this project:
- ESP32 Microcontroller – Powerful, Wi-Fi enabled and Arduino-compatible. https://www.amazon.co.uk/dp/B0DXFBKKQB?ref=ppx_yo2ov_dt_b_fed_asin_title
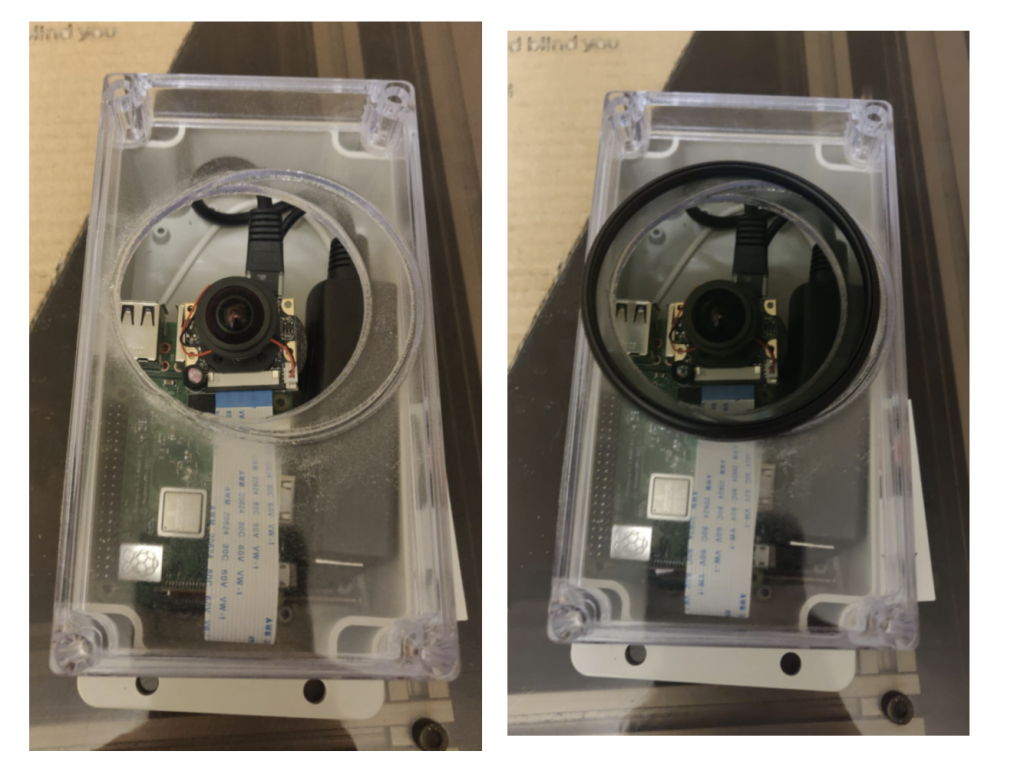
- 2.8” TFT Touch Display (320×240) – A colourful and responsive screen with touch input, perfect for compact dashboards.
- Home Assistant – My existing setup, which already tracks energy through integrations like the Energy Dashboard or MQTT sensors. Shelly
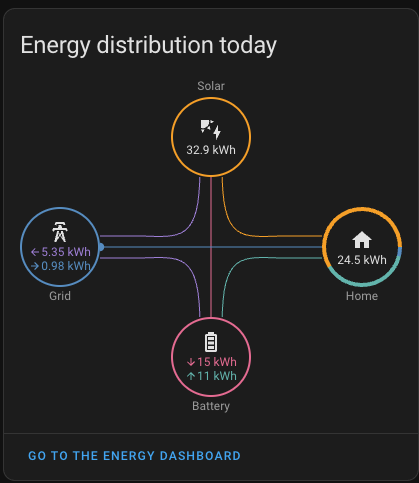
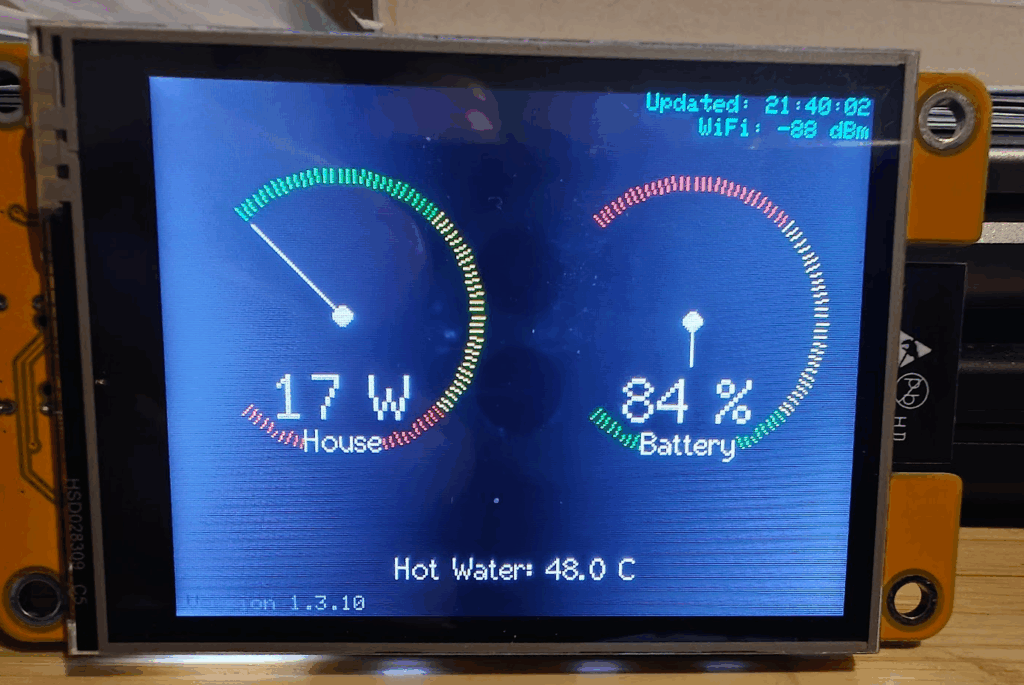
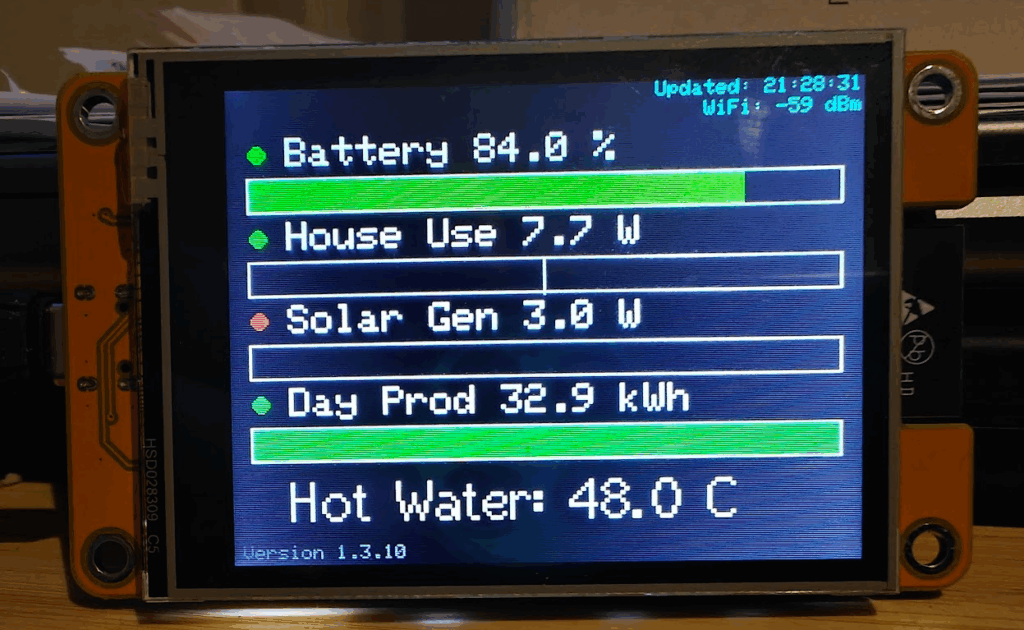
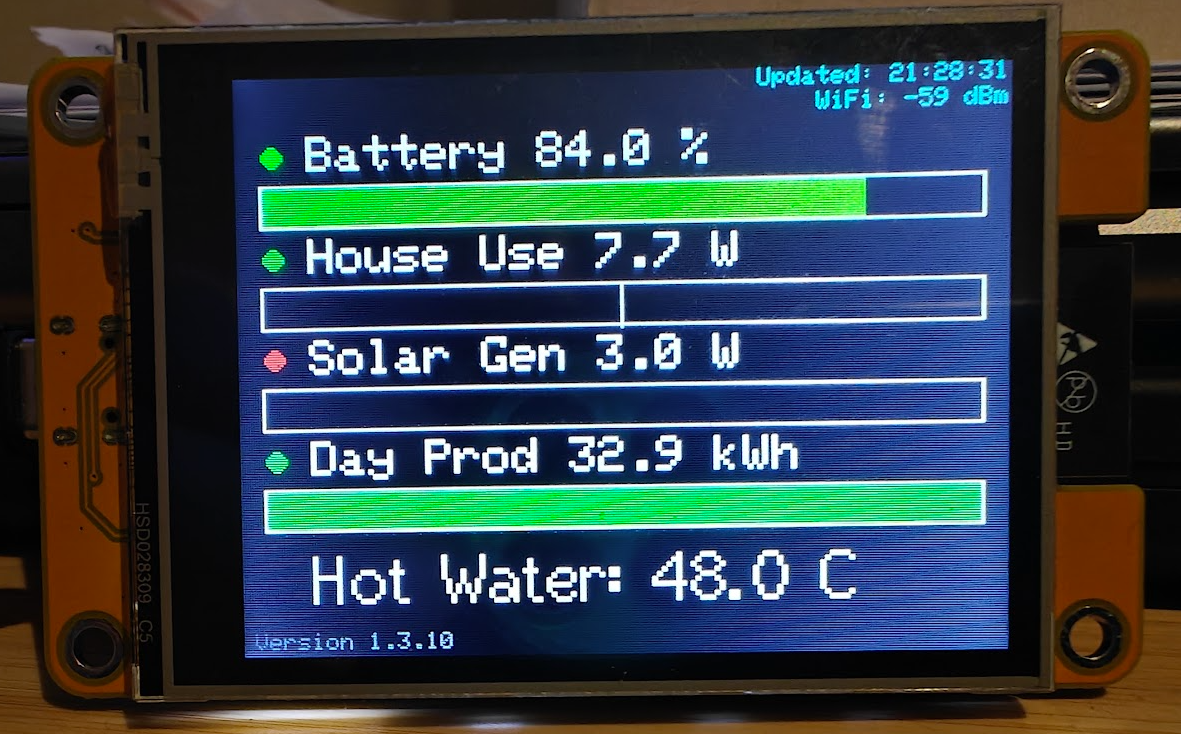
What It Shows
The display cycles through or organises a simple dashboard view with key stats:
- 🌞 Solar Power: Current generation in watts.
- 🏠 Home Consumption: Real-time power draw.
- ⚡ Grid Usage: Whether I’m importing or exporting electricity.
- 🔋 Battery Level: Charge percentage and power flow.
- Water temperature in boiler
These are live, accurate figures from my energy system—not delayed estimates.
How It Works
The ESP32 fetches data from Home Assistant using either its REST API or MQTT feed. I chose to parse JSON data from Home Assistant’s /api/states endpoint, which allows me to pull specific sensor values and display them on the TFT screen.
To keep it fast and responsive:
- Sensor values update every few seconds.
- Touch input can be added for toggling views or brightness.
- The layout is clean, using large fonts and colour-coded elements for clarity.