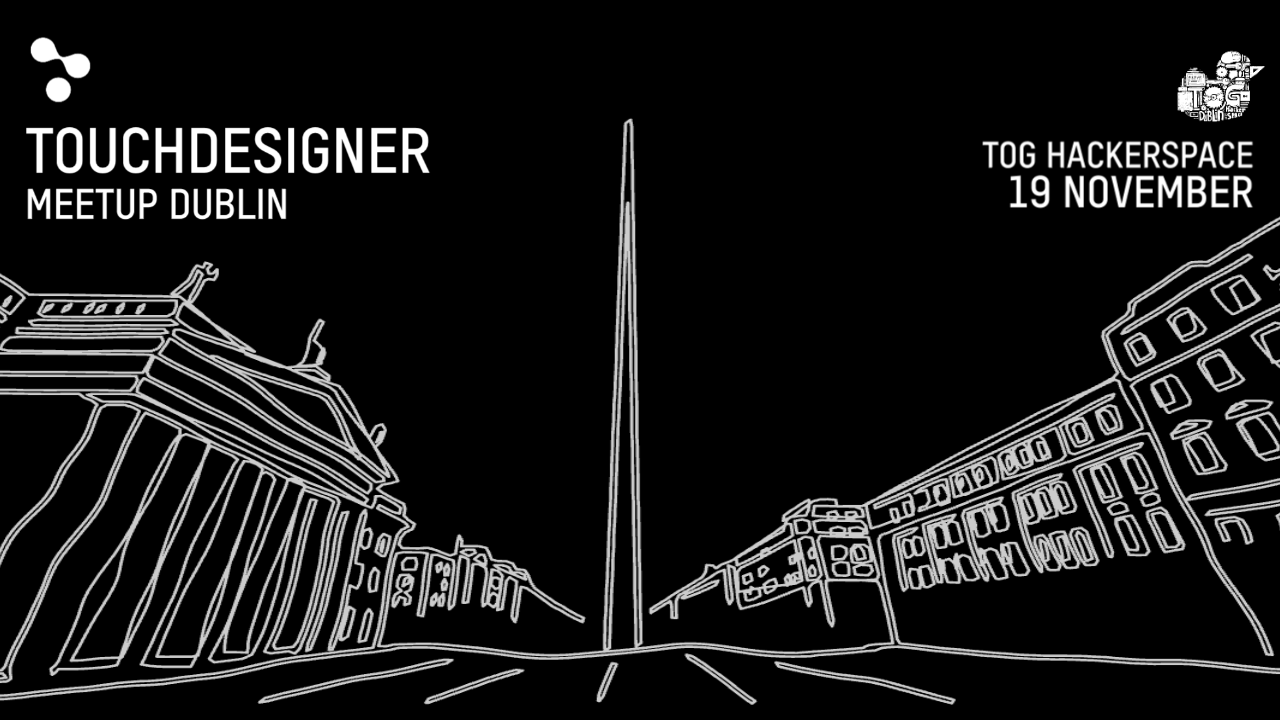
Monitor Your Home Energy in Real Time with ESP32 and Home Assistant

Check out this wirte up by our member Christian Kortenhorst.

With energy prices climbing and smart homes becoming the norm, having a clear view of your household power usage has never been more valuable. That’s what motivated me to create a compact, real-time energy display powered by an ESP32 and a 2.8″ TFT touchscreen—fully integrated with Home Assistant for accurate, live data at a glance.

Why I Built This
I already had a power monitoring system installed through my home energy provider. While it gave a general idea of usage, it was far from ideal:

  • It only updated every 30 minutes to an hour, making real-time decision-making impossible.
  • It didn’t show live solar production, even though I had solar panels installed.
  • It lacked any visual clarity—just vague numbers with no context on where power was flowing.
  • Most importantly, there was no breakdown of grid vs solar vs battery usage. – Without opening my phone
  • Also existing power monitor does not do negative number so any feedin from solar does not show.

That’s when I realised I needed something more flexible, accurate, and immediate—custom-built to show the exact figures I cared about.

Old OWl monitor

The Hardware

Here’s what I used for this project:

  • ESP32 Microcontroller – Powerful, Wi-Fi enabled and Arduino-compatible. https://www.amazon.co.uk/dp/B0DXFBKKQB?ref=ppx_yo2ov_dt_b_fed_asin_title
  • 2.8” TFT Touch Display (320×240) – A colourful and responsive screen with touch input, perfect for compact dashboards.
  • Home Assistant – My existing setup, which already tracks energy through integrations like the Energy Dashboard or MQTT sensors. Shelly

What It Shows

The display cycles through or organises a simple dashboard view with key stats:

  • 🌞 Solar Power: Current generation in watts.
  • 🏠 Home Consumption: Real-time power draw.
  • Grid Usage: Whether I’m importing or exporting electricity.
  • 🔋 Battery Level: Charge percentage and power flow.
  • Water temperature in boiler

These are live, accurate figures from my energy system—not delayed estimates.

How It Works
The ESP32 fetches data from Home Assistant using either its REST API or MQTT feed. I chose to parse JSON data from Home Assistant’s /api/states endpoint, which allows me to pull specific sensor values and display them on the TFT screen.

To keep it fast and responsive:

  • Sensor values update every few seconds.
  • Touch input can be added for toggling views or brightness.
  • The layout is clean, using large fonts and colour-coded elements for clarity.

Tog Hackerspace at Security BSides Dublin 2025 – Come Pick Some Locks with Us!

We’re excited to announce that Tog Hackerspace is once again a Community Sponsor of Security BSides Dublin, taking place on Saturday, 24th May 2025, in Trinity Business School.

Security BSides Dublin is an annual information security conference run by a passionate community of volunteers. It provides a platform for infosec professionals, enthusiasts, and hobbyists to come together and share their knowledge in a relaxed, inclusive environment. Talks and workshops will explore everything from ethical hacking and digital forensics to cryptography and social engineering.

As part of our involvement this year, Tog will be hosting a lockpicking table at the event. Whether you’re brand new to physical security or a seasoned picker, drop by our table and try your hand at opening various locks with specially designed tools. Our members will be on hand to guide you through the process and talk about the fascinating overlap between lockpicking and digital security.

We’ll also be sharing more about what Tog Hackerspace has to offer—from electronics nights and coding workshops to 3D printing, laser cutting, and hardware hacking. It’s a great chance to meet our members, learn about upcoming events, and see how you can get involved in Dublin’s maker and hacker community.

See you on May 24th at Trinity!

For more info on the event, visit https://www.bsidesdub.ie

Dublin Tech Week – May 23rd–30th

We’re thrilled to announce that Tog Hackerspace will be taking part in this year’s Dublin Tech Week, running from May 23rd to 30th, 2025!

Dublin Tech Week is a city-wide celebration of innovation, technology, and community. Its mission—to celebrate innovation, foster collaboration, inspire the next generation, and promote inclusivity—is perfectly aligned with our goals at Tog. We’re proud to open our doors and share our passion for tech and making with a series of engaging, hands-on events throughout the week.

Whether you’re a seasoned hacker or just tech-curious, we’ve got something for you:

🔭 Build Your Own Satellite Ground Station

📅 Saturday, 25th May
🕚 11:00am – 1:00pm
📍 Register here

Are you fascinated by space and want to learn how to receive data from satellites and weather probes? Join us for a TinyGS Station Workshop, where you’ll build and program your own ground station and antenna to capture real data from space.

Perfect for beginners and space geeks alike—no prior experience required. Come explore radio, electronics, antenna design, and IoT with us!

💡 Electronics, Microcontroller, and IoT Evening

📅 Monday, 26th May
🕖 7:00pm – 9:00pm
📍 Register here

Join us for our regular Monday electronics night! These informal drop-in sessions are a great way to explore microcontrollers, sensors, soldering, and all things electronic.

Newcomers are always welcome, and we’ll give you a tour of the space. Bring a project to work on, or just come by and get inspired.

🔐 Lock Picking Night

📅 Thursday, 29th May
🕖 7:00pm – 9:30pm
📍 Register here

Always wanted to learn the art of lock picking? This fun, social evening is open to everyone, whether you’re brand new or already an experienced picker. We’ll provide all the tools—you just bring your curiosity!

It’s a great opportunity to learn new techniques, meet fellow enthusiasts, and get hands-on with real locks commonly found in Ireland.

We’re delighted to be part of a week that showcases the creativity and diversity of Dublin’s tech community. Come visit us during Dublin Tech Week, meet our members, and discover what hackerspaces are all about.

What Was I Thinking? Revisiting an Old Project (and Its Cable Mess)

Check out this reflection from our member Jeffrey Roe on returning to a project he first worked on over a decade ago.

Back in 2009, I moonlighted as an art technician, working with artist Liam O’Callaghan on an ambitious audio-visual installation involving vintage record players, relays, and looping vinyl. At the time, I didn’t give much thought to cable management. I just wanted it to work, and it did.

Over a decade later, that same installation was pulled out of storage for a new showing at the 2025 Drogheda Arts Festival. Rebuilding and repairing something I made in my early days was a humbling and hilarious experience. I was faced with mystery wires, unlabeled plugs, cryptic C++ code, and lots of “why did I do it this way?” moments.

The Technical Overview

The installation is made up of eight vintage record players, each with a unique vinyl record acting as a sound sample. They’re all triggered in a choreographed sequence, starting and stopping in time to form a layered mechanical symphony.

To achieve this, two Devantech USB-RLY16 relay boards (8-channel, 16 Amp) control the power to each turntable. A C++ program communicates with the boards over serial to switch them on and off at precisely timed intervals.

Audio from the turntables is routed through a M-Audio Fast Track Ultra 8R into AudioMulch, which is used to smooth transitions and apply real-time effects like fades and filtering. The whole thing runs on a laptop with Windows XP(yes, really), using the Windows Scheduler to automate playback sequences.

The Refurbishment Timeline

Here’s how it all came back together over five repair sessions:

Night 1: Repaired two record players, replaced worn-out speaker wires, and rewired new plugs.
Night 2: Fixed a turntable spinning in the wrong direction, replaced a few needles, and swapped out a failed unit.
Night 3: Reconfigured the soundcard defaults and added much-needed labels (finally!).
Night 4: Final testing and adjustments to get everything running smoothly.
Night 5: Automated the entire performance loop and added safeguards for show reliability. That meant rechecking the schedule triggers, failover behaviour, and adding some emergency manual controls in case something went wrong mid-show.

Lessons From the Past

Seeing my younger self’s wiring choices was a reminder of how far I’ve come and how much I’ve learned. If I were rebuilding this today, I would:

  • Use modular smart nodes like ESP32S with MQTT or OSC for cleaner communication
  • Create a simple web-based interface for testing and configuration
  • Avoid the cable jungle with proper labelling, documentation, and good cable management

Still, there’s a charm to seeing something so handmade still working after all these years.

The Show and What’s Next

Bit Symphony was exhibited over the May bank holiday weekend at the Former Methodist Church on Laurence’s Street as part of Drogheda Arts Festival 2025. The response was fantastic. Visitors were fascinated by the tactile, analogue-meets-digital nature of the work.

📸 Check out a gallery of photos from the rebuild and exhibition here: [Photo Gallery Link]

Thanks to everyone who stopped by, asked great questions, and appreciated the slightly chaotic beauty of eight record players making music together. Who knows, maybe in another 10 years, I’ll be repairing it again (with better cable ties this time).

RetroFest 2025: Dive into 80s Calculators & Soviet Computing with Eduard

Tog Hackerspace member Eduard Garanskij is hitting the road again—this time to Swindon for RetroFest 2025! The event will take place in the Hawksworth Room at STEAM—Museum of the Great Western Railway, and it will run from 10 a.m. to 5 p.m. on Saturday, May 31st, and Sunday, June 1st.

Eduard’s exhibit, titled “Journey Through Time: Exploring the Legacy of 80s Programmable Calculators and Soviet-Era Computers,” will dive deep into the fascinating world of vintage Soviet computing. Visitors will get a rare chance to see how Soviet computers were built using original CPUs, often engineered for compatibility with the PDP architecture. Alongside this, Eduard will showcase iconic programmable calculators from the 1980s, offering live demos and insights into their historical context and functionality.

If you’re in the UK or fancy a retro tech weekend away, don’t miss this chance to see Eduard’s hands-on exhibit and explore the roots of Eastern Bloc computing history!

📍 Location: STEAM – Museum of the Great Western Railway, Fire Fly Ave, Swindon SN2 2EY
🗓️ Dates: Saturday 31st May – Sunday 1st June 2025

More info: retrofest.uk

Sending Pictures Over the Airwaves – SSTV with a Raspberry Pi Pico

Here’s a project write-up by our member Jeffrey Roe, who recently built a Slow Scan TV (SSTV) demo using a Raspberry Pi Pico. He showed it off during the IRTS AGM weekend and radio rally—blending hardware, software, and radio in true hacker fashion.

For the IRTS AGM weekend and radio rally, I wanted to put together a fun little demo to show off something radio-related that combines both hardware and software tinkering. The result? A working SSTV (Slow Scan Television) transmission system using a Raspberry Pi Pico. The aim was to send images over audio and decode them via amateur radio equipment—or in this case, a phone and an oscilloscope during testing.

Like all great projects, this one started with the classic struggle: trying to avoid soldering… and thinking it would only take an hour. How wrong I was!

Eventually, I gave in and soldered up a 3.5 mm audio jack breakout to plug into the breadboard cleanly. From there, things started to fall into place. I used a universal PCB with header pins and cut it to a smaller size.

With the jack connected and audio output sorted, it was time for some proper testing. I had an app on my phone I’d always thought might come in handy one day—and it finally did! Phyphox is like a mini lab on your phone. It can generate audio waveforms, which are perfect for our use case here. I used it to generate tones and verified the signal with an oscilloscope.

Once the circuit was wired up on the breadboard, the project used the following parts:

PartQuantity
320×240 ILI9341 display1
Raspberry Pi Pico1
10kΩ resistor2
100nF ceramic capacitor1
3.5mm Stereo Socket1

With everything connected, it was time to dive into the code. I followed the fantastic SSTV code by Jon Dawson, written for the Raspberry Pi Pico. The setup was straightforward, and before long, I had the system sending out a test image—a cat from @choiceIrregular, naturally—via SSTV.

If you’ve never heard SSTV audio before, it’s… unique. I captured a short video of the transmission. (Fair warning: it’s not exactly soothing—so maybe turn the volume down. Bonus: you can decode the audio from the video too!)

The final step was hooking the system up to a radio for real over-the-air transmission. On the transmission side, I used a USB-C to 3.5 mm adapter connected to my phone (using the SSTV Encoder app), paired with a “Kenwood” 2.5 mm TRS to 3.5 mm TRS connector-to-bare-wires cable. Using a connector block, I had a rough-and-ready USB-to-mic cable.

On the receiver side and another radio, I used another “Kenwood” adapter—this time to a 3.5 mm female socket—and then a simple 3.5 mm audio cable into my device.

And it worked! 🎉
Bonus: The photo below is a selfie of the project itself.

This little project was a great way to showcase digital image transmission using amateur radio, with a modern twist via the Raspberry Pi Pico. It sparked some fun conversations at the rally and hopefully inspired a few fellow hams to try it out themselves.

There’s also lots of scope for improvements. Here are a few ideas:

  • Moving it off the breadboard to make it more robust for events
  • Adding shielding—if I transmit too close, the screen goes white (I suspect interference on the SPI bus)
  • Saving received images—the screen has an SD card slot
  • Automating the sending side—currently, I have to hold the PTT button manually

If you’re curious about trying this out, I highly recommend checking out Jon Dawson’s guide, the inventor of the project:
👉 https://101-things.readthedocs.io/en/latest/sstv_decoder.html

73s!

— Jeffrey Roe, EI7IRB


📸 Photos from the IRTS AGM Weekend & Radio Rally

Joe (EI3JVB), before and after his image was sent via SSTV. Check out our gallery for more!