
The Salvage Squad came to our Repair Café and the lamp lived to tell the tale

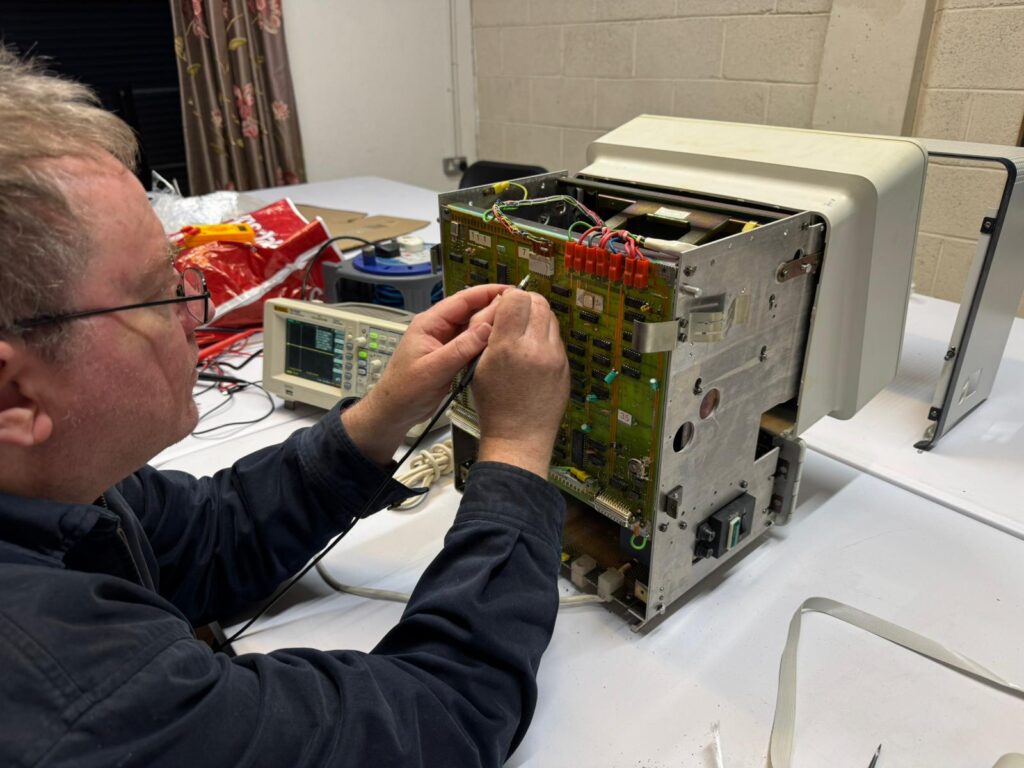
Back in August last year, we had a great surprise visitor at one of our Repair Cafés. The team from Virgin Media’s The Salvage Squad dropped in with a lamp that needed a bit of TLC.

Cameras and curiosity in tow, they joined the usual Repair Café buzz at TOG, with fixers working away on everything from small electronics to household bits and bobs. The lamp landed on the bench with our member Shane, supported by the other volunteer fixers on the day.

With a bit of careful troubleshooting and plenty of know-how, the lamp was brought back to life. The Salvage Squad team headed off with a lovely working lamp, and a proper appreciation for what Repair Cafés are all about. Sharing skills, keeping useful things out of the bin, and proving that “broken” often just means “not yet fixed”.

It finally aired this week

The piece we filmed back in August has finally made it to air this week, which is brilliant to see. If you missed the episode, you can catch up on the Virgin Media One player here:
https://www.virginmediatelevision.ie/player/show/2571/0/0/

A big thank you again to Shane and all the fixers who gave their time and skills on the day.

Learn to Wire a Plug (Engineers Week Edition) – Workshop at TOG

We’re running our Learn to Wire a Plug workshop again at TOG Hackerspace — a practical, confidence-boosting skill that’ll serve you for years. If you’ve ever looked at a broken plug or a dodgy extension lead and thought “I should know how to sort that”… this is the evening for you.

What’s it all about?

This is a hands-on session where we’ll guide you through safely wiring a 13A plug and connecting it to a 4-gang extension lead. No prior experience needed — we’ll go step-by-step and explain the “why” as well as the “how”.

Each participant will:

  • Wire a 3-core cable into a standard plug
  • Connect that cable into a 4-way socket block
  • Learn about fuses, strain relief, polarity, and safe wiring practice
  • Get their finished lead PAT tested so it’s safe and ready to use at home
  • Take home a working, tested extension lead they built themselves

All tools and materials are provided.

Note: This workshop is wiring a portable extension lead for personal use and does not fall under Restricted Electrical Works (as per Safe Electric guidance).


Booking info

🎟️ Tickets: €25 + booking fee
https://www.eventbrite.ie/e/learn-to-wire-a-plug-engineers-week-edition-workshop-at-tog-tickets-1982339639224?aff=oddtdtcreator

Places are limited to keep it properly hands-on — so booking ahead is recommended.


Why Engineers Week?

Engineers Week is all about celebrating engineering in everyday life — and honestly, safe, practical household skills are a brilliant gateway into understanding how things work. You’ll leave with something useful, and a bit more confidence the next time you’re faced with a simple electrical fix.


Workshop details recap

📅 Date: Tuesday, 3rd March
Time: 7:00 pm – 8:30 pm
📍 Location: TOG Hackerspace (see tog.ie for directions)
💶 Cost: €25 + fee (includes all materials + donation to TOG)
✅ Beginner-friendly — no experience needed

Back On Air: Repairing a Broken Encoder on a Yaesu FT-857

A repair story from our own Ben EI9IUB.

Today’s repair is on one of my radios – a Yaesu FT-857. While testing a new headset and tuning around the bands, the select knob twisted its last and came out of the front panel and into my hand: disaster!


This encoder is vital to using the radio, so its breaking rendered it a paperweight. The radio itself has been out of production for a number of years now, but unlike most “consumer” devices, amateur radios have very good technical documentation available to end users.


I dug up a PDF copy of the technical supplement, which contains a complete readout of the
internals, block and circuit diagrams and servicing information. Reviewing the parts layout
showed the front panel PCB and revealed the encoder pinout .

Searching for the Yaesu part number returned a number of retailers offering the part for 30 EUR a piece, and further digging revealed that the original part is an ALPS EC12E24244A4, which is appears to be out of production, but thankfully not an issue.

Breaking down the encoder specification – the replacement part needs to be:

  • Horizontal Mount
  • 24 Detents, 24 Pulses per revolution
  • 30mm shaft
  • with a push momentary switch.

Mouser to the rescue!
A Bourns PEC12R-4230F-S0024 meets these requirements, and comparing it on the data sheet with the layout shows that it is a drop-in replacement.

I ordered 25 to make the shipping worthwhile, but the satisfaction of paying about a euro for a replacement part made up for it and ensured that I have a good supply for when I break it again!

I zeroed in on the exploded parts diagram and planned the repair; only a few screws were in
the way.

After removing it, you can see the remains of the shaft inside the encoder body.

Unfortunately, I did not take any further photos after this point – I was in a rush to make and test the repair. Thankfully, it worked without a hitch, and I’m now back on air at home.

73 de EI9IUB

More Philips Boombox Tinkering

new AA cells

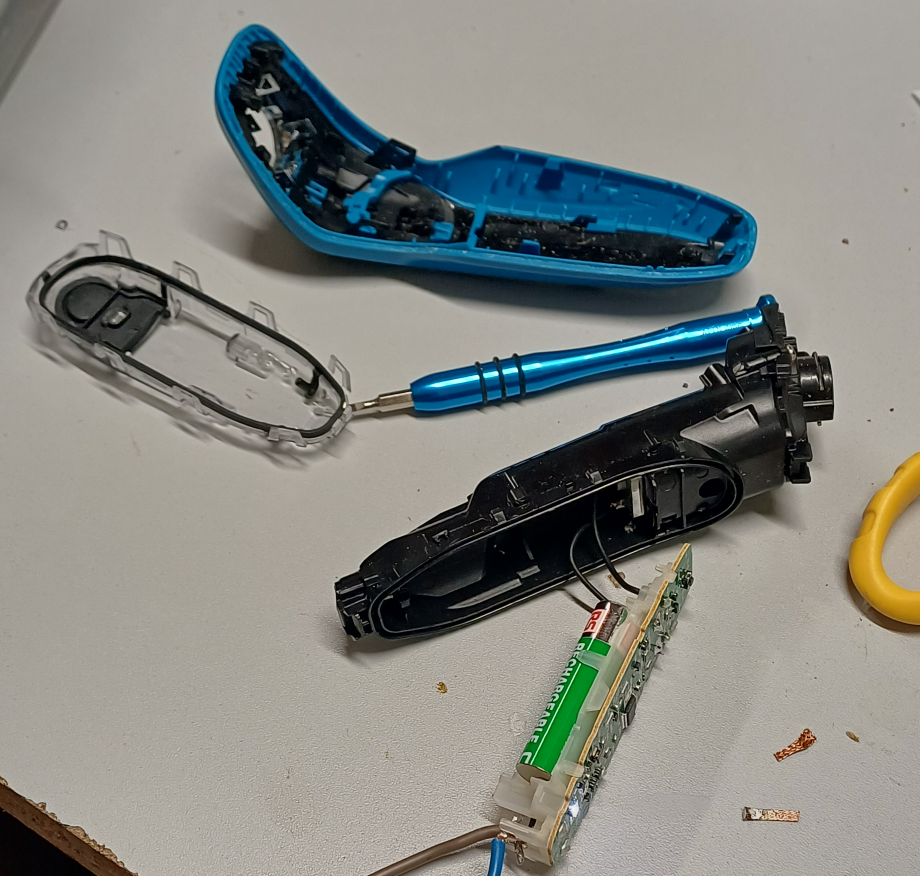
Having recently fixed the Philips boombox CD player, we decided to review the battery compartment mod, done at least 20 years ago, and still working.

The original idea was to fill the battery compartment with 8x rechargeable D cells and arrange that they would be constantly trickle-charged while the mains lead was plugged in. The battery compartment’s positive terminal was connected via a current-limiting resistor to the power supply section of the PCB. This trickle charges the cells at about 10mA. This is enough to charge them up over a few days, but not enough to cook them.

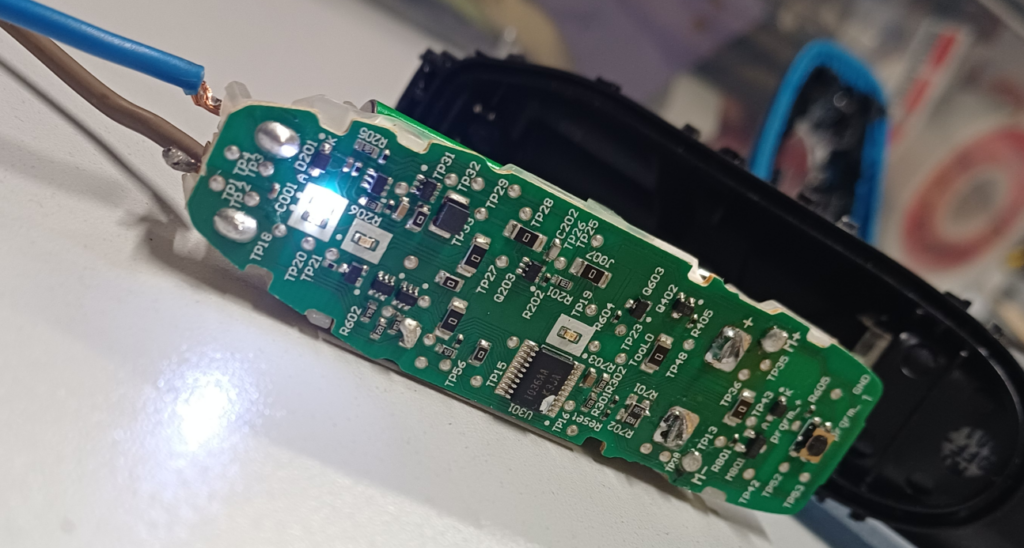
Good quality branded rechargeable D-cells are relatively expensive…. about €10 a pop for a ~10Ah cell, so it’s about €80 to fill the battery compartment. Given that the thing is not used that often on battery, this was a bit much. So instead, 8x AA cells were used in holders, and soldered to the existing connections in the battery compartment. The cells were NiMH made by GP and rated at 1.2V, 1500mAHr. This mod was done, we guess sometime around 2000.

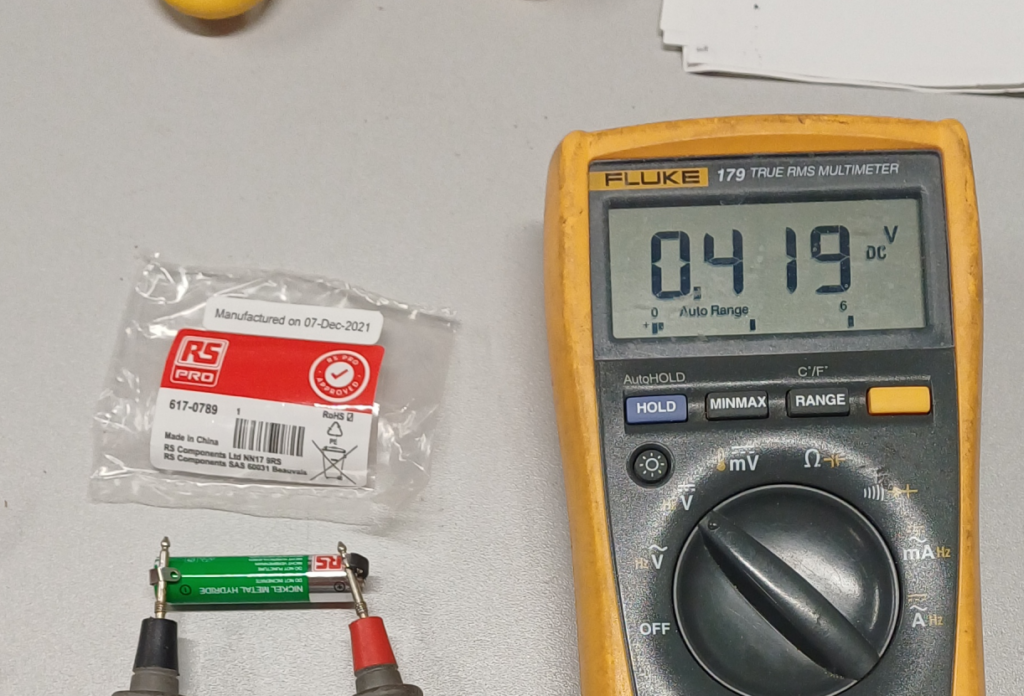
So today, ~25 years later, new cells were fitted and we measured the capacity of the original cells. Discharging at 200mA to a cutoff voltage of 0.9V, the original cells tested at 599mAHr…. about 40% of their original nameplate capacity. The new cells fitted are from Lidl and are rated at 2500mAHr.

January Repair Cafe

Bring your broken tech and trinkets to get them fixed by the skilled volunteers at TOG Hackerspace – with a bit of help from our friends at Dublin Maker!

On Sunday, 18 January 2026, between 12 pm and 4 pm, TOG Hackerspace will host the first Repair Cafe of the new year in our own space. At this event, volunteers will share their expertise and passion for repair, helping you fix your broken items and breathe new life into them. Whether it’s a malfunctioning gadget, a piece of clothing in need of mending, or a household item that’s seen better days, bring it along and let the team work their magic.

What can you bring in?

  • Clothes and accessories
  • Toys
  • Small electrical appliances and electronics
  • Small furniture

… and many other things!

Safety testing (PAT) for electrical devices will be available.

Continue reading “January Repair Cafe”

Another “Miracle” Repair

CD Mechanism

OK, so not quite as old as that 1970s tape recorder that we fixed last week, but a 1996-vintage Philips AZ8640 Radio-Tape-CD boombox. The CD had stopped working, but the tape and radio were still fine.

Opening up, these things are not meant to be easily disassembled. They tend to be built from the inside out, with not much thought about future disassembly or serviceability.

When we fix old electronics, there are a few “usual suspects”, which quite often give us a fix. Old electrolytic caps are one…. they dry out after a decade or two of service. Another is bad connections or solder joints.

Solder joints, cracked or so-called “dry”, can be hard to see sometimes. Wiggling the component legs can help you see them, or simply re-touching all joints with fresh solder can do the trick. This one was quite spectacular, however.

A 3-legged power transistor that supplies power to the CD mechanism, looks like it had moved on its heat sink, and the 3 solder joints had completely detached from the PCB. Re-soldering the 3 joints brought the CD back to life. The transistor looks like it’s held to the heatsink by a spring clip rather than a screw. Perhaps the spring has failed. It’s very hard to see, and it’s a nightmare to remove the circuit board to check.

Failed Joints

Interestingly, the transistor, a BD236, is still available new from Farnell at €0.72! Here’s hoping for another 30 years of service.