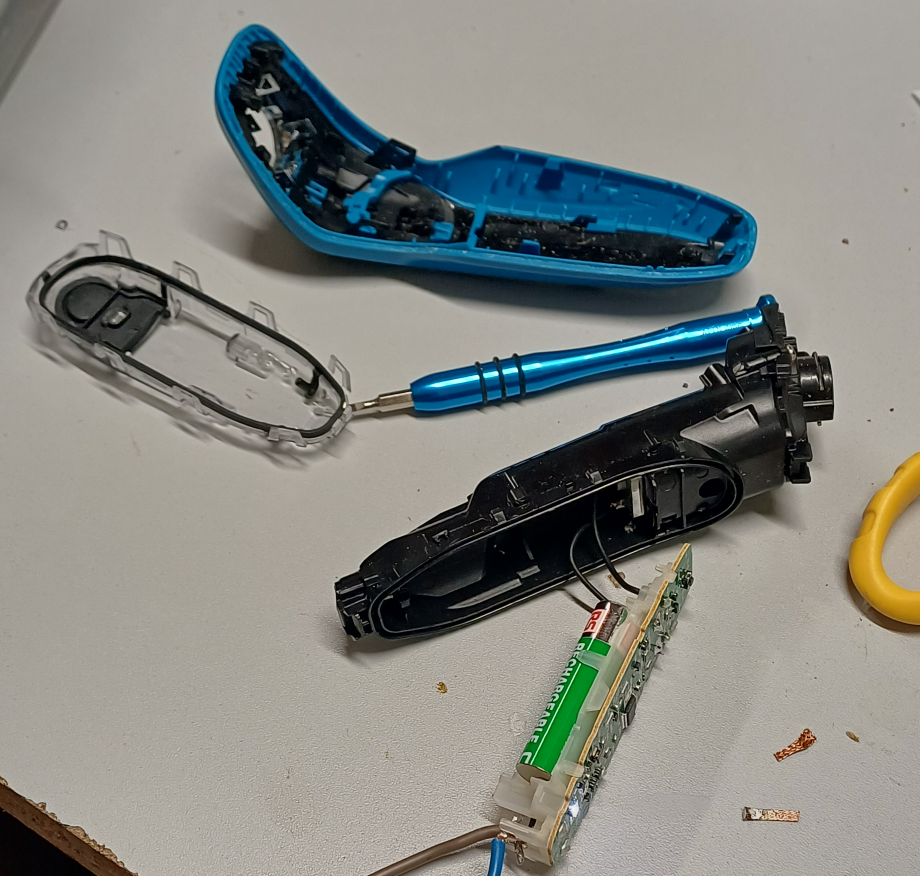
Nothing terribly complicated here. Just replacing the batteries inside a Phillips electric shaver. The batteries had gradually been deteriorating. Not even giving enough time to have a shave! Time for some replacements.
We bemoan the fact that so many things are un-repairable nowadays. There was a time when repair services and shops for many household things were common. There are still actually repair centres for shavers however, where you can get a battery and heads replaced. TOG itself is no stranger to the Repair Cafe movement. We just had a big one this month, and our next one is in June. We repair things for free…. to keep things in-use for longer and to reduce waste.
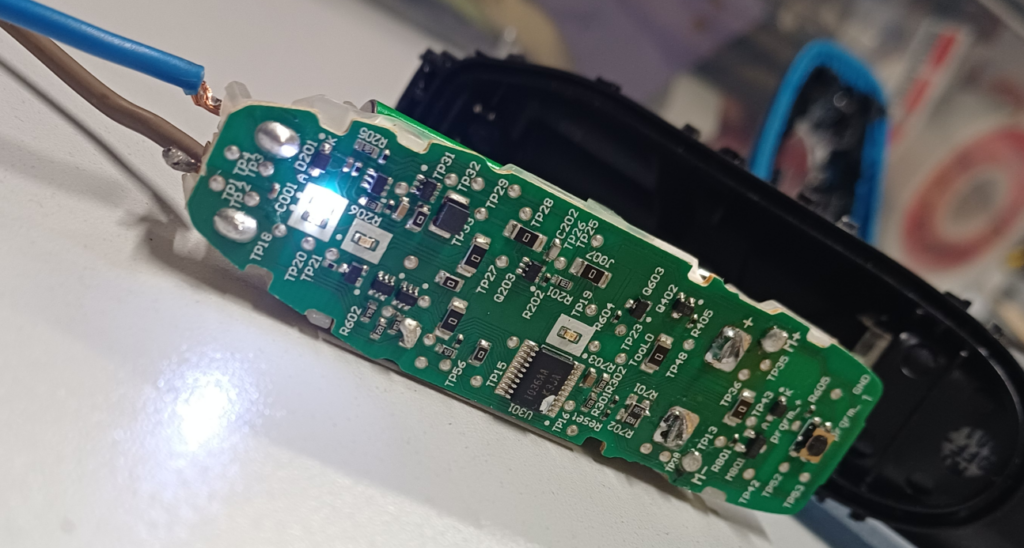
Surprisingly, the batteries inside the shaver are just AAA nickel metal hydride cells. Albeit ones with solder tags for soldering to the circuit board inside. Replacing the batteries and putting it on-charge, we’re now back in action. The circuit board inside seems remarkably complicated, but we didn’t delve into why.
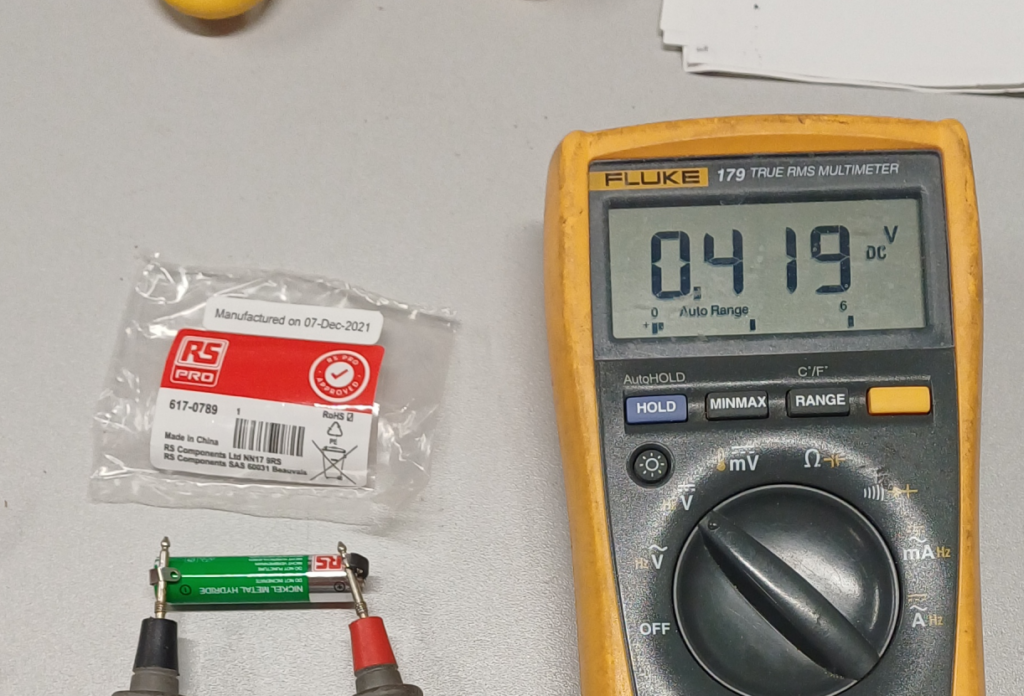
In replacing the batteries however, we came across something interesting. We found a brand-new, old-stock battery. Manufactured in 2021 and still sealed in it’s original packaging. So we were wondering would it be entirely dead, or would there be any life left in it after over 4 years unopened.
On opening the package, we found the battery sitting at 0.4 volts….. completely discharged! Not sure what lying discharged for so long has done to the battery chemistry, but we wouldn’t use it in anything important, even if it does take a charge. We’re going to put it on the Imax charger and measure how much capacity it still has.
With summer on the way, you might be thinking about cutting the grass again and dragging the lawnmower back out of the shed.
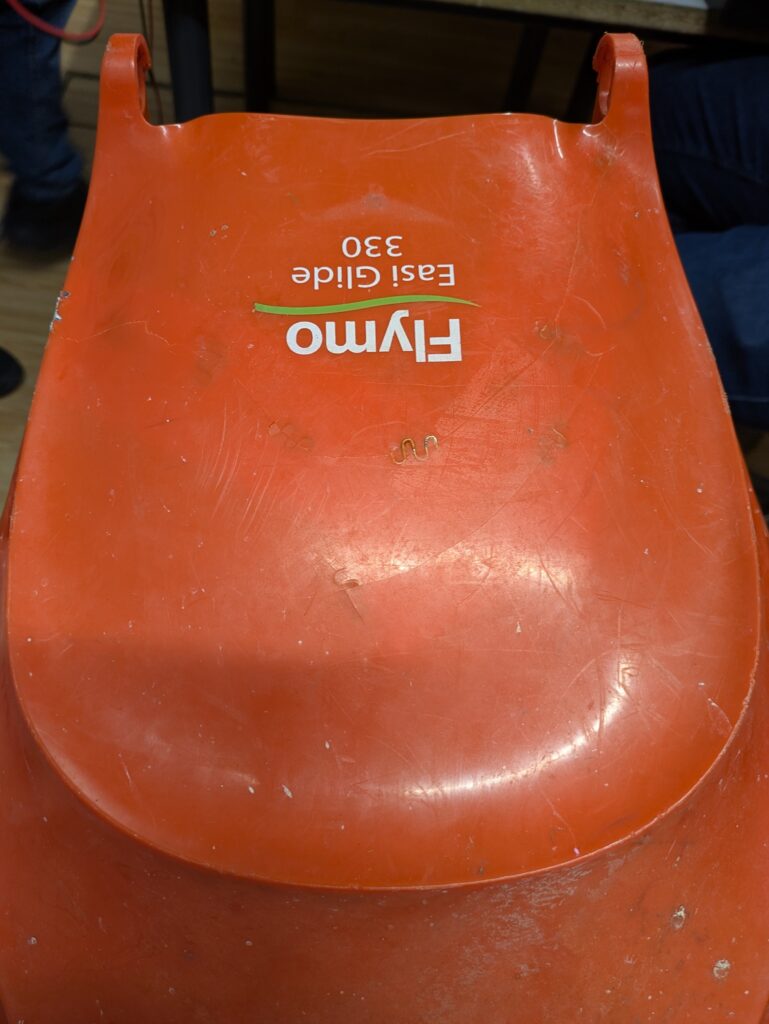
This Flymo Easi Glide 330 came into TOG on a Tuesday night with a fairly serious problem. The outer case was badly cracked. It was manufactured back in February 2014, so it has clearly done a good bit of work over the years, but this kind of damage could easily make you think it was ready for the bin.
But what do you do with a crack like that?
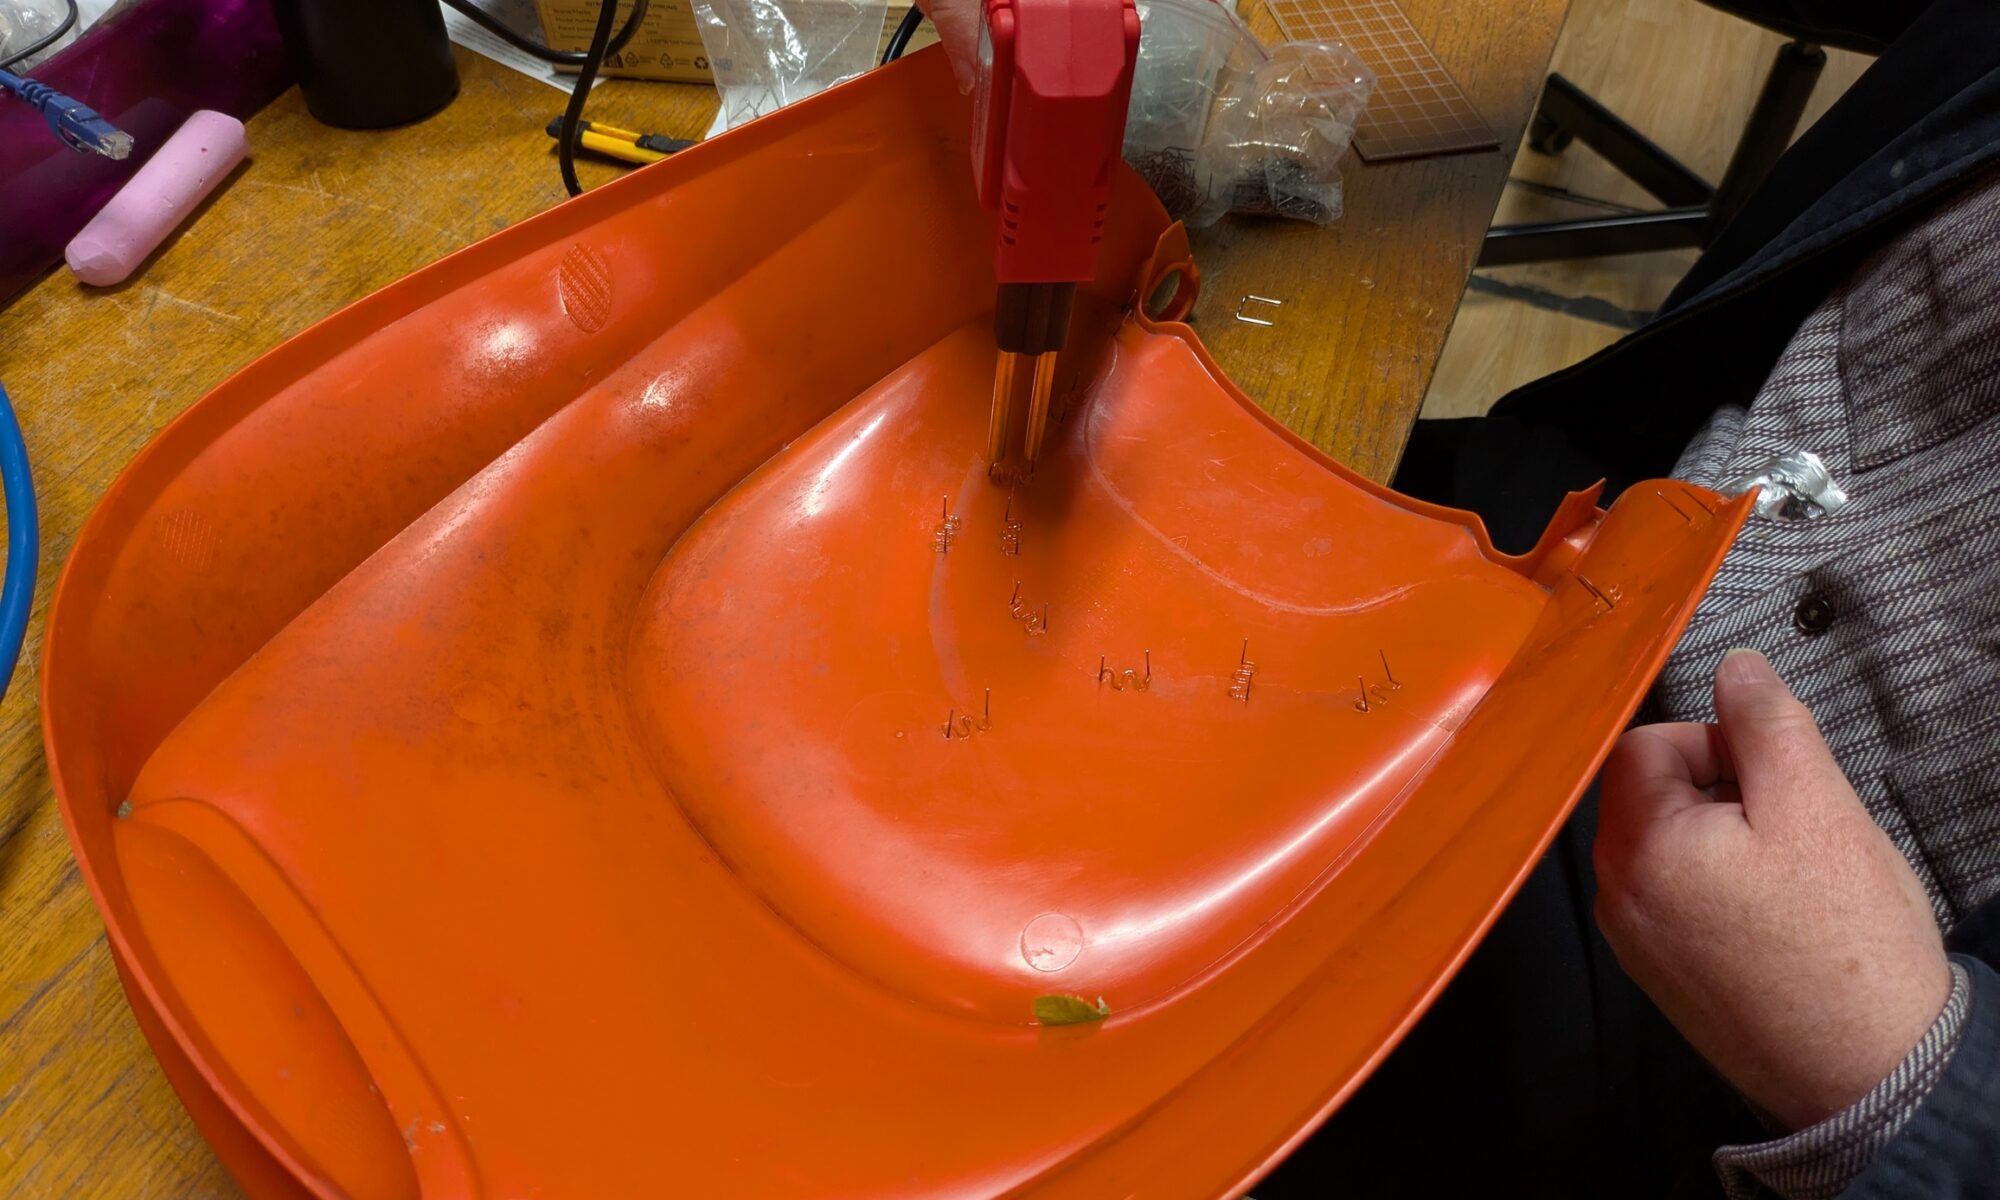
Glue was never going to be enough here. The plastic casing takes a lot of stress and vibration in normal use, so this needed something stronger. Out came the plastic welder, with our member Ambrose taking on the repair.
A tool like this works by heating the plastic and embedding metal staples or pins across the crack. These act like reinforcement inside the case, giving the repair strength and helping bridge the gap where the plastic had split. As you can see from the photos, this one needed quite a few of them.
The nice thing about this repair is that Ambrose was able to do all the work from the inside. That means the outside still looks great, while the inside now has the strength it needs to keep going.
It is a lovely example of the kind of repair that becomes very straightforward when you have the right tool and the right knowledge. That is one of the great things about a hackerspace like TOG. We have a wide range of shared tools, but just as importantly, we have people around who know what tool to reach for and are happy to help figure things out.
This was all done on a normal Tuesday open night at TOG. If you have a project of your own, something that needs fixing, or you are just curious to see what goes on in the space, Tuesday night is a great time to drop in.
We are trying something a little different at TOG with a new event format we are calling Repair Club.
Inspired by the work of Circular Square in Clonmel, this is a bit different from our usual Repair Café model. Instead of bringing along broken items for fixing, Repair Club is more like a focused class or workshop where we take one repair topic and explore it in more detail.
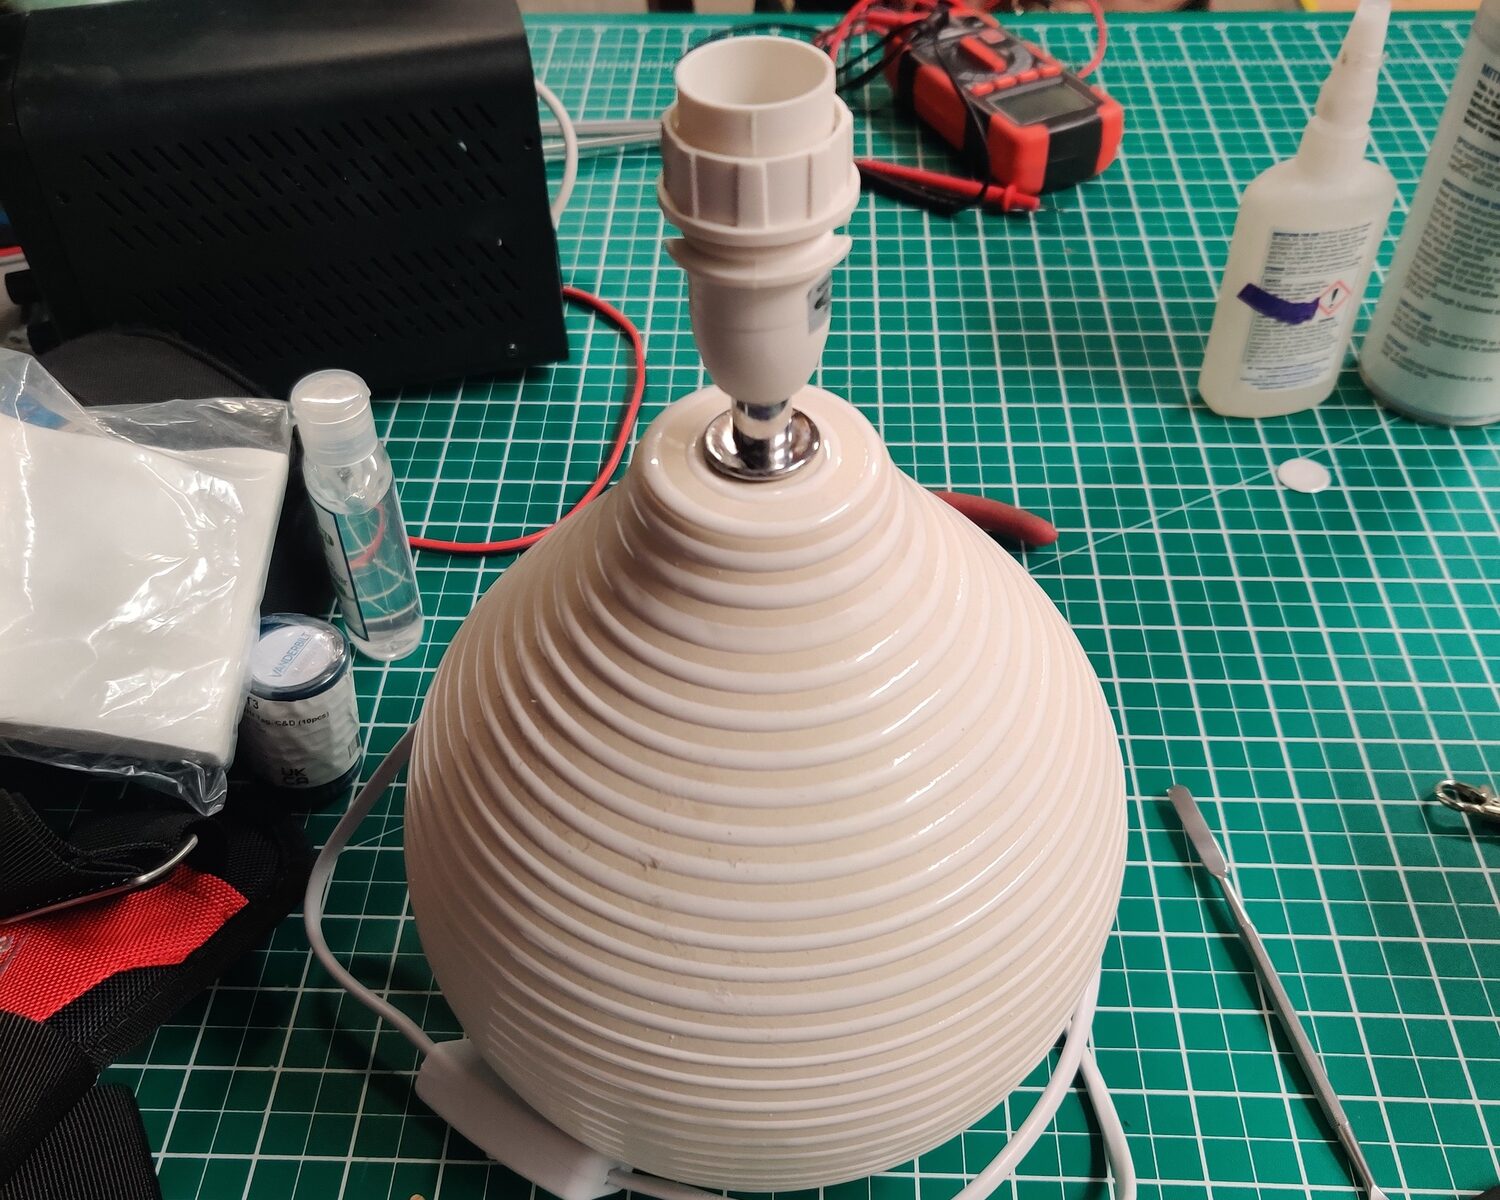
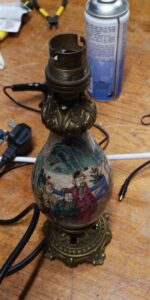
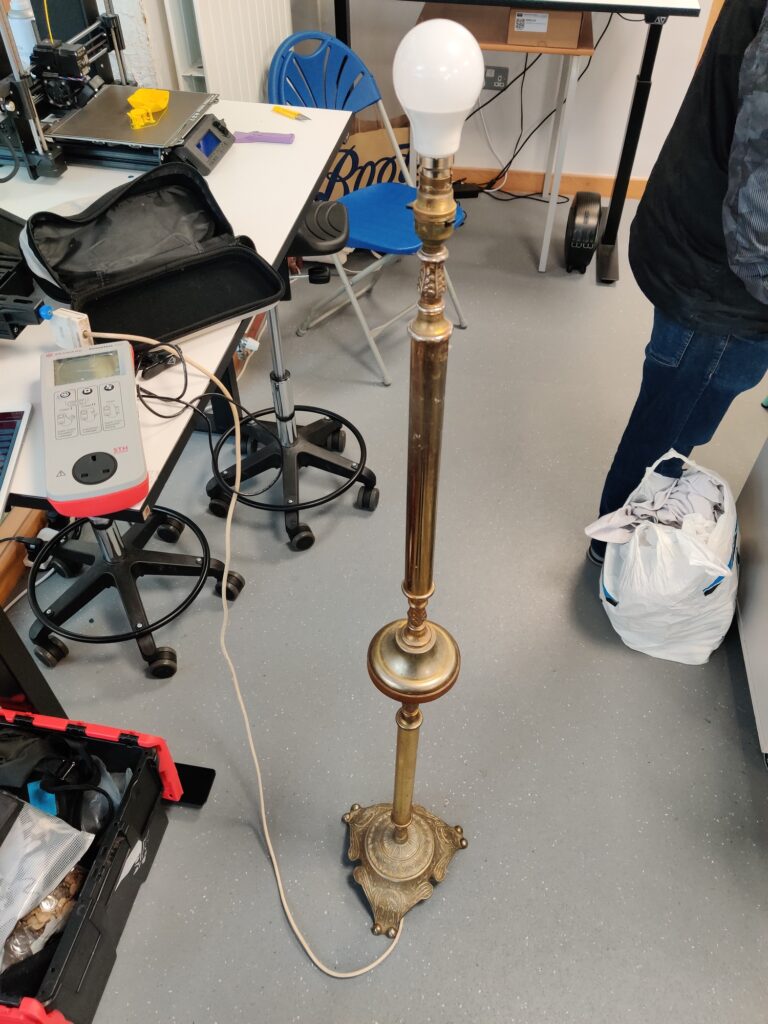
For our first session, we are starting with lamps.
We will be looking at common faults, how to test them safely, and some of the repairs you can carry out once you know what has gone wrong. That includes more than just the electrical side of things. We will also look at glueing, rewiring, testing, and the kind of practical fixes that often come up when bringing an old lamp back into use.
This event will be half class, half discussion, and half people standing around a lamp saying, “go on, try that there.” The idea is to share skills, compare notes, and build confidence around fixing things.
This is also a bit of an experiment for us. We want to see how this format works and whether it might become something we can repeat with other topics in future. There is no shortage of everyday objects that deserve their own repair night.
The event is taking place as part of Dublin Climate Action Week, which makes it a great fit. Repair is one of the simplest ways to reduce waste, keep useful things in use for longer, and help more people feel confident about understanding and maintaining the objects around them.
This session will be led by Jeffrey Roe, an engineer, maker, and long-time TOG member who has spent years running workshops, Repair Cafés, and hands-on events that help people build practical skills.
Event Details
Date: Thursday, 14 May Time: 7:30 pm – 9:00 pm Location: TOG Hackerspace Cost: €5 via Eventbrite, with the fee going as a donation to TOG
If you are curious about repair, want to learn a bit more about fault-finding, or just fancy trying something new, this should be a good way to spend an evening at the space.
And if this goes well, we would love to run more Repair Clubs in future. If there is a repair topic you would like to see covered, or if you would like to lead one yourself, please let us know. There is always something worth taking apart, figuring out, and bringing back to life.
Got something broken at home that you have been meaning to sort out for a while?
Maybe it is a lamp that has gone dark, a toy that has stopped doing toy things, a kitchen gadget that has packed it in, or a jacket that is hanging on by optimism alone. Instead of letting it rattle around in a press for another six months, bring it along to our next Repair Café at TOG Hackerspace.
We will be hosting the event on Saturday 11th April 2026, from 12 noon to 4pm, in TOG Hackerspace, Unit 1B Motor City, Kylemore Road, Dublin 12. Tickets are free, but booking ahead really helps us plan the day.
A Repair Café is a chance to bring along broken or worn items and sit down with volunteer fixers to see what can be done. Sometimes the repair is quick. Sometimes it takes a bit of testing, fiddling, tightening, stitching, glueing, soldering, or thoughtful staring. Sometimes, the item makes it very clear that it has other plans. But even then, you usually come away knowing a bit more than when you arrived.
That is part of what makes a Repair Café different. It is not a drop-off service where your item vanishes into the back room. You stay with it, chat through the issue, and get to see what is involved in trying to bring it back to life. It is about repair, but it is also about sharing skills, building confidence, and showing that plenty of everyday items still have a bit more life left in them.
What can you bring?
You can bring along things like:
Clothes and accessories
Toys
Small electrical appliances and electronics
Small furniture
And usually a few other bits besides.
There is always a good mix on the day. Some things arrive with an obvious fault, some arrive in several emotional pieces, and some arrive with the immortal phrase, “It was working grand until…” We cannot promise miracles, but we do enjoy a challenge.
Why bother?
Because a surprising number of things do not need to be replaced. They just need a bit of time, attention, and somebody willing to open them up and have a look.
Repairing things keeps useful items in use for longer, saves money, reduces waste, and helps people learn practical skills that are too easy to lose. It is also a genuinely nice way to spend an afternoon: a room full of people helping each other, cups of tea, odd screws on tables, and the occasional round of applause when something suddenly starts working again.
Event details
When: Saturday 11th April 2026, 12 noon to 4 pm Where: TOG Hackerspace, Unit 1B Motor City, Kylemore Road, Dublin 12 Tickets: Free, but please book in advance
This event is supported by Dublin Maker, and we are delighted to have their support again for another afternoon of community repair.
So if you have something broken, worn out, or just acting up, bring it along and we will see what can be done.
And if you would like to be a fixer or volunteer at a future Repair Café, we would love to hear from you. We are always glad to have more people involved, whether that is helping with repairs, welcoming visitors, keeping the tea flowing, or making sure the day runs smoothly. If that sounds like your kind of thing, please get in touch.
Come by, fix something, learn something, and help us keep a few more things out of the bin.
This Canon mini-DV camcorder was bought new, sometime around 2002 / 2003. Even then however, the writing was on the wall for tape-based video recording. Mobile “feature” phones of the time were already starting to have better and better cameras, and the price of USB sticks and memory cards were falling rapidly while increasing in capacity.
In 2005, the camcorder was connected to a PC via its FireWire socket. Many of the video clips were pulled over onto the PC. In the transfer process however, the metadata from the clips including the timestamps were not copied. It’s impossible to tell today when the clips were taken. So the plan was to fire up the camcorder and see if the clips could be copied again, or even the date stamps transcribed manually.
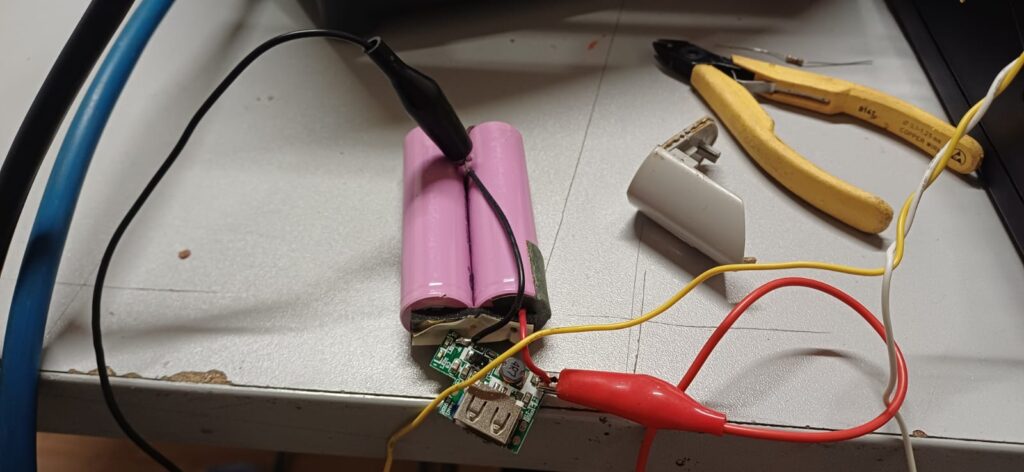
First and most obvious thing was that the battery was stone dead. Popping the battery case open, there were two lithium cells in series and both were absolutely dead….. zero volts. We replaced the two cells with two 18650’s, but the battery pack output was still zero. A little trick we’ve learned, and one that we put to use several times at our repair cafe this week, was to charge the pack briefly which seems to wake up the onboard BMS. After doing this, the pack was now outputting almost 8 volts.
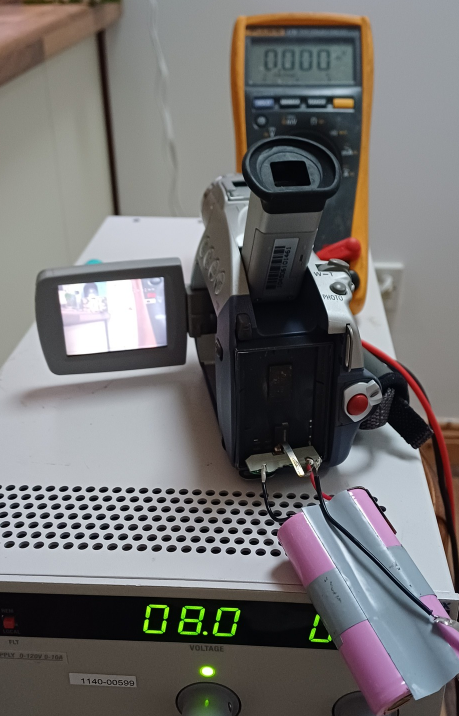
Now the next hurdle. Would the thing actually switch on and work? 20 years is a long time for electrolytic capacitors, and rubber belts and drive wheels turn to a sticky goo over time.
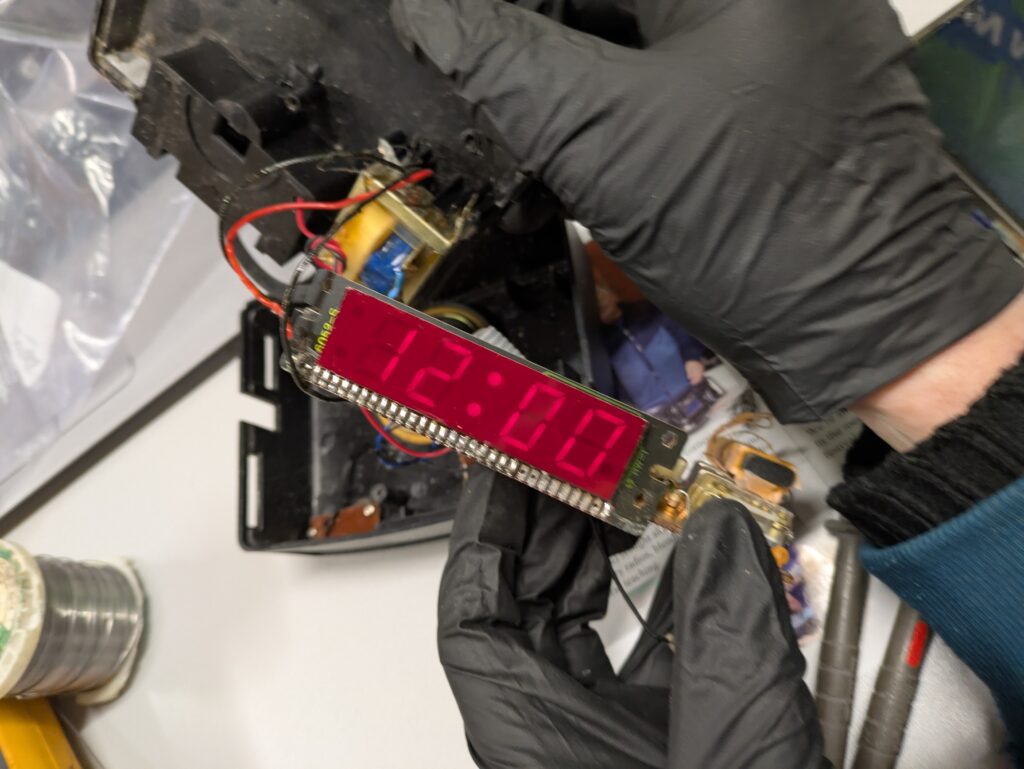
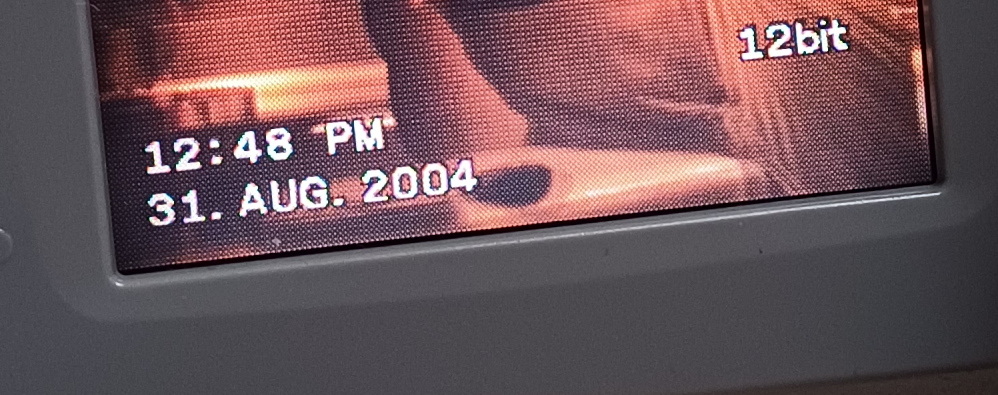
Snapping the battery into place and switching on, amazingly the thing came to life! The pop-out video screen was alive, but the look-through viewfinder seemed to be dead. Next test was to see would it accept a tape. It did, and the tape threaded up okay. Pressed play and the thing worked! You can see the timestamps on the clips from 2004!
If you have any mini-DV tapes that you want to check, or you like tinkering with this kind of stuff, come and see us in the space any Monday or Tuesday evening. There’s always something interesting going on.
We’re heading to DCU Green Week as part of the Climate Action Fair — and we’re bringing a mini TOG Repair Café setup with us. Come say hello, meet loads of other brilliant groups on the day, and if you’ve something small that’s broken, bring it along and we’ll do our best to help you get it working again.
Repair Café details
When:Wednesday 4 March 2026, 11:00–14:00
Where:Ground Floor, U Building (GLA), bottom of the steps
What to bring: “broken tech and trinkets” (small, carry-in items work best)
Cost: Free to drop by (it’s part of the fair)
What is a Repair Café?
It’s a friendly, drop-in repair meetup: you bring the item, we bring the tools and volunteer know-how, and we’ll troubleshoot it together. Even when something can’t be fixed on the spot, you’ll usually leave with a better idea of what’s going on (and what to try next).