Our new Repair Club series is back, and this time we are turning our attention to clothes.
After taking a look at lamp repair in our first session, the next Repair Club will focus on buttons, patches, and simple textile repairs. It is a practical evening for anyone who would like to make their clothes last a little longer, learn a useful skill, or finally tackle that missing button that has been sitting in a drawer for months.
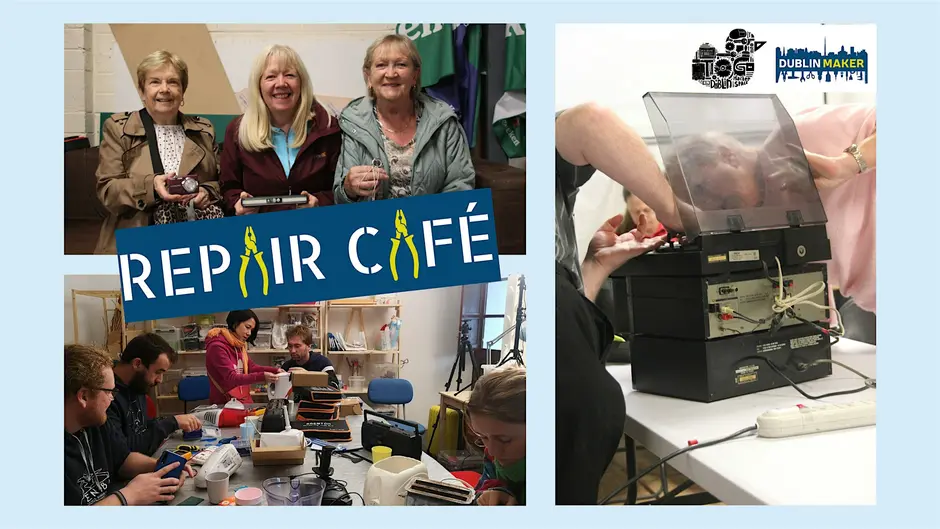
Repair Club is a little different from a Repair Café. Rather than bringing along a whole range of broken things to be fixed, we take a deeper dive into one type of repair and learn about it together.
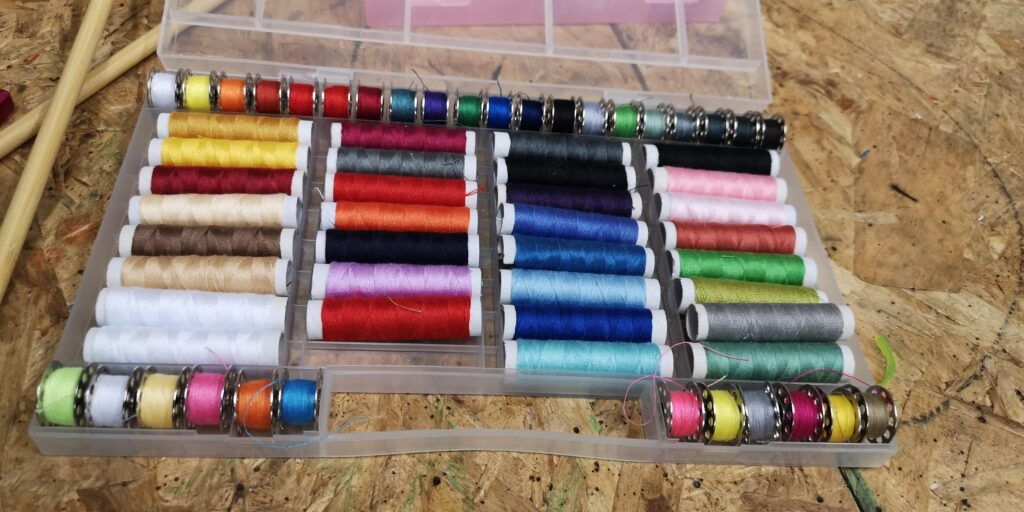
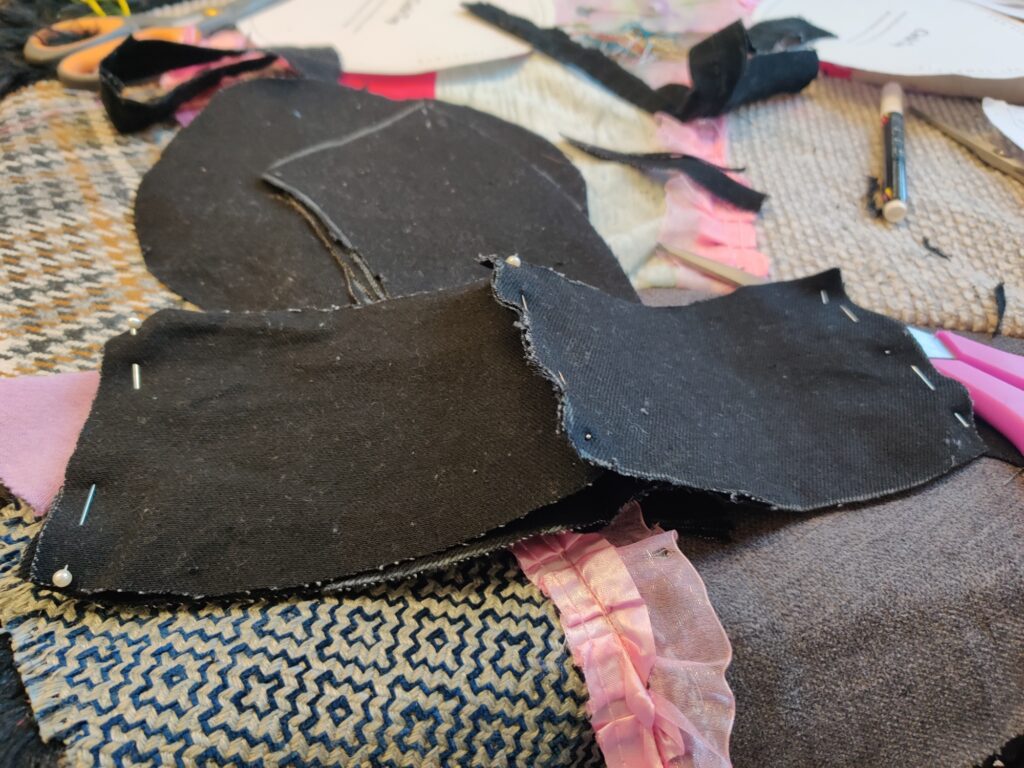
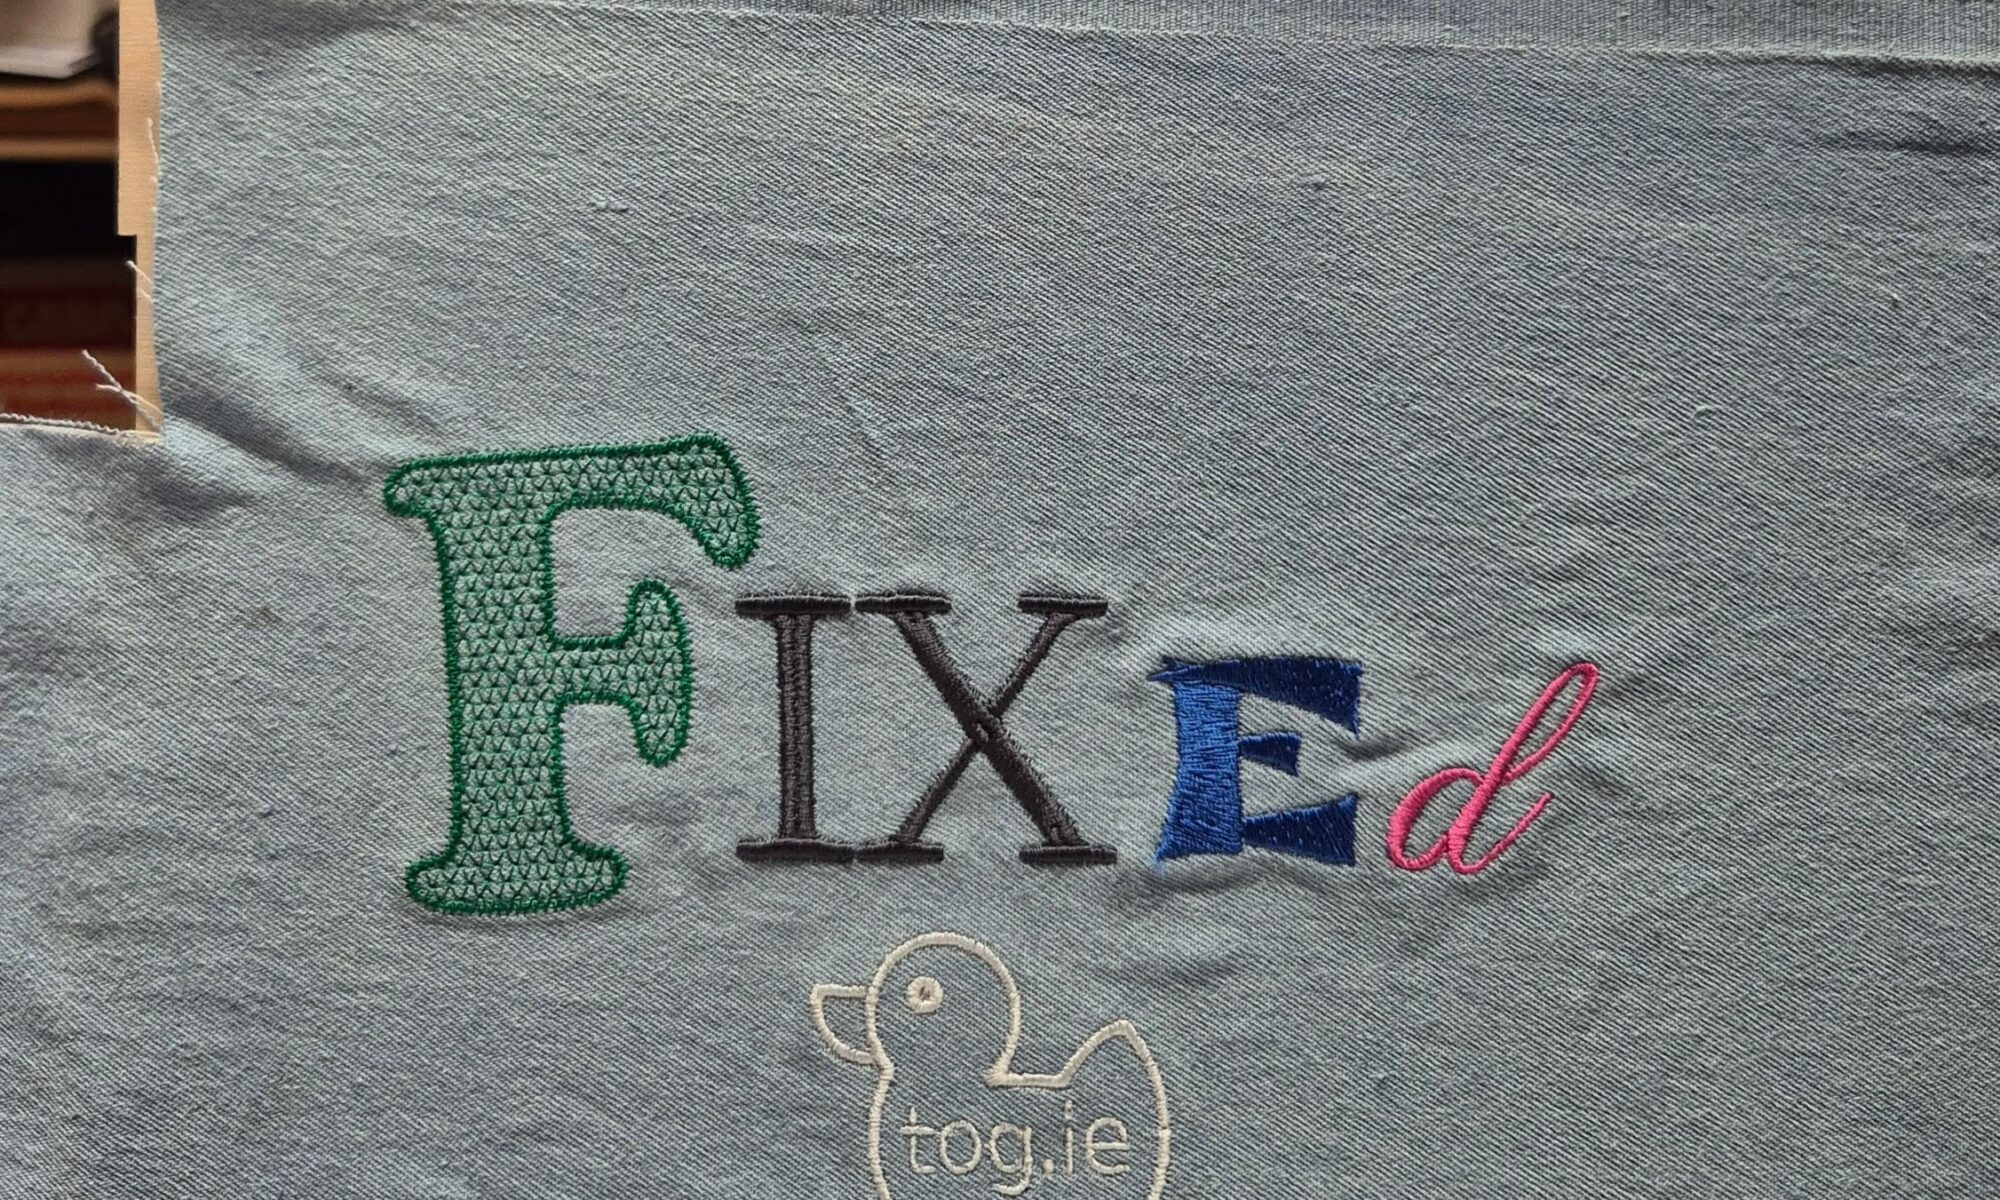
For this session, we will be getting hands-on with simple repairs for woven fabrics. We will practise sewing buttons back on by hand, adding patches by hand, and looking at when a machine-sewn patch might make more sense. We will also talk about visible versus invisible mending, and how a small repair can help keep a favourite item in use for years to come.
The focus will be on items such as shirts, trousers, jackets, cushions, toys, bags, and similar things. Stretchy fabrics such as socks and T-shirts are a different challenge, so they will have to wait for another day.
Please bring along one or two clean items that need a button replaced or a small hole patched. This will be a friendly, beginner-focused session, so no sewing experience is needed. If you are not sure whether your item is suitable, get in touch with us before the event.
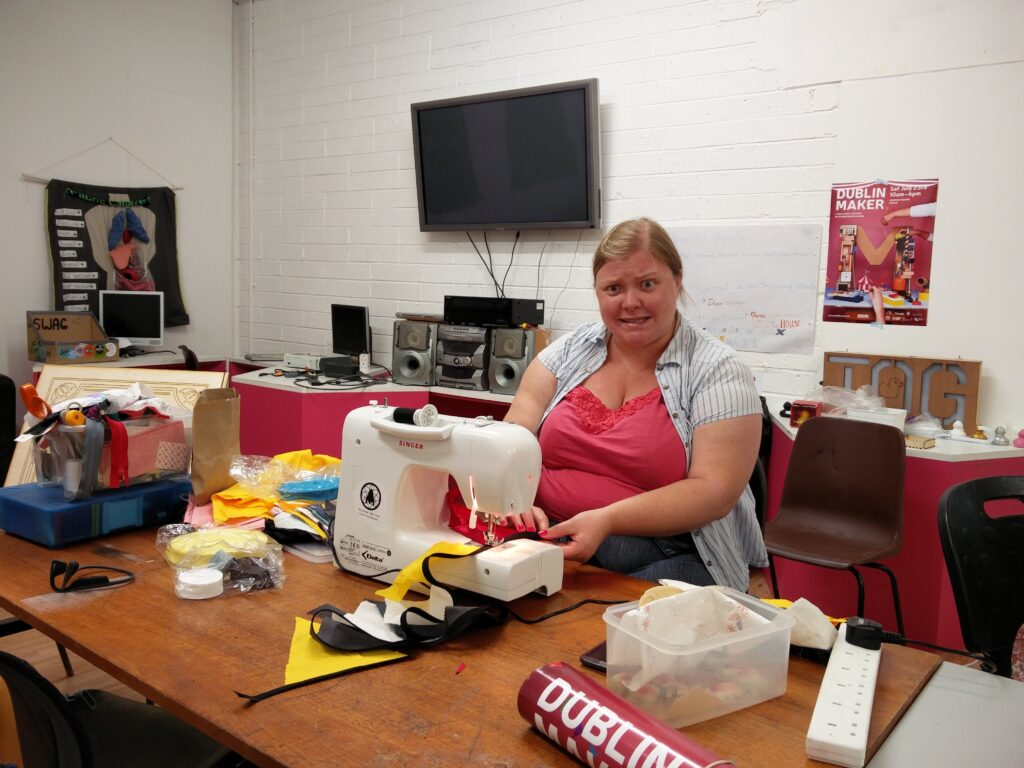
The session will be led by TOG member Tríona.
Event Details
Date: Wednesday, 22 July 2026
Time: 7:30 pm–9:00 pm
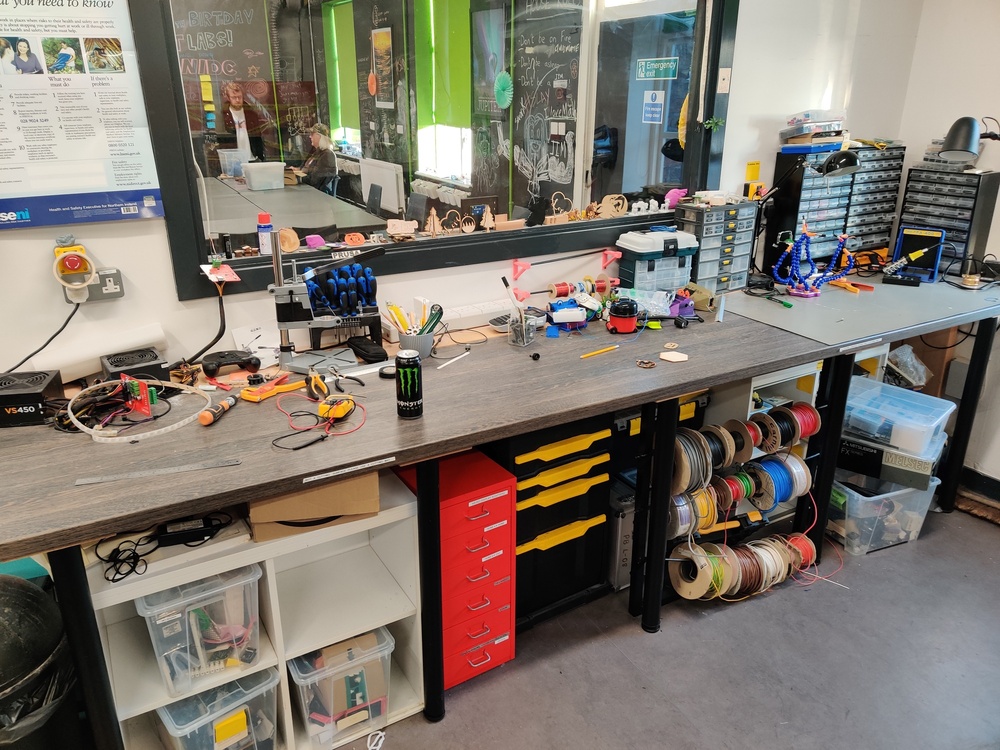
Location: TOG Hackerspace
Cost: €7.50, with ticket income going as a donation to TOG
Come along, learn a few useful skills, and give a favourite item a better chance of staying out of the bin.