Post by our member Eduard Garanskij
Some members of TOG know me for my passion for retro computers and programmable calculators.
Over the years, I’ve collected several rare machines and long dreamed of building add-on devices for them, something to expand their memory or load software from modern storage devices like SD cards, or even over Wi-Fi. These vintage devices typically load from tape or floppy disks, which is a painfully slow process. However, due to a lack of time and experience with complex electronics, I hadn’t been able to complete any such project.
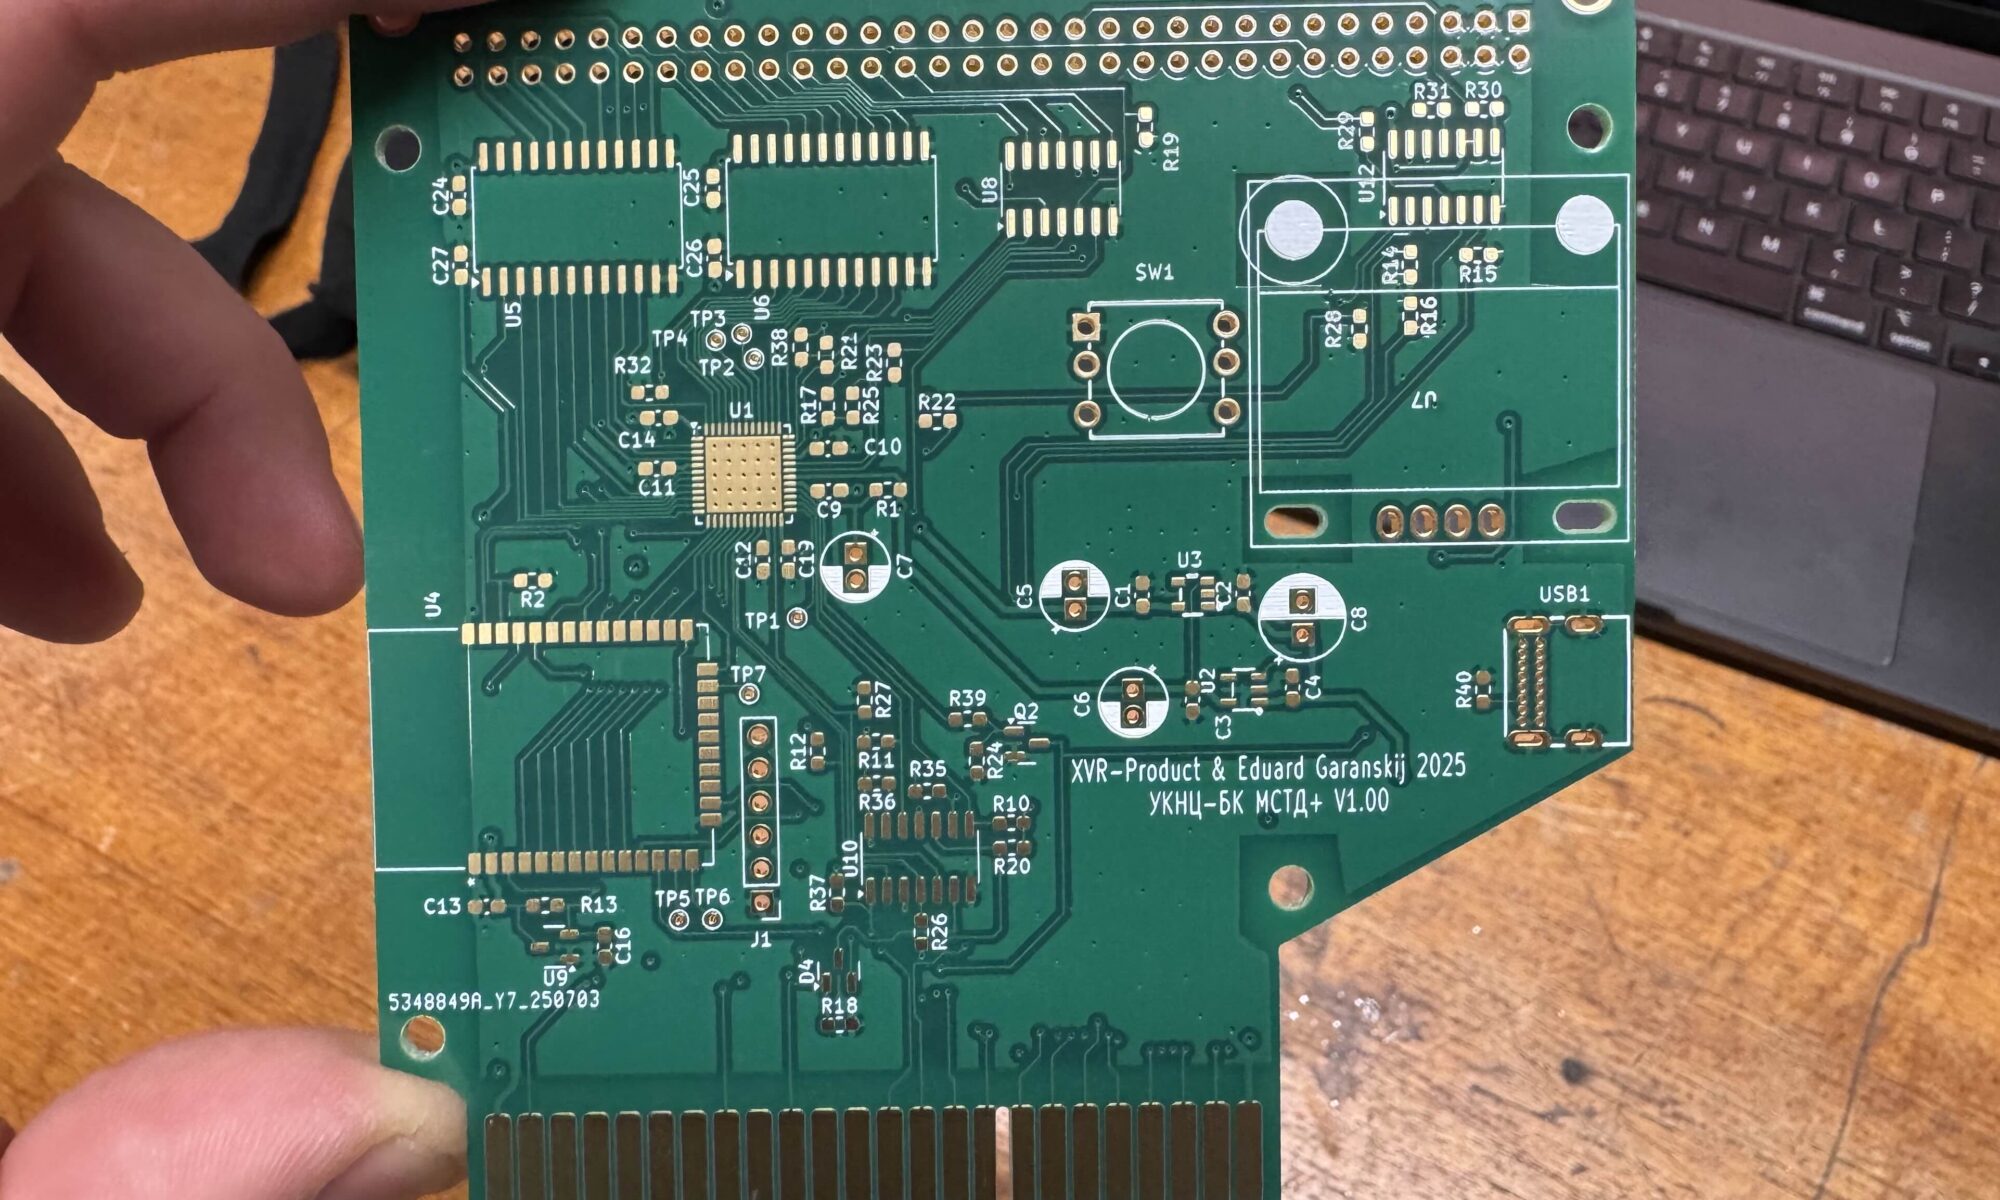
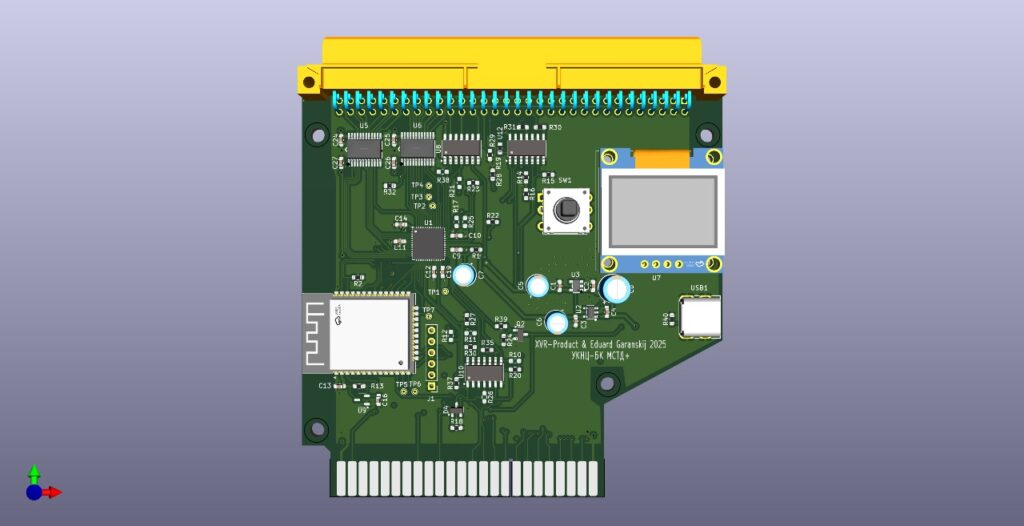
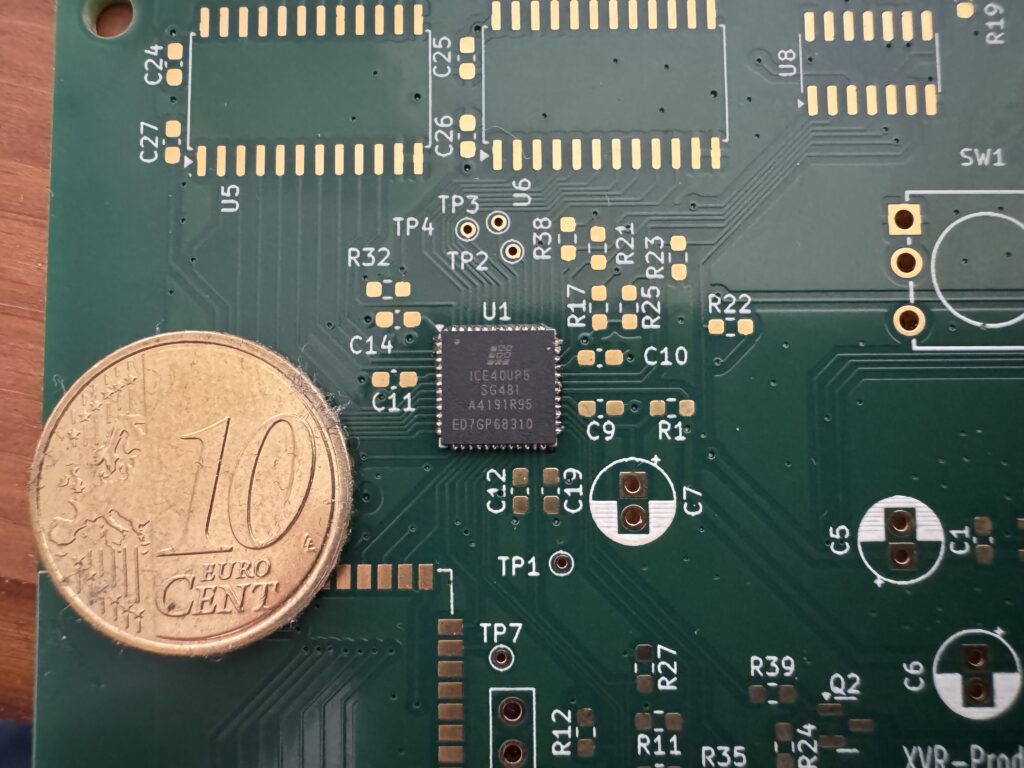
That changed last month when I met Roman, a new TOG member. He offered to help and turned out to be much more experienced in electronics design. Using KiCad and modern components like an FPGA and ESP32, Roman designed a custom board. These chips are incredibly small and require special tools and techniques to work with.
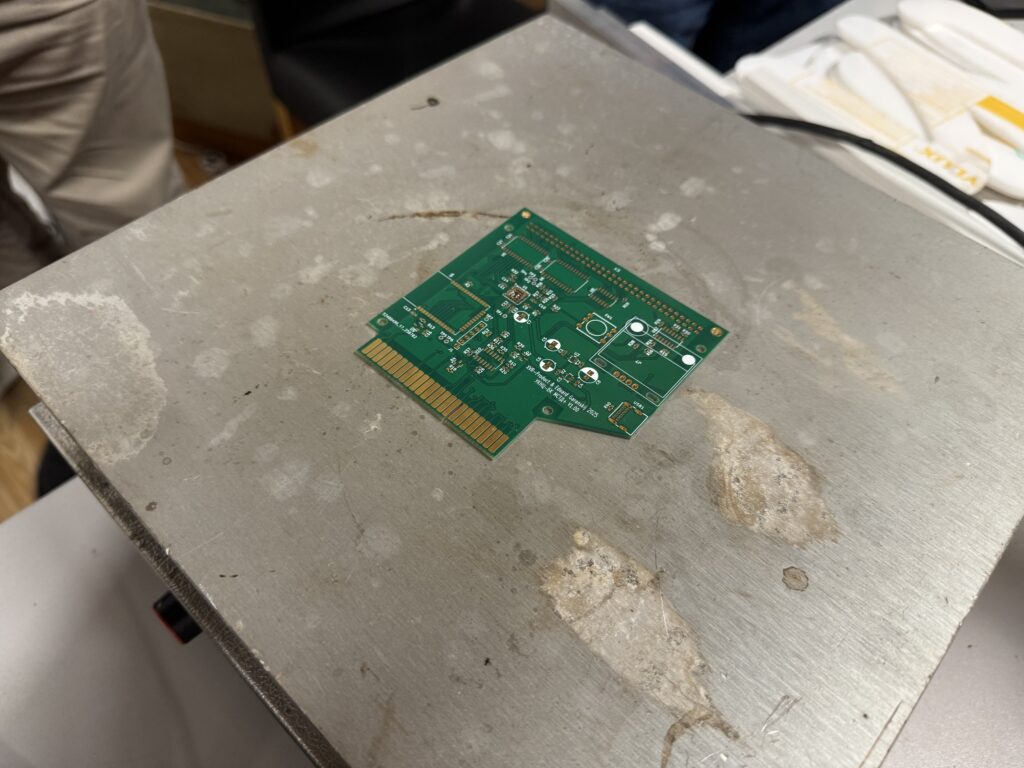
We had the board manufactured at JLCPCB.
While I have a general understanding of electronics, I had never soldered such tiny components before. Roman had some experience with small parts, but even for him, this was a new level of precision.
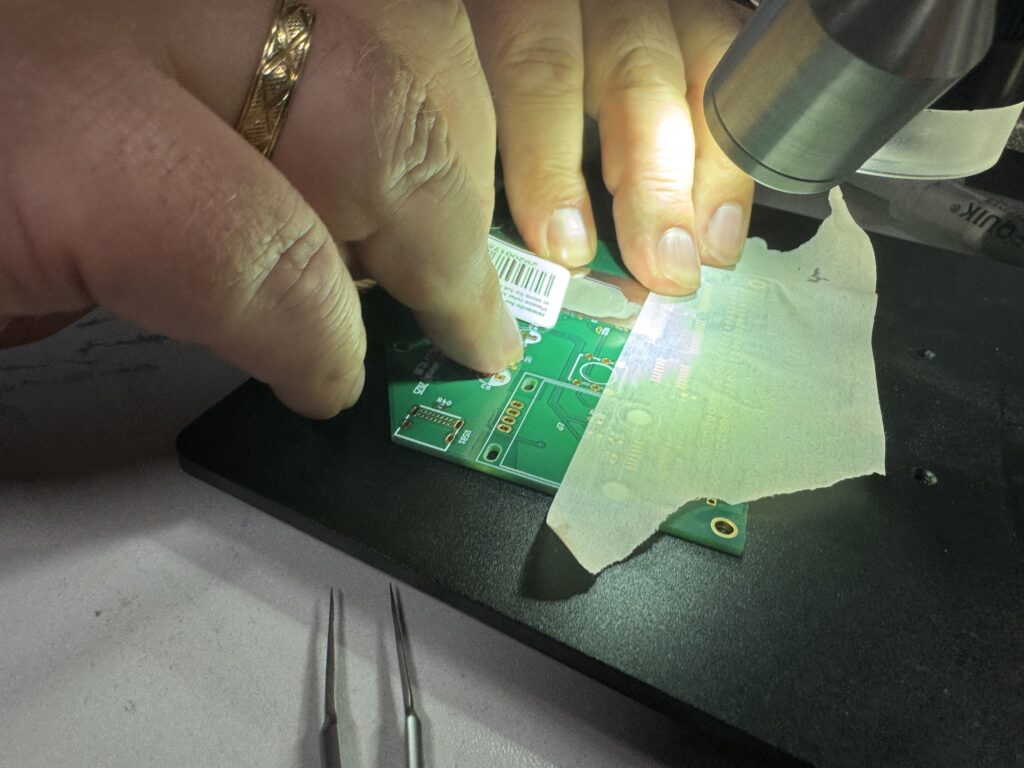
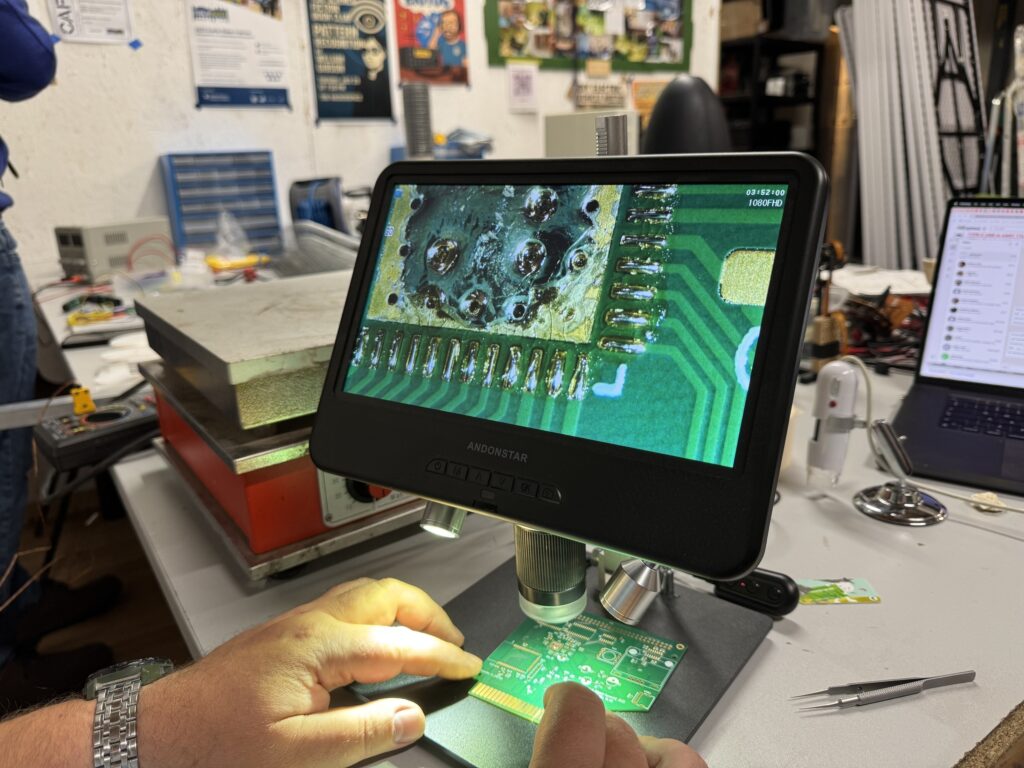
We found a preheating plate at TOG and ordered a stencil to apply solder paste. Yesterday, we met at the space to try soldering the smallest chip on the board.
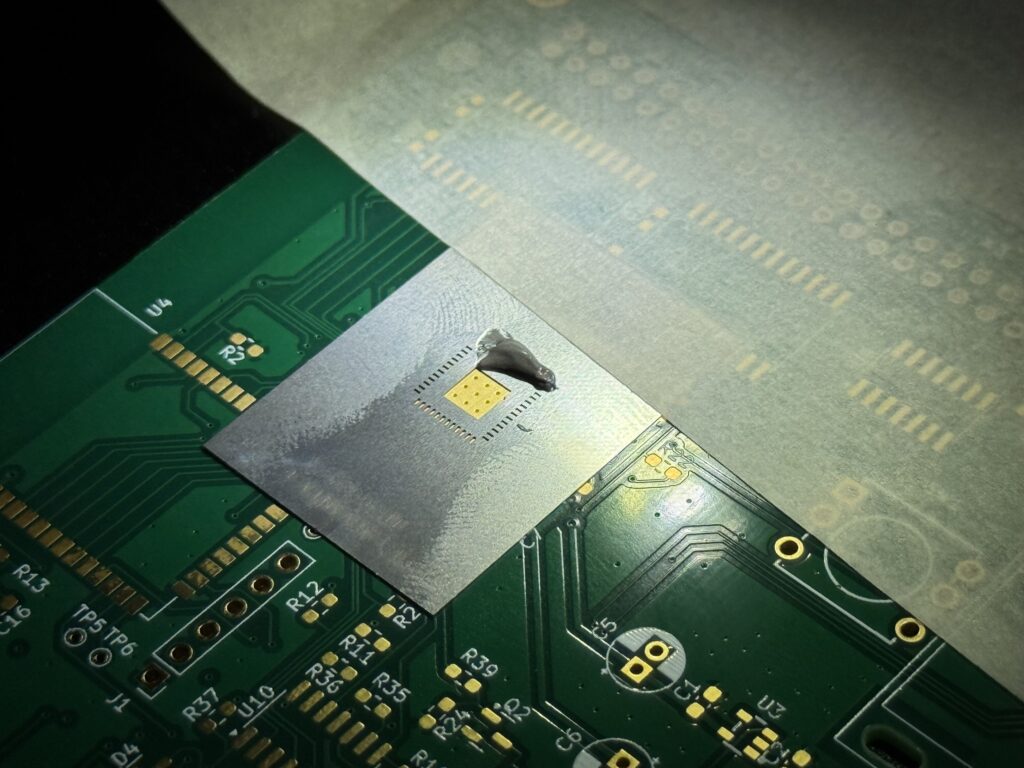
The first step was applying the solder paste using the stencil. This turned out to be trickier than expected. We had to align the stencil perfectly with the board’s pads, spread a thin, even layer of paste, and carefully lift the stencil without smearing it. It took us several tries. Sometimes the stencil shifted, and other times we applied too much paste.
Before soldering the actual chip, we did a test run on a spare board without placing any components, just to see how the paste would behave during reflow. That helped us understand how the solder would spread and whether it would stay properly on the pads. It was a useful trial that gave us more confidence before working with the real part.
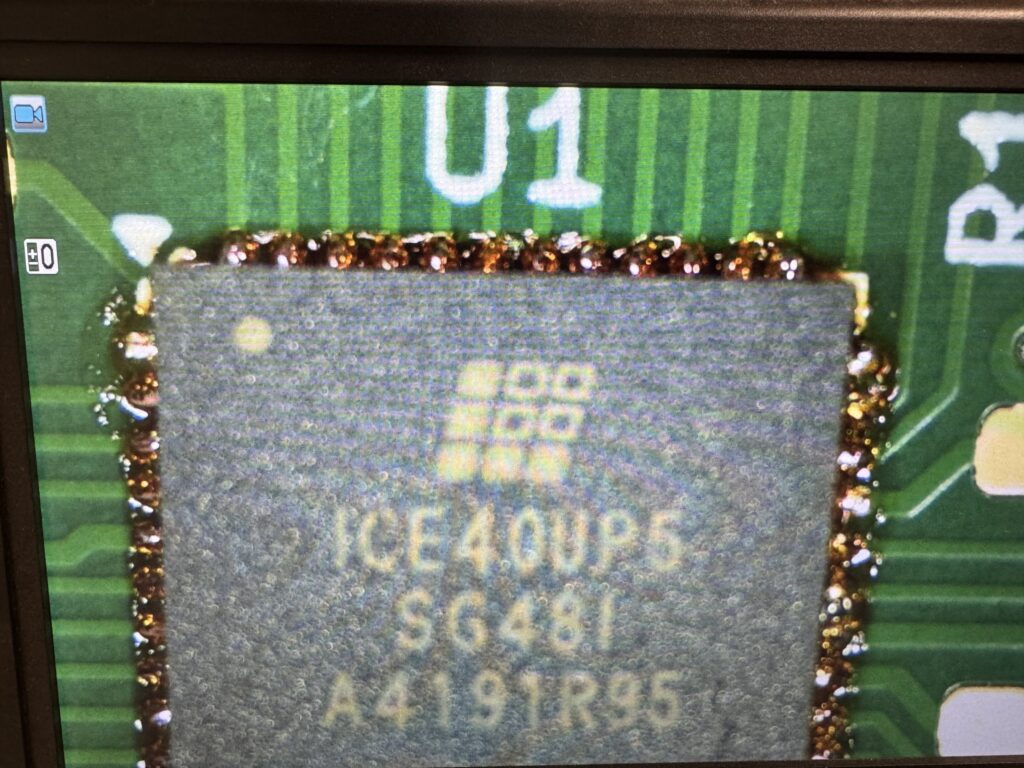
Eventually, we decided to go ahead and solder the chip, even though some areas had a bit more paste than ideal.
We used a special hot plate that gradually heats the board to around 240°C. As it warms up, the solder paste melts and flows onto the pads, guided by surface tension.
The process is slow, so the whole operation took a while. But in the end, the chip was successfully soldered. You can see it in the photo, though there’s still some leftover flux that we’ll need to clean off with isopropyl alcohol. Unfortunately, we ran out of time on Monday evening, so that step will have to wait.
We can’t fully test whether the chip is working yet, as other components on the board still need to be soldered. However, we’ve checked for shorts between adjacent pins, and everything looks good so far.
This was just the first step, but it already feels like a big achievement. With a bit more work, we hope to bring some of these old machines back to life, with modern upgrades that keep the retro spirit alive.
Find all the files on the github page.
You can see even more photos on our gallery.