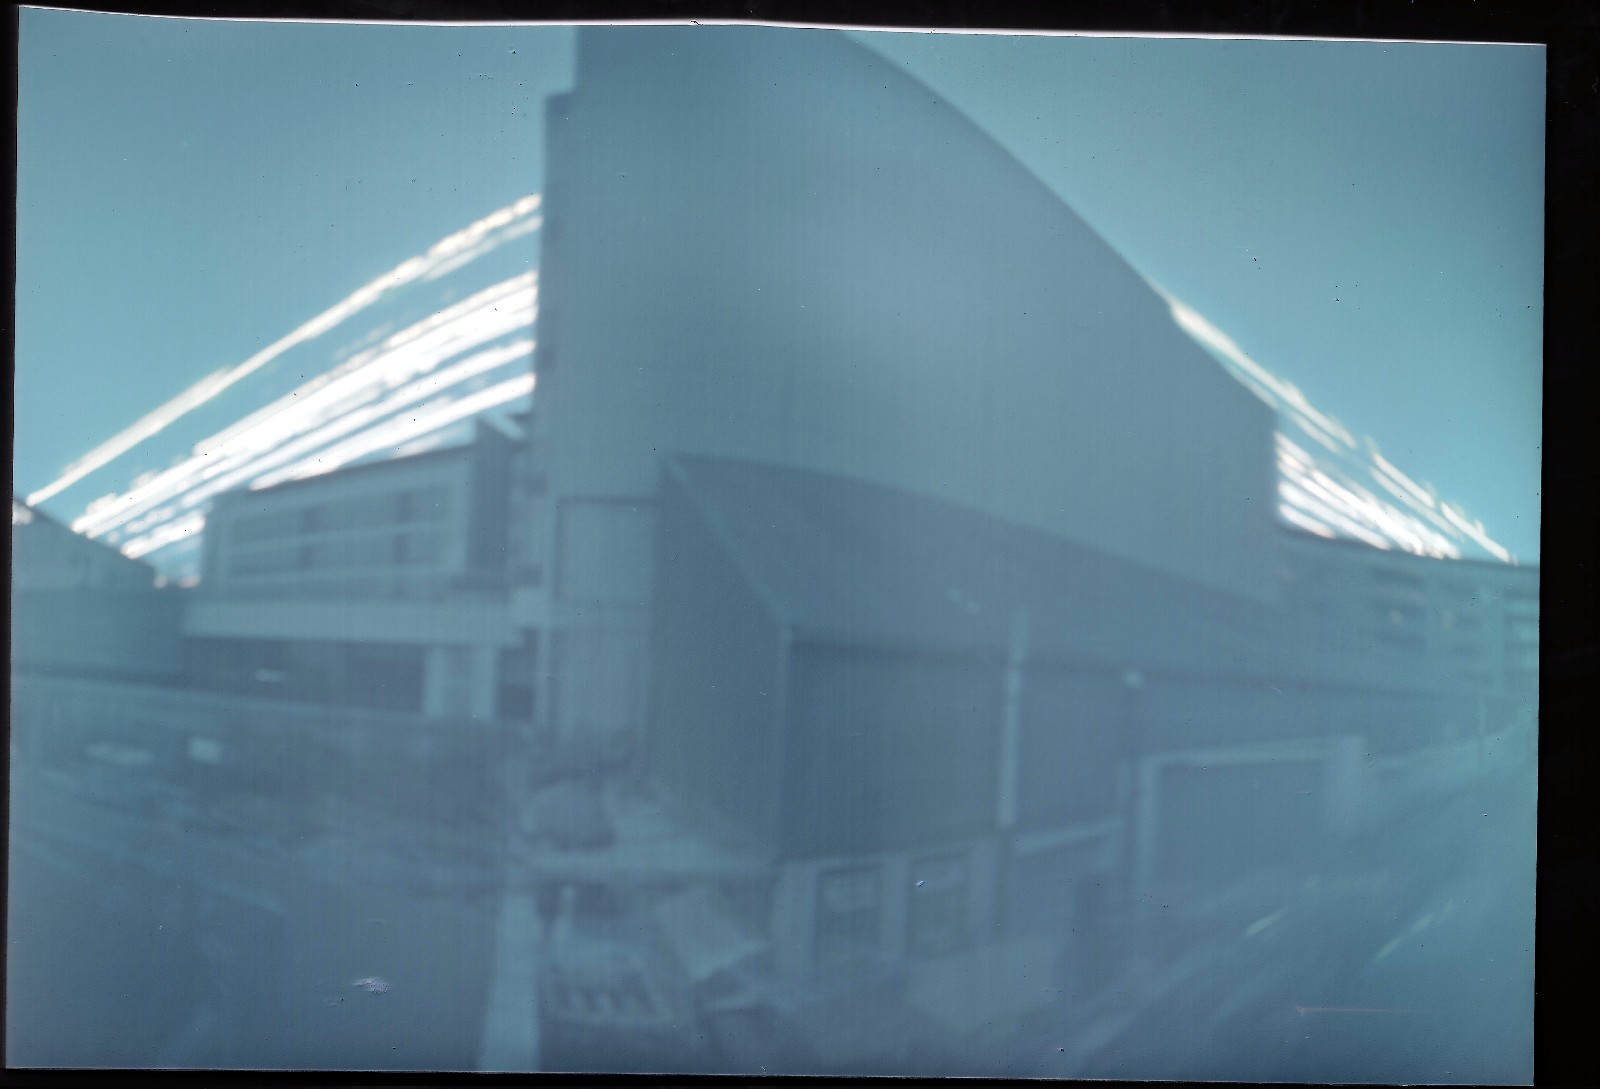
Keeping making during lockdown is important, so time to do some pinhole photography, which we’ve done before at TOG. It’s incredible what you can do with almost nothing….. just a can, a few bits and some photo paper. You can take amazing long exposure photos, like this 3 month long exposure complete with sun tracks.
If you’d like to have a go, we have a limited amount of photo paper available. Get in touch with us and we can post you a sheet.
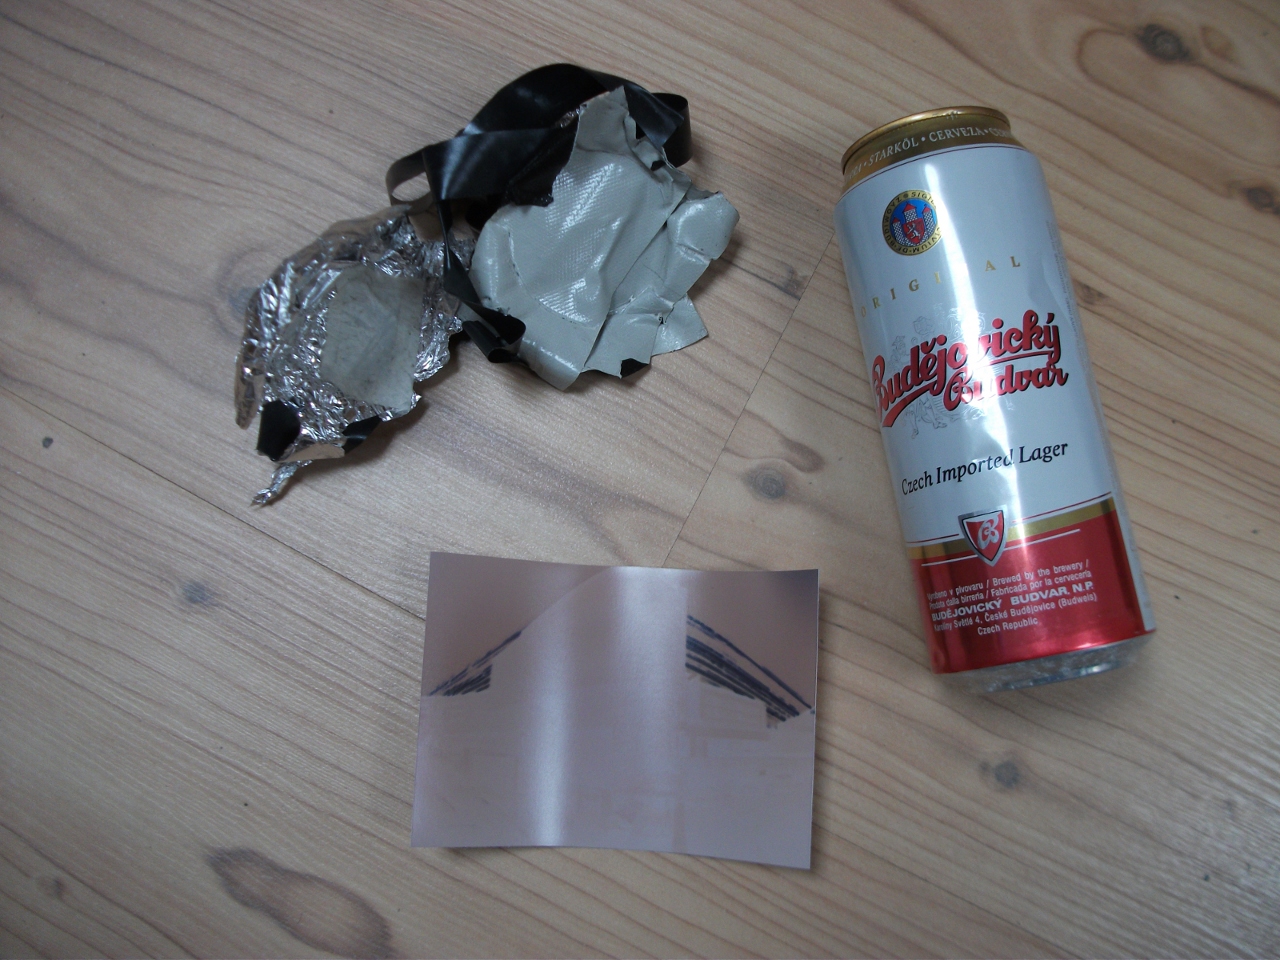
Items Needed
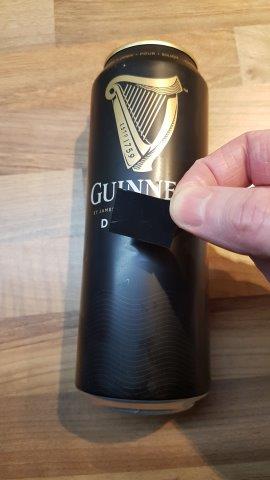
- 1x can…. 500ml aluminium drink can works well.
- A pin or tack to make a small hole in the can.
- Some black tape or similar to make a shutter for the hole.
- Something to cover the top of the can to make it light-tight. Aluminium foil and tape works well.
- A computer scanner.
- 1x sheet of photo paper.
Method:
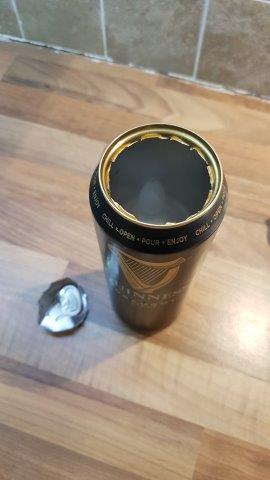
Remove the top from the can. Rinse out and dry the can thoroughly.
Make a pinhole halfway along the can. This will be the “lens” of your camera.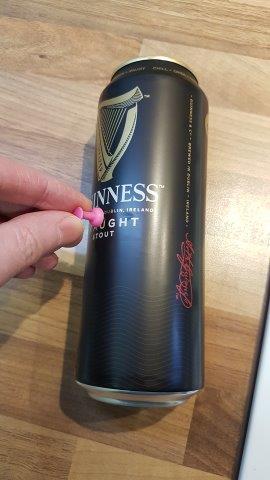
Put a piece of dark tape over the hole to act as a shutter.
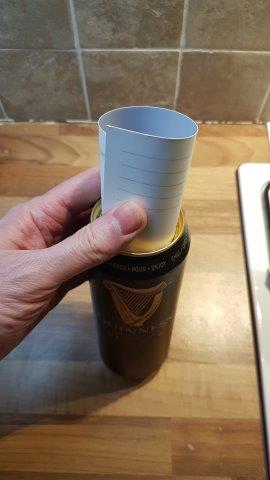
You will be placing photographic paper inside the can with the light sensitive side facing the pinhole. Light from the scene projects through the pinhole onto the photo paper.
You have to put the paper into the can in darkness. You have to do it by feel. Practice in the light with a piece of thin card (eg. back of a cereal box) cut to the same side as the photo paper…. 5 x 7 inches. Practice with the piece of card in darkness also. Do not proceed with your photo paper until you are comfortable doing this in darkness, including covering the top with foil so that it is light-tight.
Go to a dark room.
Find a dark room. Work at night, all lights off, curtains drawn. In darkness, remove the photo paper from its light proof wrapping.
To indicate the light-sensitive side of the photo paper, the top right corner has been cut off. So with the light-sensitive side facing you, the cut off corner will be top right. You can also tell the light-sensitive side by feel….it is slightly smoother than the rear side.
In darkness, roll the paper tight enough to insert it into the opening of the can. The light-sensitive side should be facing the pinhole. Centre the paper in the can so that it does not block the pinhole. The light shining through the pin hole will project onto the light-sensitive side of the paper.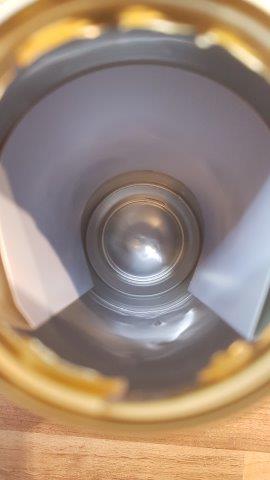
In darkness, cover the opening with a light-tight covering. 2 layers of aluminium foil and tape works well.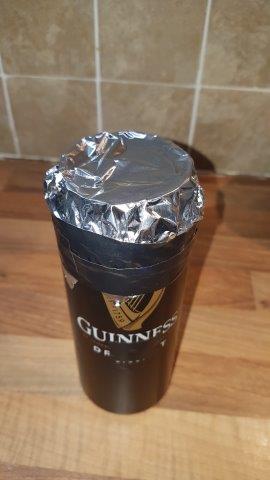
Now you can now work in the light again
Place the can in position to take your picture. The can must remain perfectly still during the exposure. Secure it with some blue tack or a heavy object on top. Beware of curtains blowing in the wind, kids, pets etc. If you are putting it outdoors, tape it securely to something that will not move. Note that trees and poles can sway in the wind which will blur the image. Also if you are placing it outdoors, try to prevent rain from getting into it. Remove the tape over the pinhole to start the exposure.
Because you will not be developing the paper with photo chemicals, you are relying on the light alone to darken the paper and make the image. This means that exposures are very long. Leave the camera in place for at least 2 weeks. Even longer than this is ok. You can leave it for months if you wish. Only stationary objects will appear in the image. People passing by, cars, clouds etc, do not stay in position long enough to get recorded. Trees or things that move in the wind will get blurred a little.
The camera has a very wide field of view. Maybe 180 degrees. If the camera is pointing in the direction of the sun, you will get a trace of the sun as it passes from east to west during the days of exposure. Over many days the trace will move higher in the sky as the days get longer. See top picture.
When you are ready to stop your exposure, place the black tape back over the pinhole and bring the camera to your scanner. Do a test scan of something else first to be sure that your scanner is ready to go.
Work quickly now. Open the can, remove the paper and scan immediately at high resolution. When you have scanned the paper, remove it from the scanner immediately and place it inside a book to keep it dark. If you leave it in the light, it can go completely black in as little as a few minutes.
Save the raw image. Make a copy of the raw image and work on the copy, not the original. As a minimum, you will need to invert the image from negative to positive and to flip it from left to right. You can adjust brightness and contrast, or do a “white balance”. You can crop as you wish. If you make a mistake, take another copy of the raw scan and work on that. Gimp is free image editing software which you can download here … https://www.gimp.org/
Send us a copy of your image.