This blog post is written by our member Jeffrey Roe about his Skull Radio Box Project.
The Skull Radio Box came out of the frustration demonstrating the bone conduction kits at the Big Day Out. The kits are great for workshops but in a show and tell type of stand they just are not user friendly. They need an audio source hooked into them and just not appealing to members of the public to bite on a metal rod with lots of wires hanging out of it.

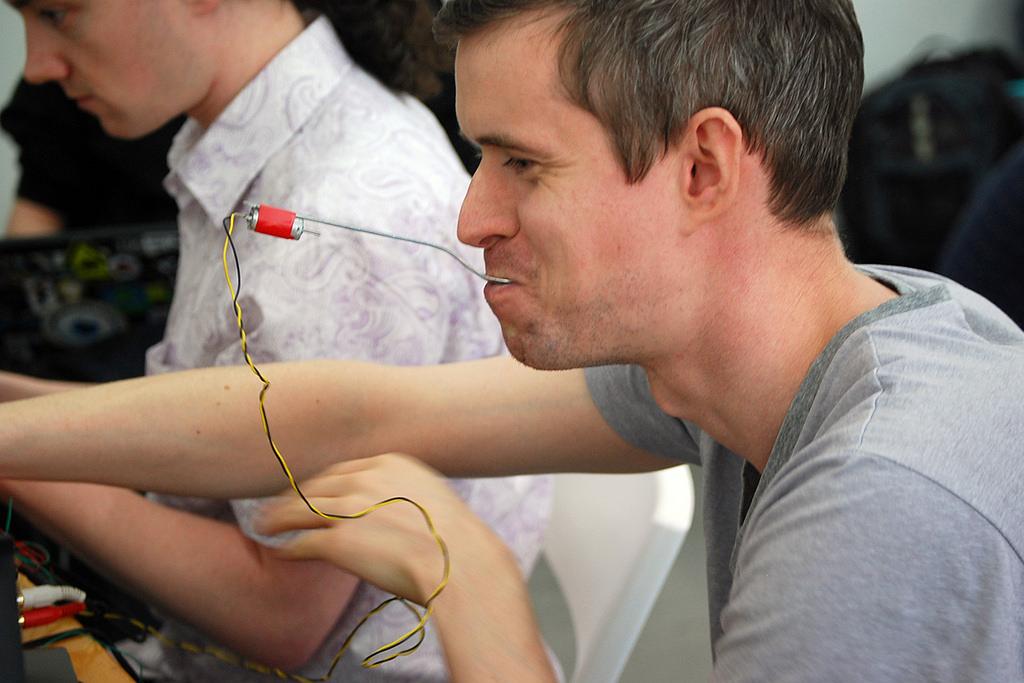
I first found out about bone conduction from David McKeown at Artek Circle (Photographed right) and tried it out with a spoon in my mouth. Months later, I then worked with Sinead Mc Donald to create the Guzman Box. Internally, it used a Kitronik amplifier kit to create the bone conduction effect. During its stay in the Lexicon Library for Soundings, the TBA820M IC burned out twice. The main cause was due to heat. The IC had no heatsync and would burn if left on for too long. Jump forward a few months, I used bone conduction again during Spectral Forms a week long residence in the Science Gallery. We looked for a fun way to play back the audio of people’s brain waves, that we were capturing with an EEG unit. We again faced problems with the kits being too quiet for the loud gallery setting. Finally, we used them as a demo at the Big Day Out, people loved the demo but not the look of the device. All these led to creating a stand alone, demo dubbed the Skull Radio Box.
The Build
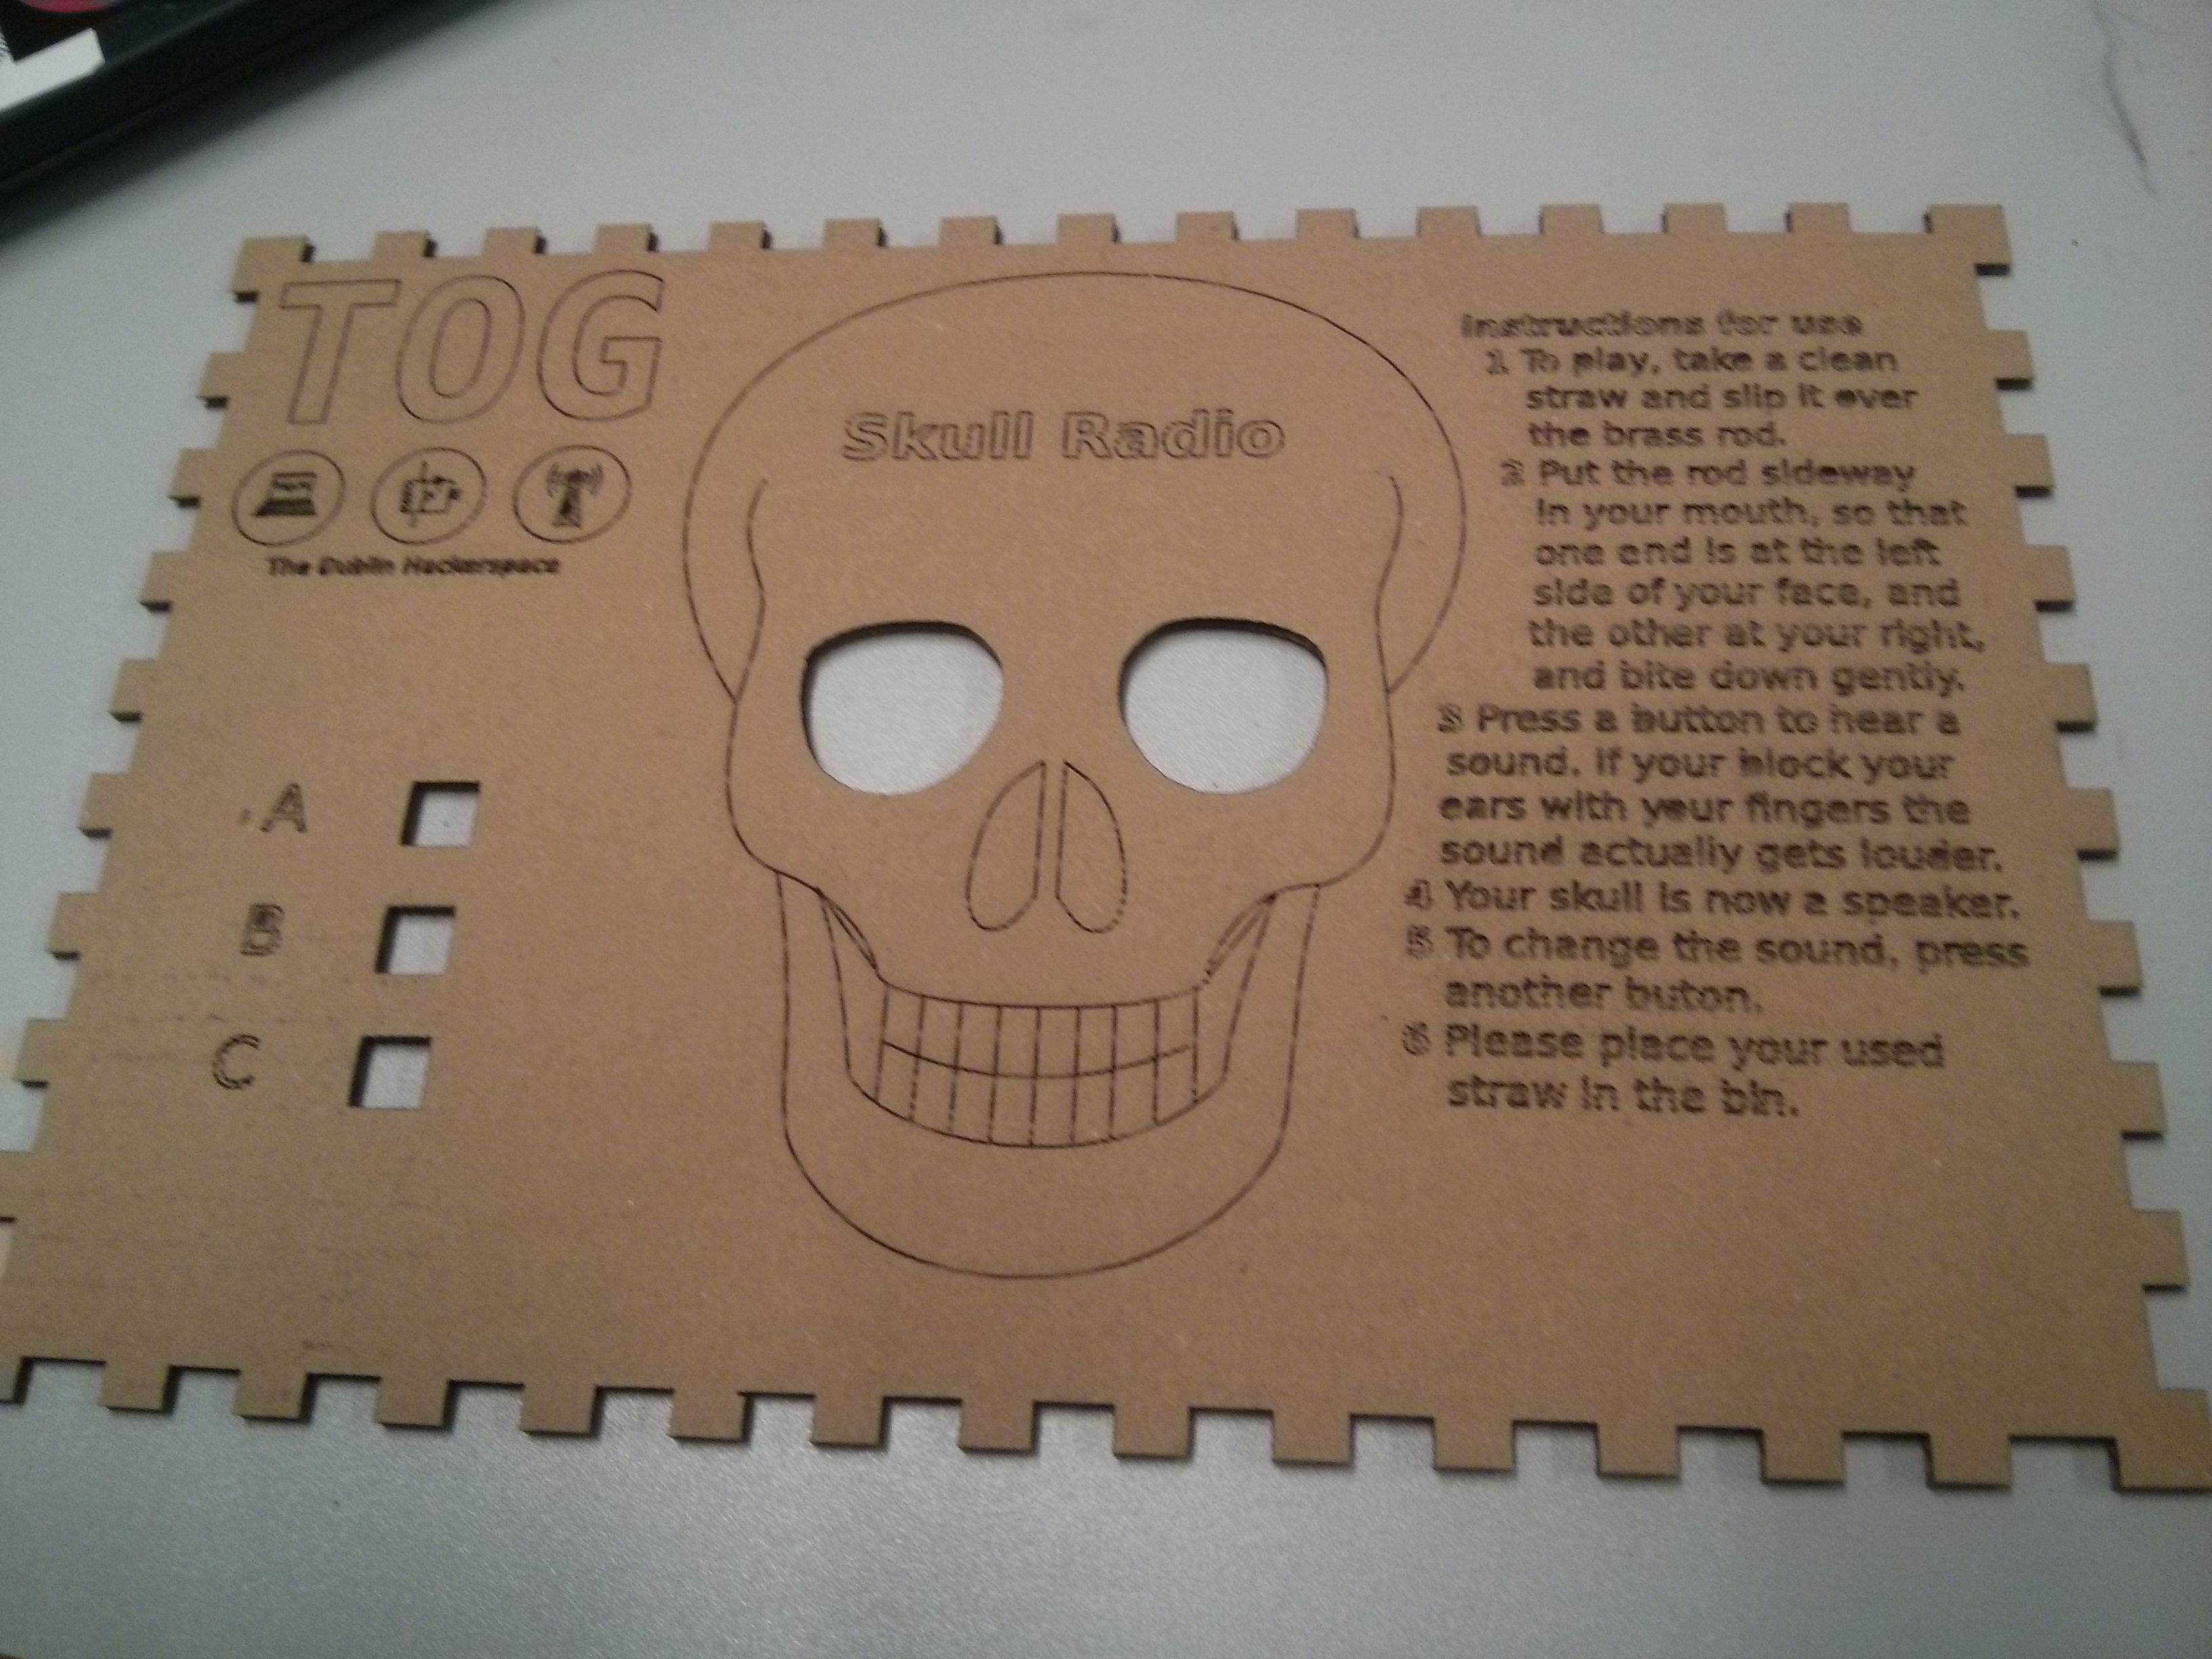
 The case was the first part of the project. I started out with Maker case website to create the general box. I then moved into Inkscape to do all the other parts of the design. After a few prototypes in cardboard, I was ready to cut out the final box in 5mm plywood. As the project came out of the laser cutter it looked perfect but when putting together the box with the finger joints, it was clear it did not fit together. Two hours later, using a file, sand paper and just a little hot glue, the box was all together.
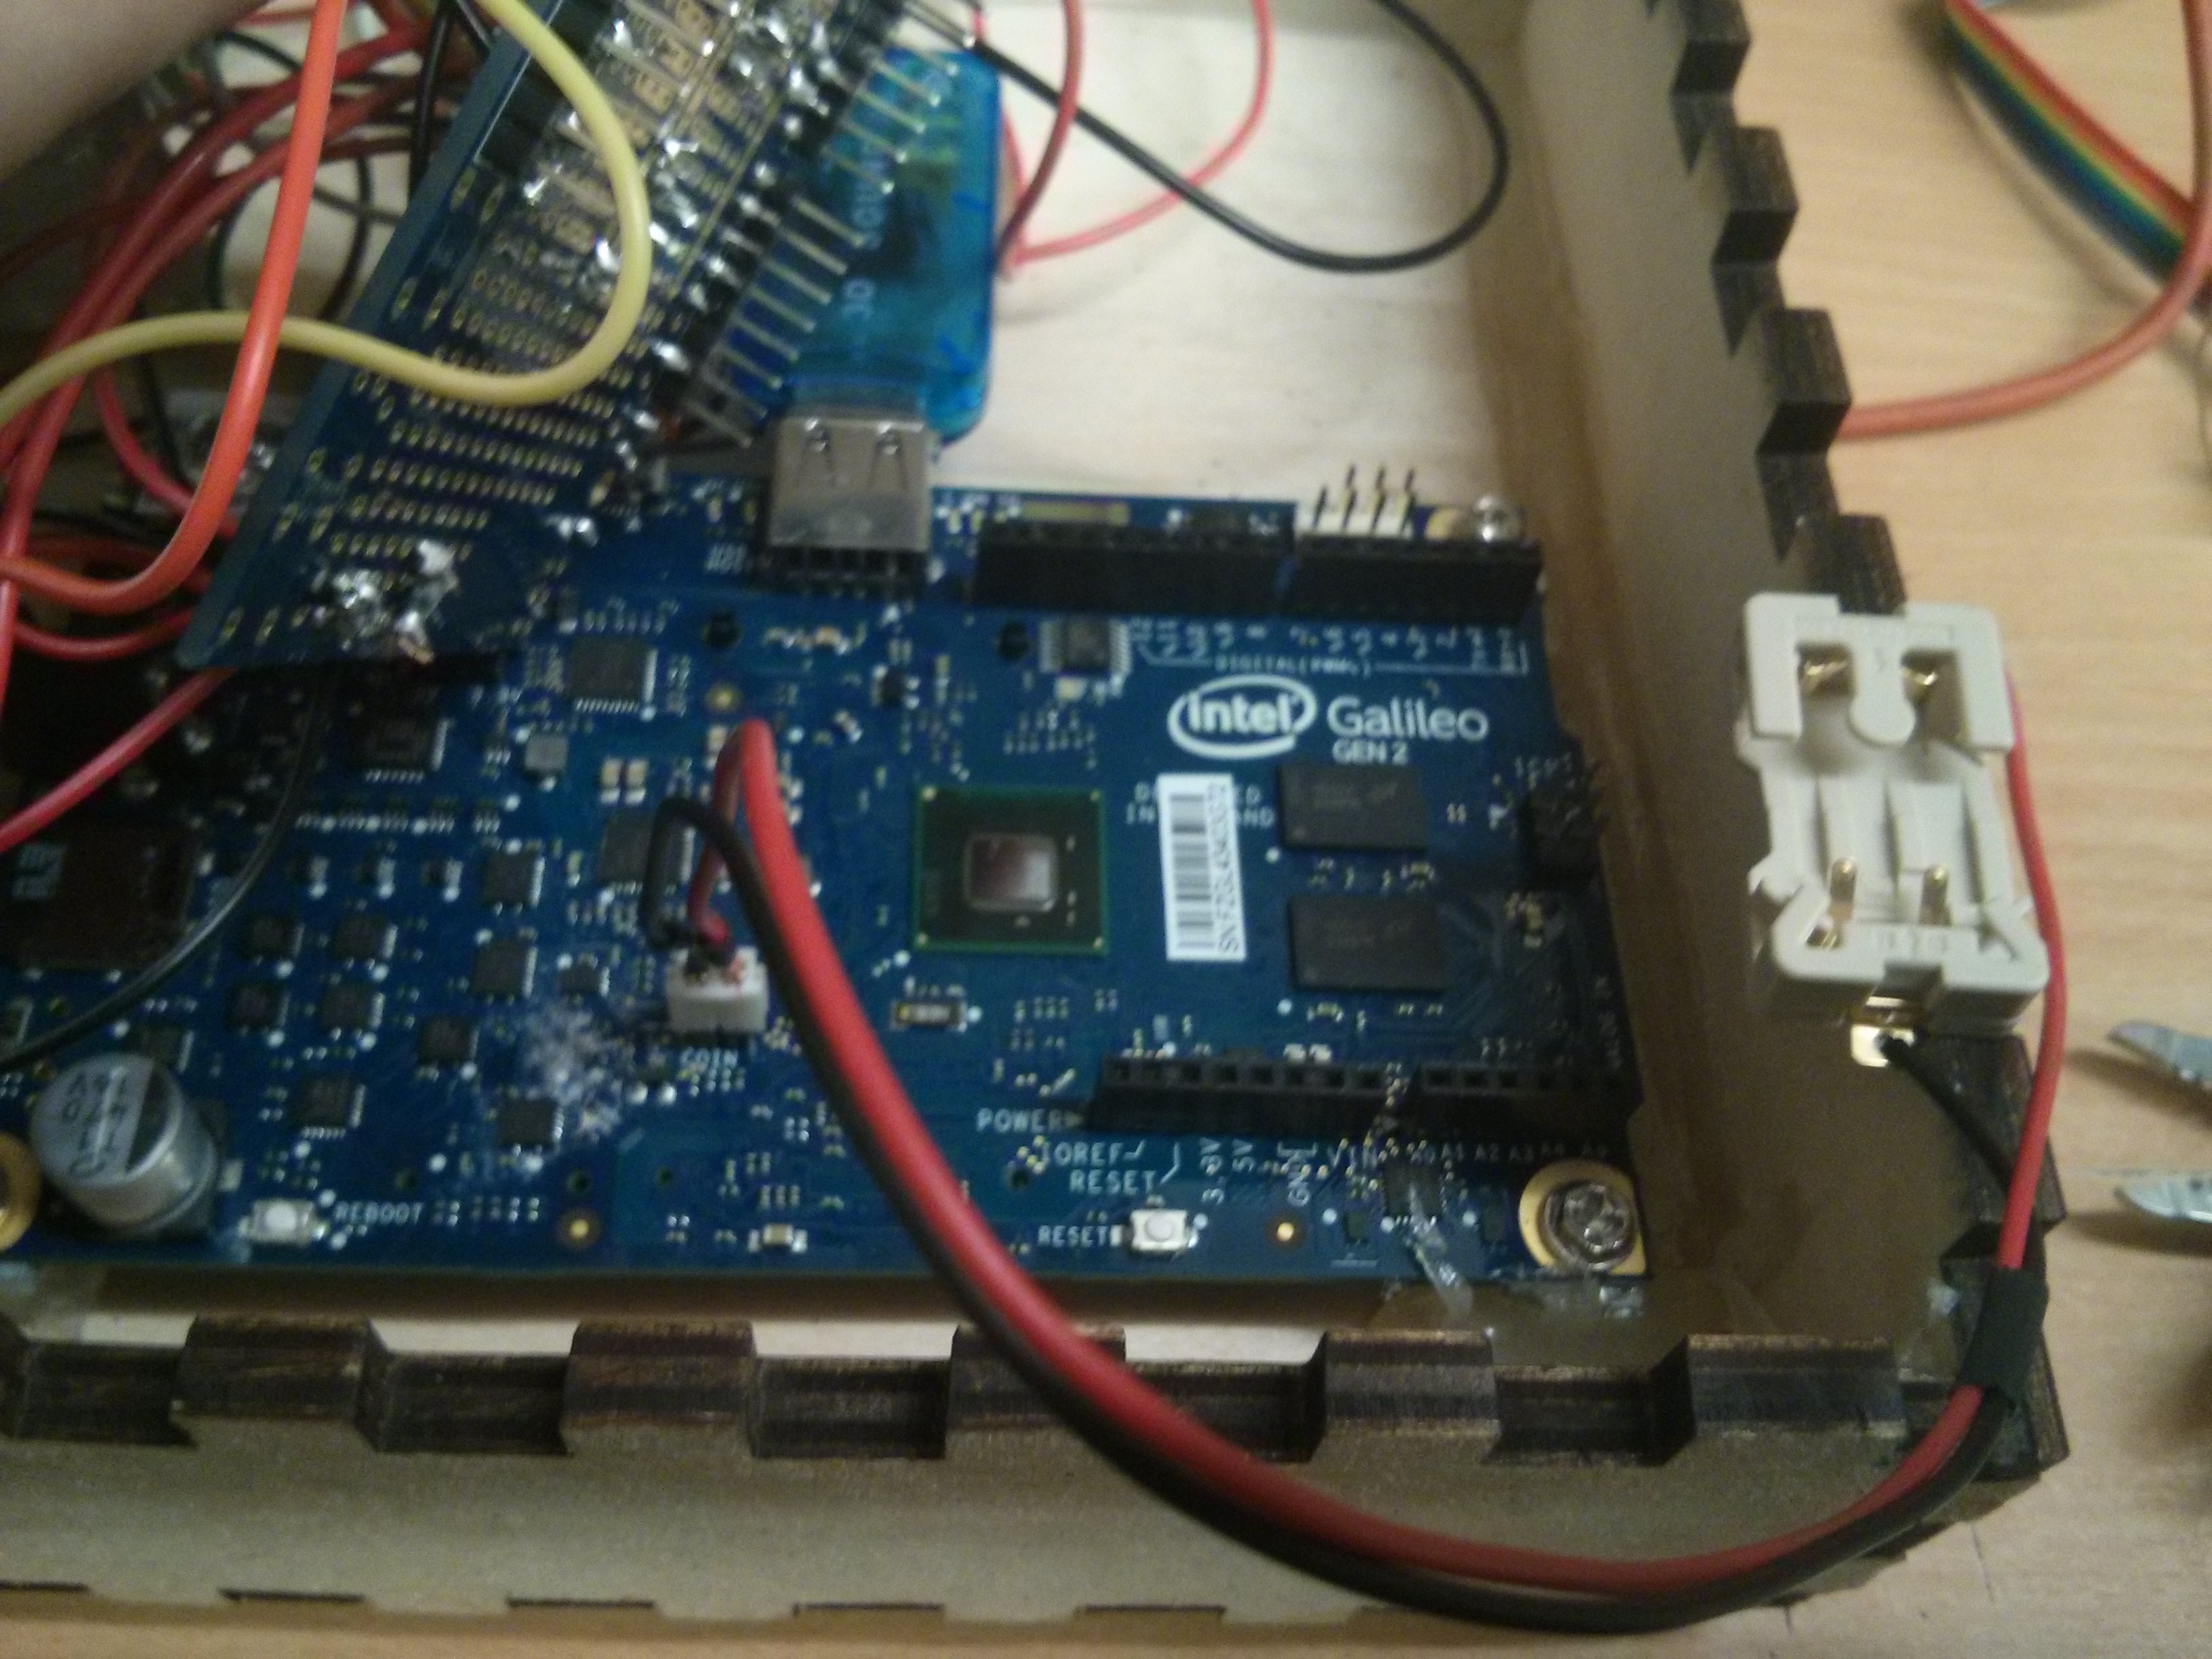
I started pricing Arduino MP3 / Sound Shields, but that plus the cost of an Arduino would drive the price up too high. I had a leftover Intel Galileo lying around from the Galileo Girls event last year and decided to use it. I knew it ran a Linux OS, so I decided to look into how to produce sound out of it. I found an example project that made use of a cheap USB sound card. Coding with the Galileo was not without its problems, I previously had terrible trouble using a Galileo at hackathon and after bricking two of them, I had little hope ever using it again. After back and forth emails with a few Intel engineers and the promise that all was fixed in version 1.6.0 of the IDE, I tried it again. I have to say it worked a dream. Coding in Arduino and then being able to call a bash script that runs on the board made the project coding wise a breeze.
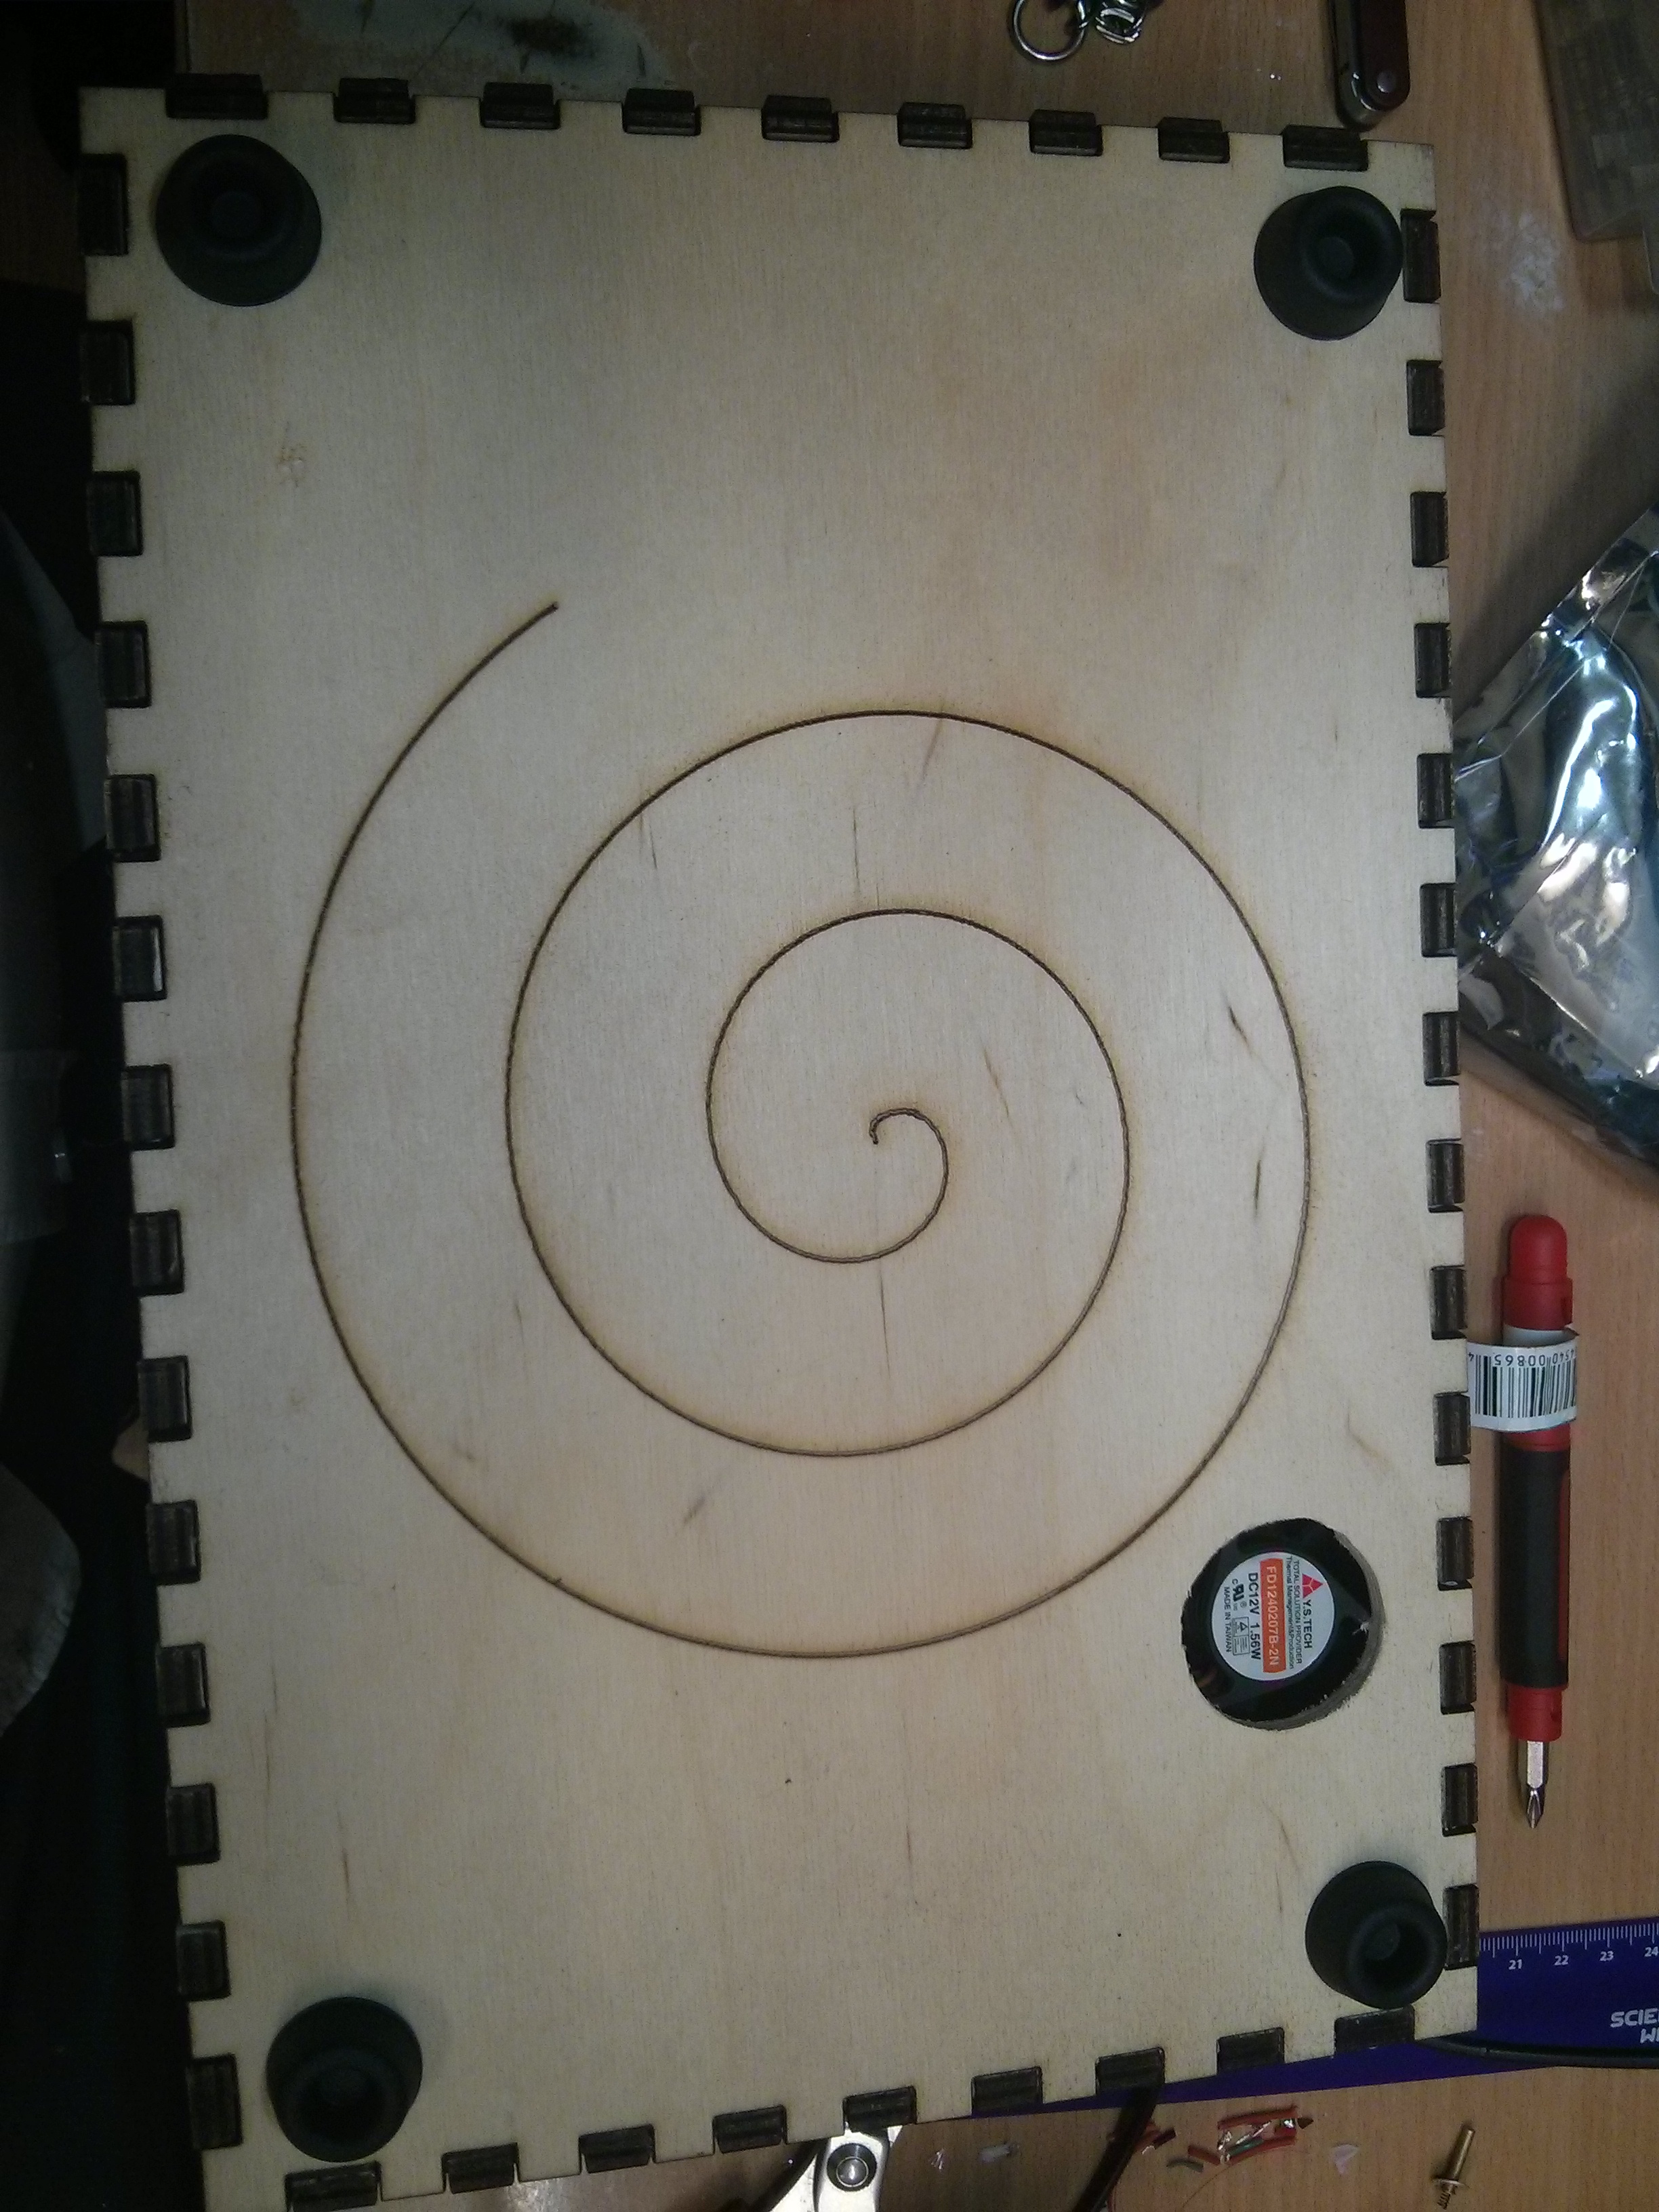
 A fellow TOG member gave me a little amp board they had lying around. This was a huge jump in power compared to my previous amp. After installing the amp into the box it became clear that it ran a little hot. Just in the open air it was hitting 75 degrees. Having this in an enclosed dry wooden box with no ventilation looked like a bad idea. A drill and a spade-bit later I cut a hole for a fan in the bottom of the case. Even with this in place I felt the box was still warm when is use. After a suggestion of an air flow wall (made out of cardboard) and thermal shielding (Aluminium Foil) were installed, the temperature did drop.
 Log all the things. As there was a full OS / SD card on the board. I decided to add a temperature sensor. This had a dual purpose, one to see how hot the inside of the box got and two to turn on / off the fan if it got too hot. I simply made a call to the OS in bash and just echo’ed the value I wanted to save and time stamp. To ensure I was not starting at epoch time each boot, I added in a little coin cell battery to keep the RTC running when the mains was removed.
Improvements
The project, was finished to a point to show it off at Maker Faire UK. After seeing it used at the event I would make a number of changes. I would add an additional output. The box was very popular with groups of friends trying it together. The amp has a free channel and would not take much to have the same sound playing out of it. I would change the way I was logging to the SD card. Every button press is too many writes to the SD card. It will end up killing it. A big poster with instructions, would make it easier for people to read. A stop button would be helpful. Currently the tracks play until their end, unless you hit a special button combination.
For more photos of the build check out this gallery, or to see it in use have a look at our Maker Faire UK gallery.
Partial Parts List
- Intel Galileo Gen 2
- TDA7266 Audio Power Amplifier
- 2 x Keyes 5V Relay Module
- Keyes Temperature Sensor Module
- Arduino Prototyping Shield
- FD1240207B-2N Server Fan 12V 1.56W
- USB 2.0 External Sound Card
- 3 x Momentary Push Button
- 12V Fuse Holder with Fuse
- Aluminium Foil
- DC Power Female Plug
- Red Light Rocker Switch
- Female DC Power Converter
- Veroboard
- MM12 Low Torque 3V DC Motor
- Male & Female 3.5 mm Audio Jacks
- Male & Female Jumper Wies
- Wire
- Standoffs
- 330 / 1 K ohm Resistors
- PCB Screw Terminal Block Connectors
- Polymorph Plastic
- 5mm Birch Plywood
- Terminal Block Connectors
- 12 V 1.25 A DC Power Adaptor
- Capacitor
- Rubber Feet
- Coin Cell Battery with Holder
- Micro SD Card
- Cardboard
RT @TOG_Dublin: Project: Skull Radio Box by @Jeffrey_Roe … http://t.co/yIqdkxxGMZ
After pressure on twitter, I had to admit that @dj_mckeown did copy bone conduction spoons http://t.co/hLN3WEb9j1
RT @Jeffrey_Roe: After pressure on twitter, I had to admit that @dj_mckeown did copy bone conduction spoons http://t.co/hLN3WEb9j1
RT @TOG_Dublin: Project: Skull Radio Box by @Jeffrey_Roe … http://t.co/yIqdkxxGMZ