TOG’s laserjet printer was mostly working, but the two buttons on top were stuck and unusable. Each button was supposed to have a little right-angled lever connecting it to its microswitch. The problem was that one lever had come out of its mounting, and the other one was missing altogether.
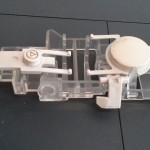
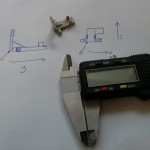
Missing. Gone. Not rattling around inside the printer, or sitting in a corner of the classroom. Just gone. But we have one lever left. If only there was some way we could make a copy of it…
The part is composed of a few straightforward shapes which were modelled in OpenSCAD.
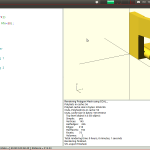
Then the design was printed on the 3D printer.
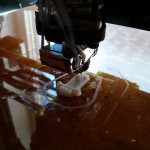
The first print didn’t work because there was too much of an overhang. The second, improved design didn’t stick properly to the bed (small fiddly prints benefit from a brim). The third one came out nicely.
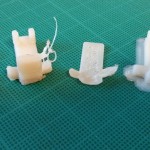
After cutting away the brim and overhang support material, the new part fits under the button…
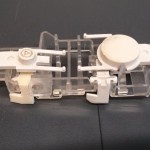
… and the printer buttons are working again.
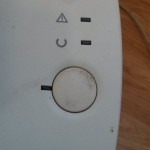
(And if your HP2200dn has also lost its button levers, the STL file is up on Thingiverse.)

RT @TOG_Dublin: Printing printer parts: TOG’s laserjet printer was mostly working, but the two buttons on top were stuck and u… http://t.…
RT @TOG_Dublin: Printing printer parts: TOG’s laserjet printer was mostly working, but the two buttons on top were stuck and u… http://t.…
RT @TOG_Dublin: Printing printer parts: TOG’s laserjet printer was mostly working, but the two buttons on top were stuck and u… http://t.…
RT @TOG_Dublin: Printing printer parts: TOG’s laserjet printer was mostly working, but the two buttons on top were stuck and u… http://t.…