With summer on the way, you might be thinking about cutting the grass again and dragging the lawnmower back out of the shed.
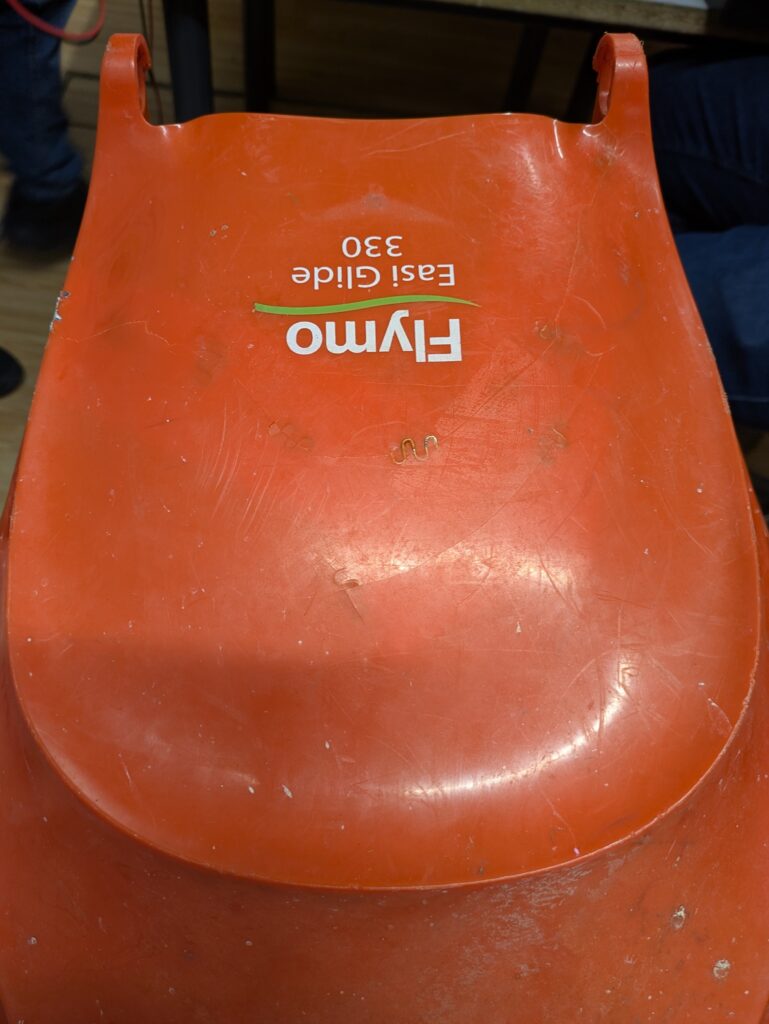
This Flymo Easi Glide 330 came into TOG on a Tuesday night with a fairly serious problem. The outer case was badly cracked. It was manufactured back in February 2014, so it has clearly done a good bit of work over the years, but this kind of damage could easily make you think it was ready for the bin.
But what do you do with a crack like that?
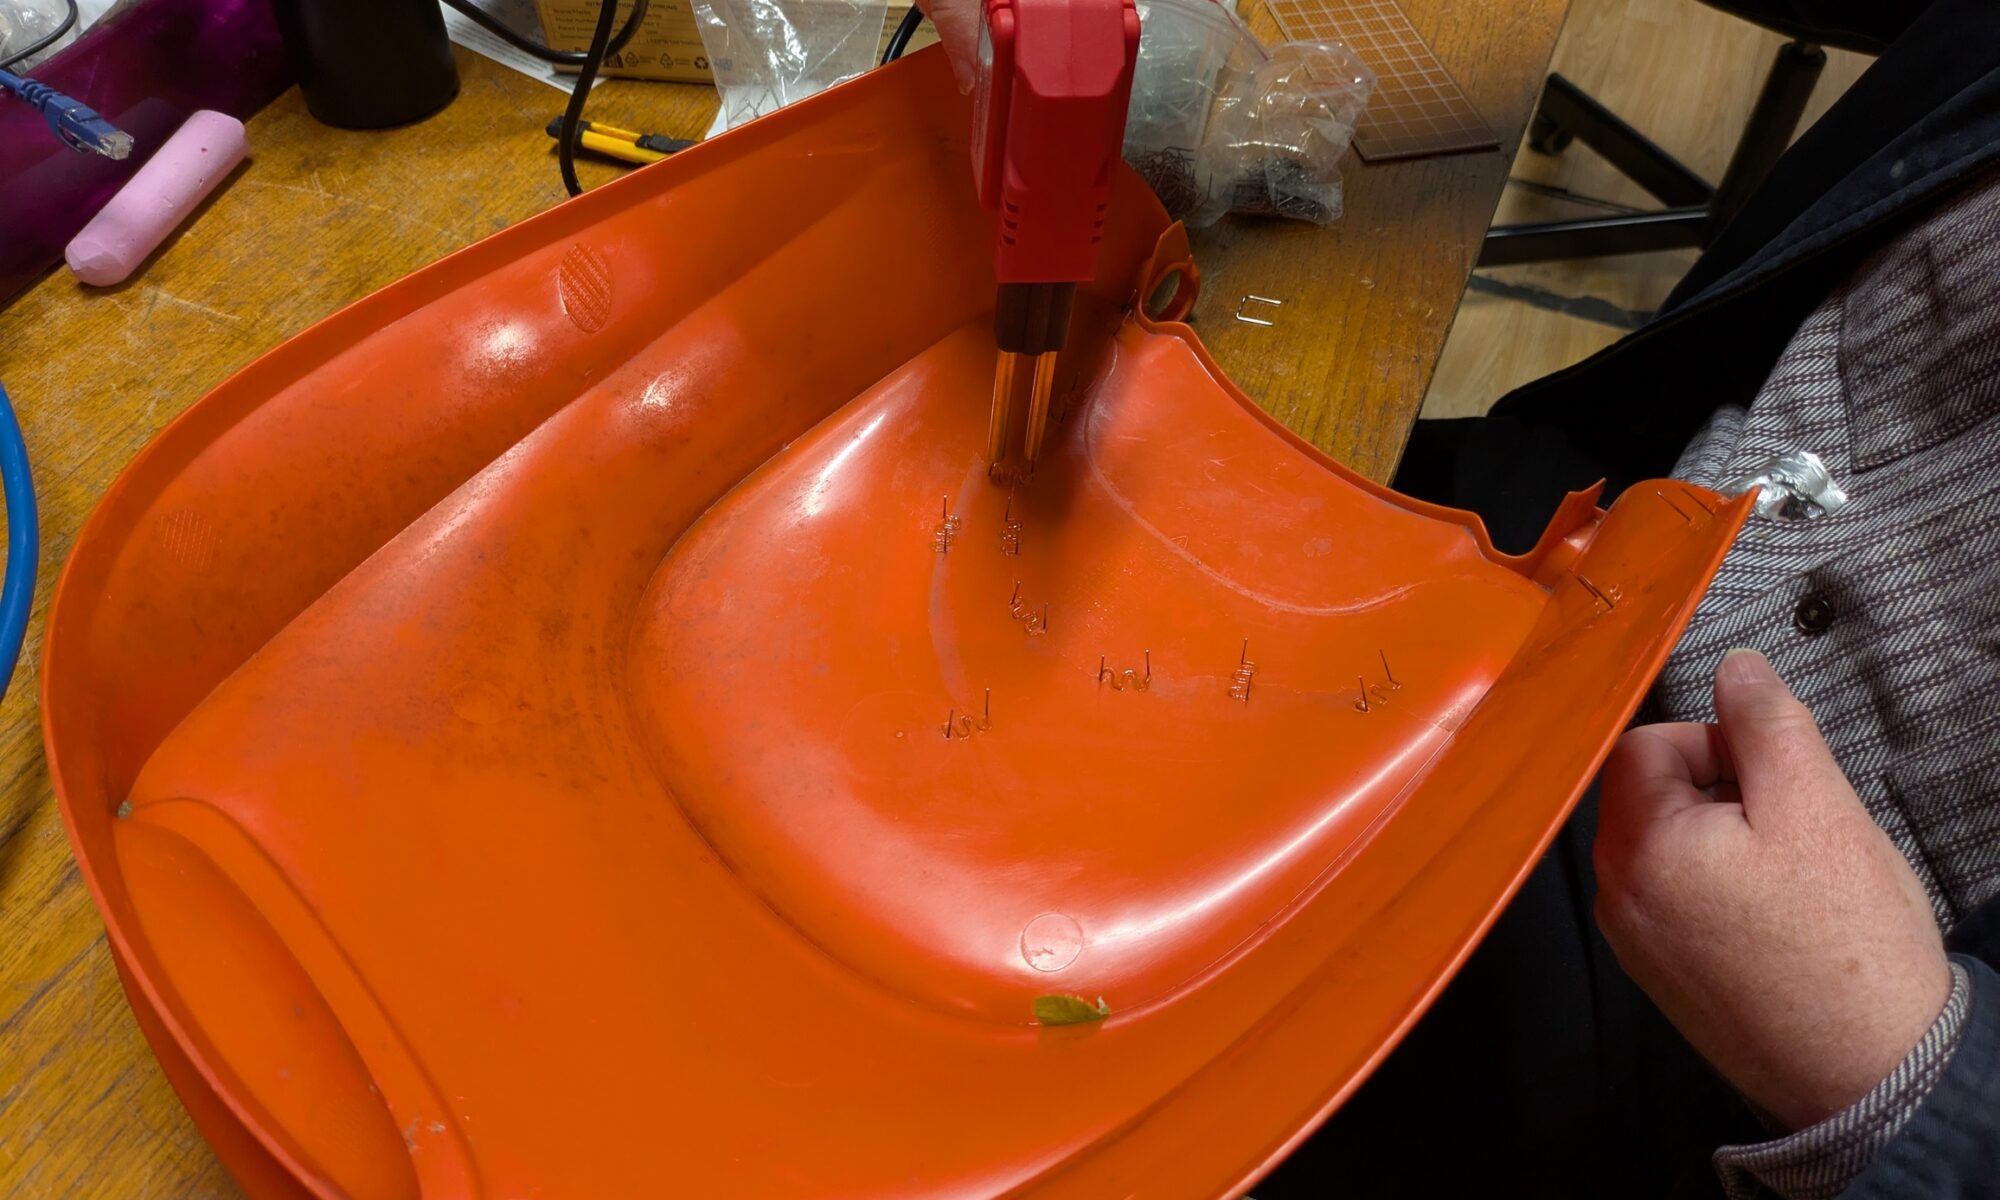
Glue was never going to be enough here. The plastic casing takes a lot of stress and vibration in normal use, so this needed something stronger. Out came the plastic welder, with our member Ambrose taking on the repair.

A tool like this works by heating the plastic and embedding metal staples or pins across the crack. These act like reinforcement inside the case, giving the repair strength and helping bridge the gap where the plastic had split. As you can see from the photos, this one needed quite a few of them.
The nice thing about this repair is that Ambrose was able to do all the work from the inside. That means the outside still looks great, while the inside now has the strength it needs to keep going.
It is a lovely example of the kind of repair that becomes very straightforward when you have the right tool and the right knowledge. That is one of the great things about a hackerspace like TOG. We have a wide range of shared tools, but just as importantly, we have people around who know what tool to reach for and are happy to help figure things out.
This was all done on a normal Tuesday open night at TOG. If you have a project of your own, something that needs fixing, or you are just curious to see what goes on in the space, Tuesday night is a great time to drop in.