TOG members and friends are heading to Electromagnetic Field 2026 from 16 to 19 July, where we will once again be helping to run the Irish Embassy village.
Electromagnetic Field, better known as EMF Camp, is a volunteer-run camping festival for hackers, makers, artists, engineers, scientists and anyone interested in technology and creativity. The festival brings together talks, workshops, installations, projects and villages for four days at Eastnor Castle Deer Park in the UK.
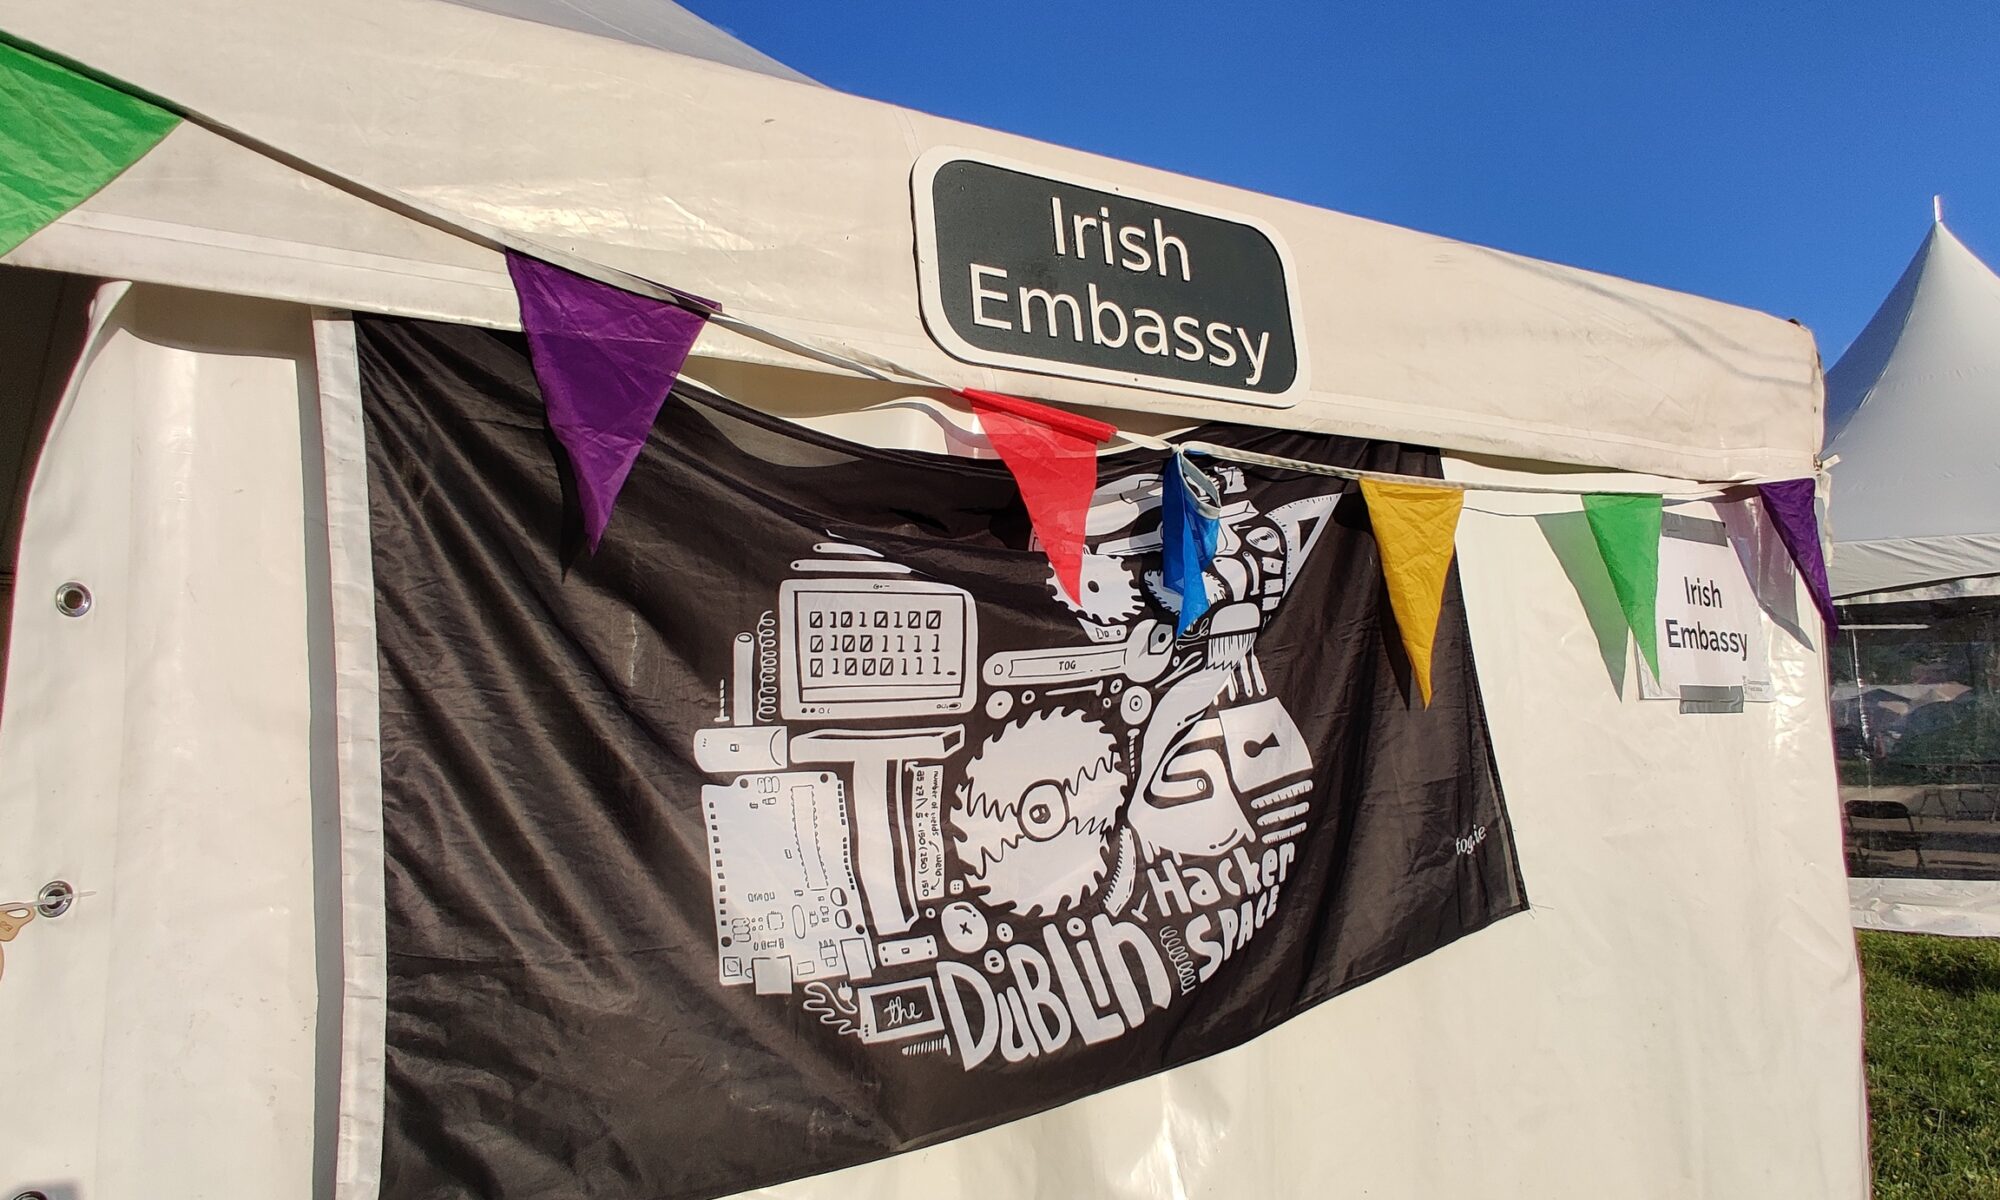
At EMF, villages are self-organised camping and activity areas built around shared interests. The Irish Embassy is a loose collective of people with a connection to, or interest in, Ireland.
Despite the name, we are not connected to the Irish Government. Expect tea, projects, power adaptors and microcontrollers rather than passports and visas.
Following on from the Irish Embassy at EMF 2024, we have another busy programme planned.
Landing, Setup and Getting to Know Each Other
We will begin on Thursday with an informal landing and setup session. Drop by the village, meet your neighbours and help us get the shared space ready for the weekend.
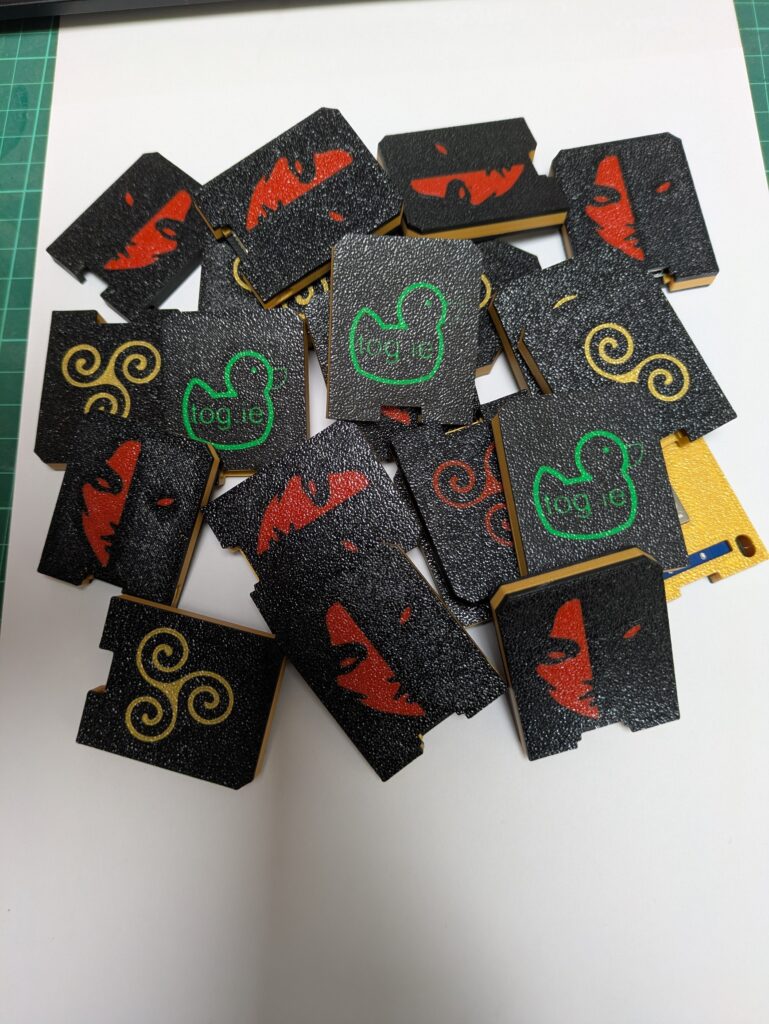
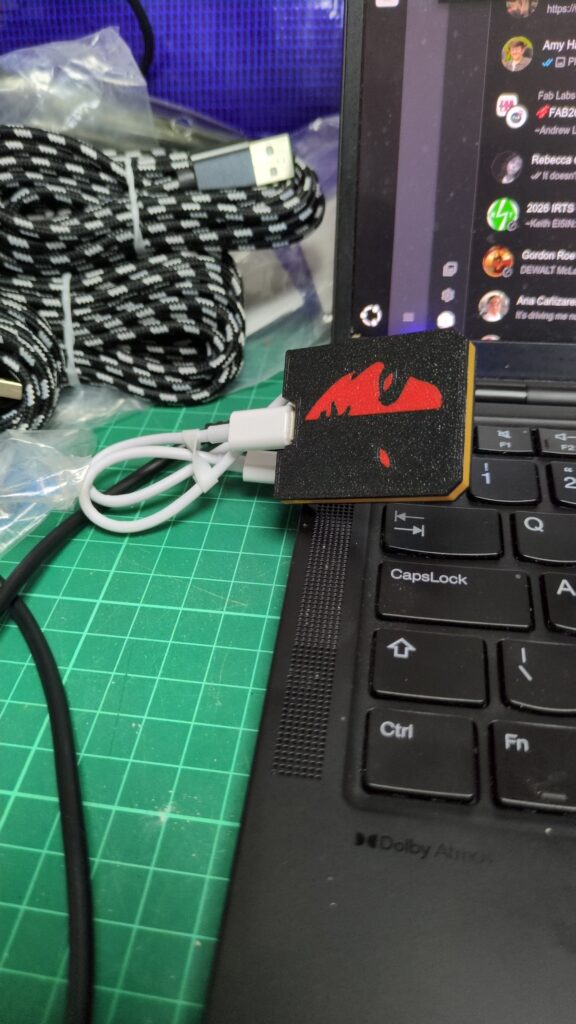
Hardware CTF
On Friday, the Irish Embassy will host a drop-in Hardware CTF challenge.
Participants will use one of our custom ESP8266 challenge boards to solve a series of hardware and software puzzles. Bring a laptop and see how many flags you can capture.
Make Your Own Extension Lead
Our Make Your Own Extension Lead workshop will introduce participants to safely wiring a Type G plug and extension lead.
The session will cover cable preparation, plug wiring, fuses, strain relief and basic electrical safety.
IoT with Arduino Cloud
The beginner-friendly IoT with Arduino Cloud workshop will show participants how to connect an ESP32 and environmental sensors to the internet.
Participants will collect sensor readings and display them through an online Arduino Cloud dashboard.
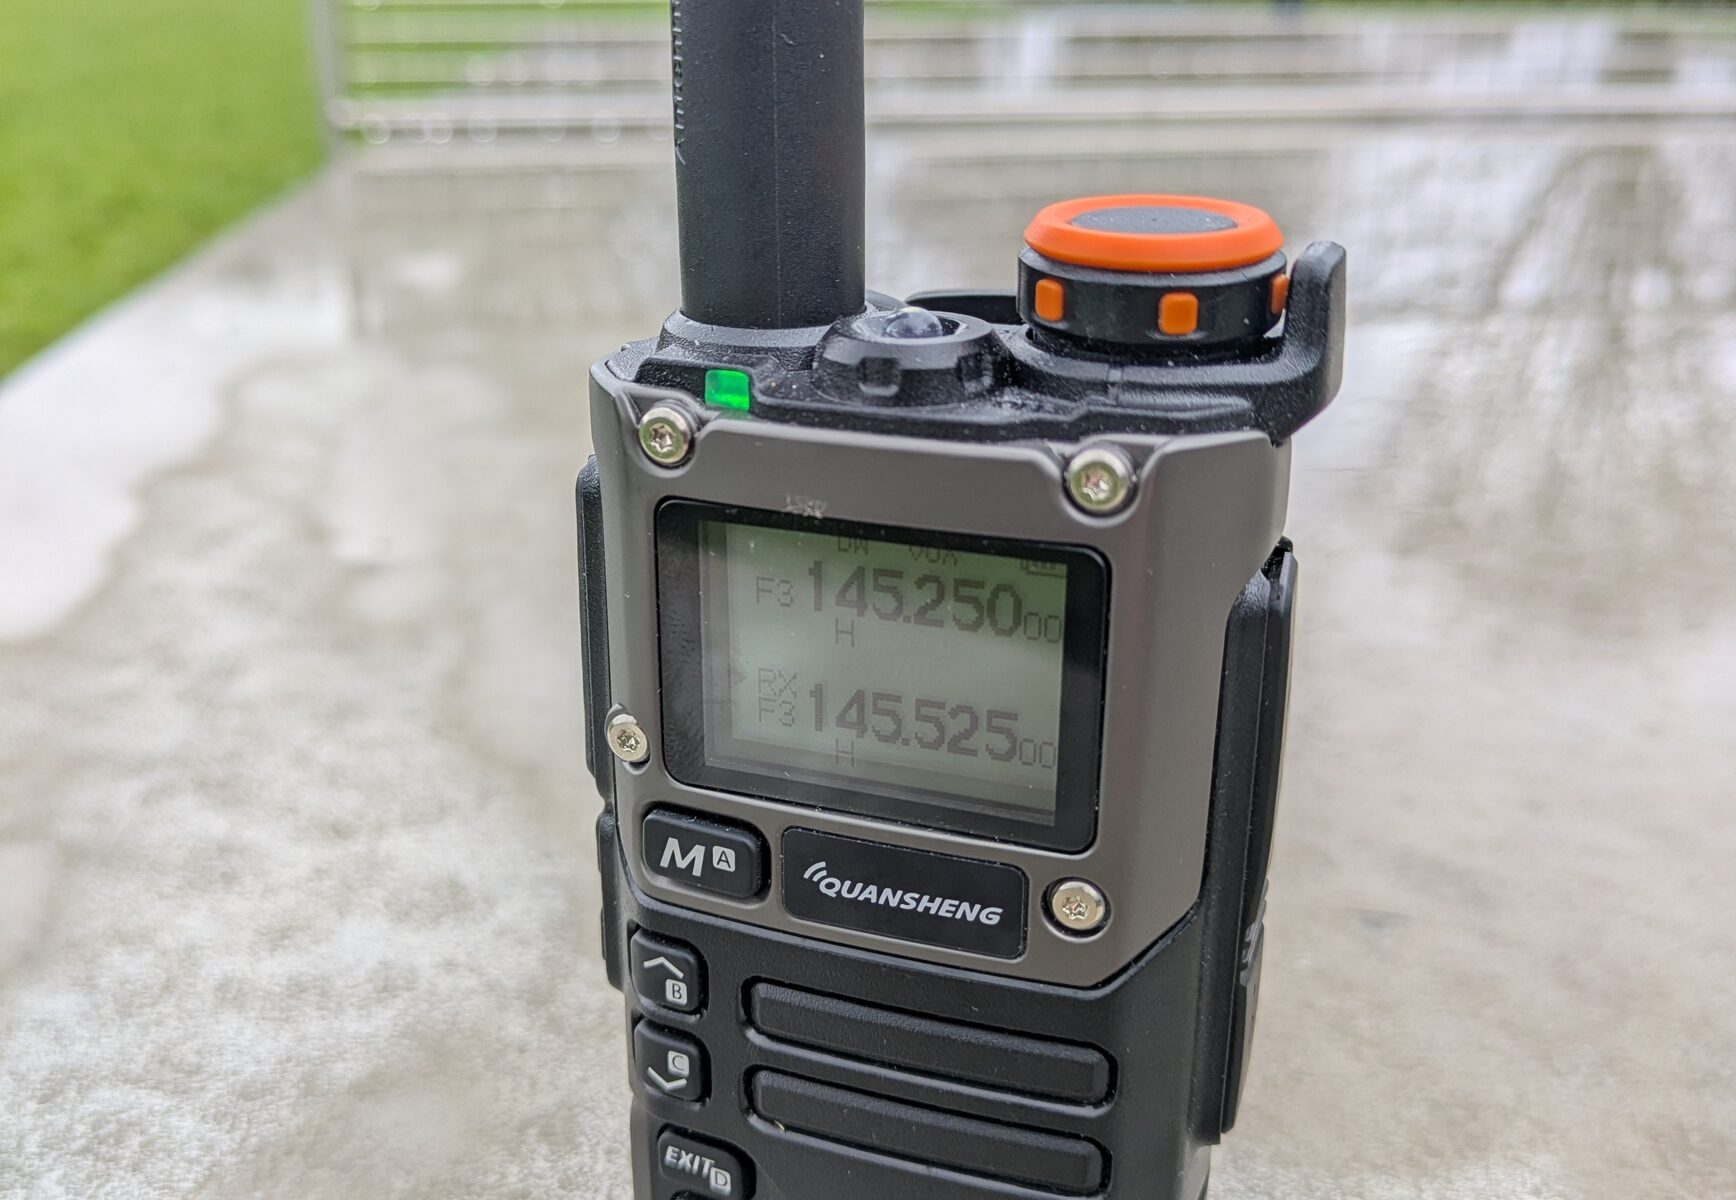
Build Your Own Satellite Ground Station
In the Build Your Own Satellite Ground Station workshop, participants will assemble a TinyGS station and antenna.
TinyGS is a community network of low-cost ground stations that can receive signals from LoRa satellites, CubeSats and other objects passing overhead.
Build Your Own Air Quality Sensor
Our Build Your Own Air Quality Sensor workshop will introduce participants to environmental monitoring and citizen science.
Participants will assemble an internet-connected sensor that measures particulate matter, temperature, humidity and air pressure.
Visit the Irish Embassy
When there is no workshop or challenge running, the Irish Embassy will be a place to meet people, share projects, compare notes and relax with a cup of tea.
Anyone attending EMF with a connection to, or interest in, Ireland is welcome to visit. Check the Irish Embassy village page for our location and the latest programme information.
You can also follow the Irish Embassy on Mastodon at @irishembassy@chaos.social for updates from the village during EMF Camp.