What a fantastic year of reading it’s been at the TOG Science Fiction Book Club! From far-future civilisations to classic monsters, philosophical puzzles, military epics, and the occasional extremely opinionated cat, we travelled across a huge range of worlds together. As always, it wasn’t just the books that made it great, but the chats, the debates, and the friendly faces around the table each month.
Here’s the full list of what we read in 2025:
📅 Our 2025 Reading Journey
January — Children of Time, Adrian Tchaikovsky
An epic opener to the year, full of evolution, uplifted spiders, and big moral questions.
February — A Canticle for Leibowitz, Walter M. Miller Jr.
Post-apocalyptic monks preserving knowledge through centuries. Deep, thoughtful, and surprisingly lively in discussion.
March — The Peace War, Vernor Vinge
Physics, rebels, and pocket universes. A classic slice of high-concept sci-fi.
April — Memoirs Found in a Bathtub, Stanisław Lem
Confusion, paranoia, and bureaucracy — nobody knew what was happening, and that was half the fun.
May — Starter Villain, John Scalzi
Light, clever, and funny. An absolute hit — especially the unionised cats.
June — The Freeze-Frame Revolution, Peter Watts
A revolution unfolding over millennia on a ship that never stops moving. Short, sharp, and dense with ideas.
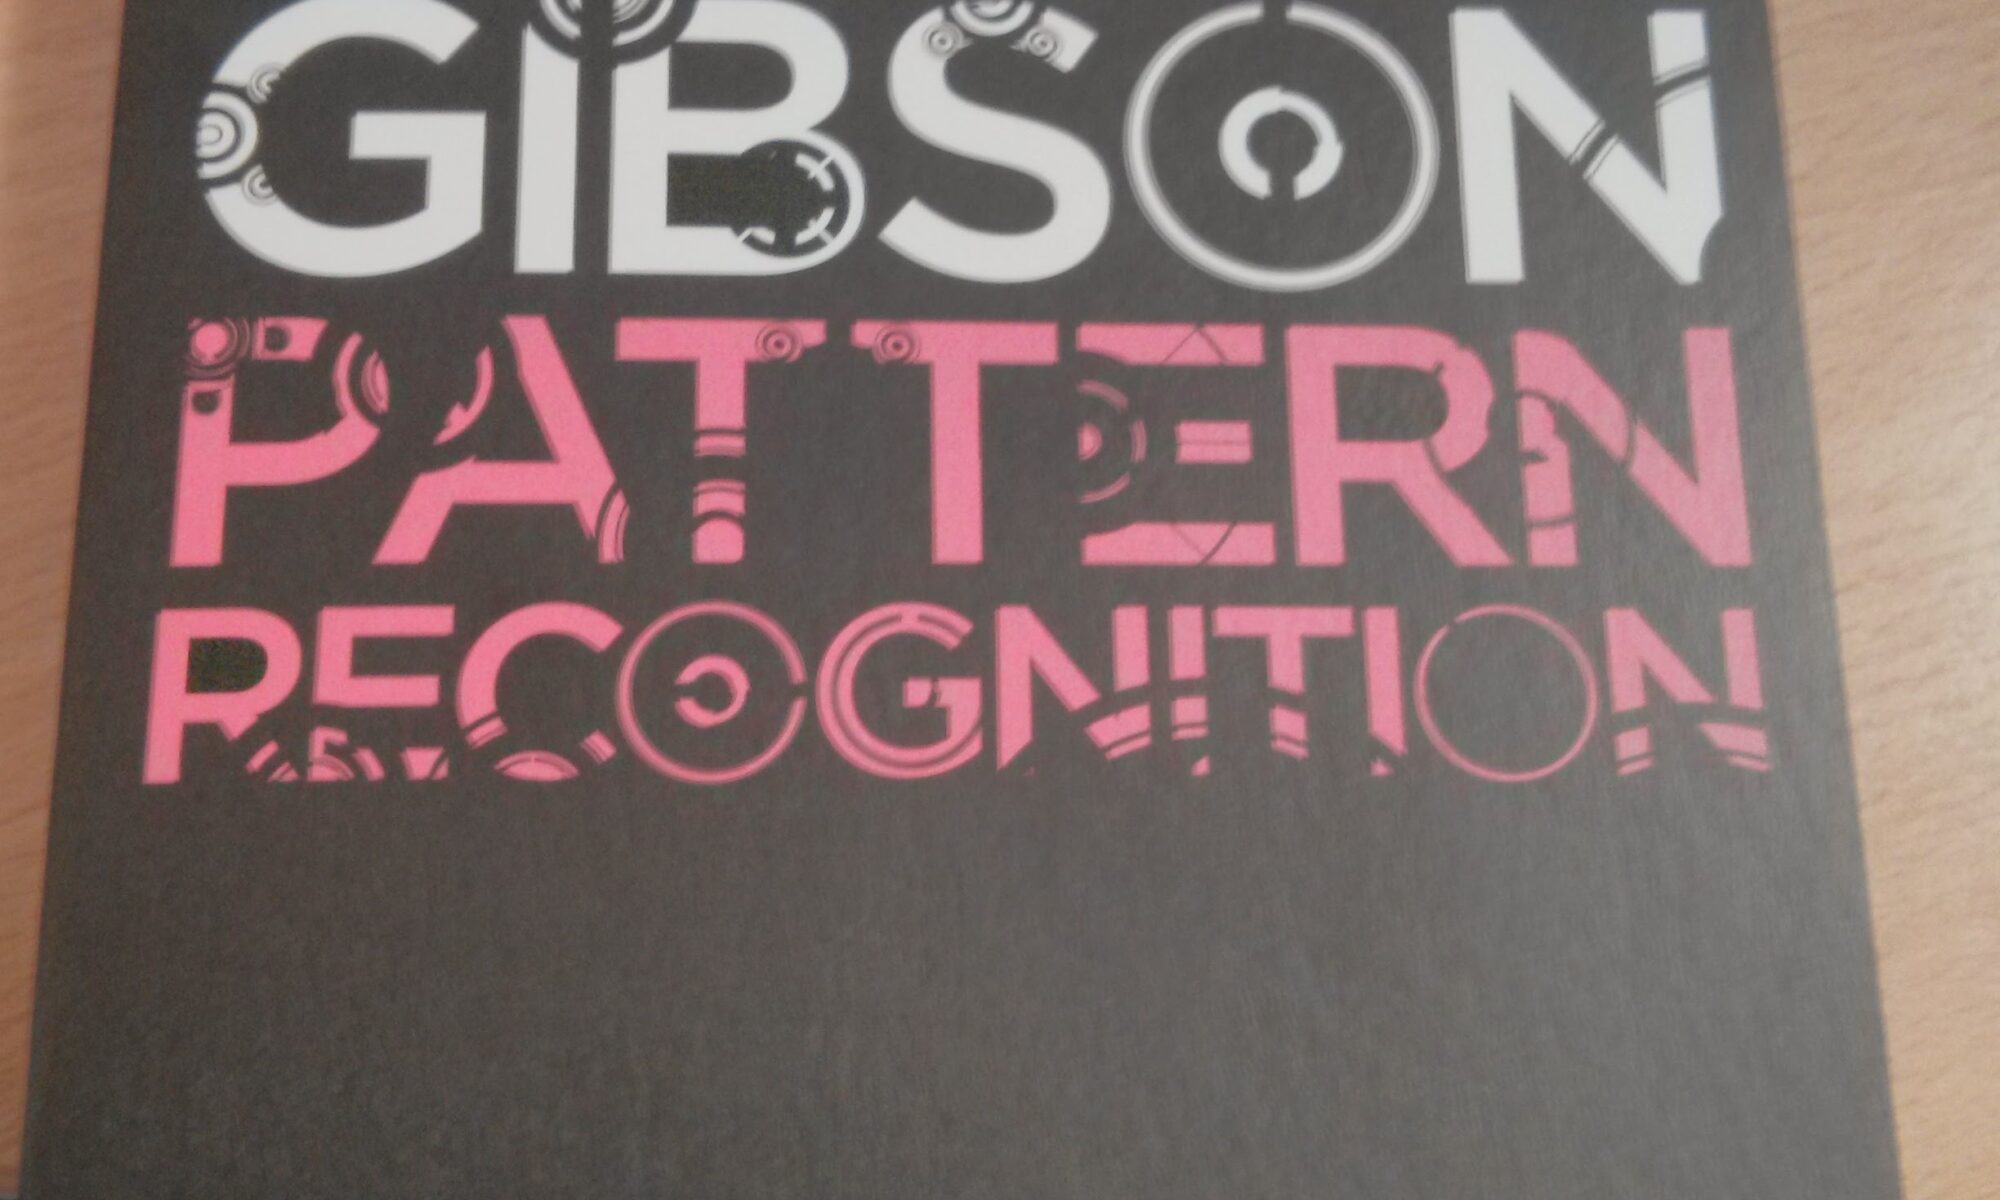
July — Pattern Recognition, William Gibson
Branding, conspiracies, and early-internet noir. Very different from Gibson’s usual fare, but a brilliant read.
August — The Forever War, Joe Haldeman
A timeless anti-war classic that sparked one of our biggest discussions of the year.
September — Service Model, Adrian Tchaikovsky
A polite robot butler tries to keep civilisation together. A funny, thoughtful crowd-pleaser.
October — Frankenstein; or, The Modern Prometheus, Mary Shelley
The original science fiction novel — perfect for spooky season and still incredibly relevant.
November — The Word for World Is Forest, Ursula K. Le Guin
Short but powerful. Ecology, colonialism, and dreamers refusing conquest.
December → January — The White Plague, Frank Herbert
A chilling biothriller that bridges our reading year into 2026.
☕ A Community of Readers
We had new faces, returning regulars, and plenty of evenings where the chat ran long past closing time. And as always at TOG, nobody minded if you hadn’t finished the book — it’s the conversation that matters.
If you’re thinking, “I should go to one of those…” you absolutely should.
No need to be a sci-fi expert, read every month, or even like spiders (Children of Time tested a few of us!). Just bring your curiosity — biscuits optional.
🚀 Join Us in 2026 — First Book of the Year: The White Plague
We’re kicking off the new year with Frank Herbert’s The White Plague:
📅 Monday, 27 January 2026
🕢 7:30 pm
📍 TOG Hackerspace
A dark, gripping tale of biotech and obsession — and the perfect start to another year of great chats.
Come along, bring a friend, and help us grow the book club in 2026.
Here’s to another year of stories shared around the table at TOG.